Development
Deploying a smart contract on BPX mainnet using Remix IDE
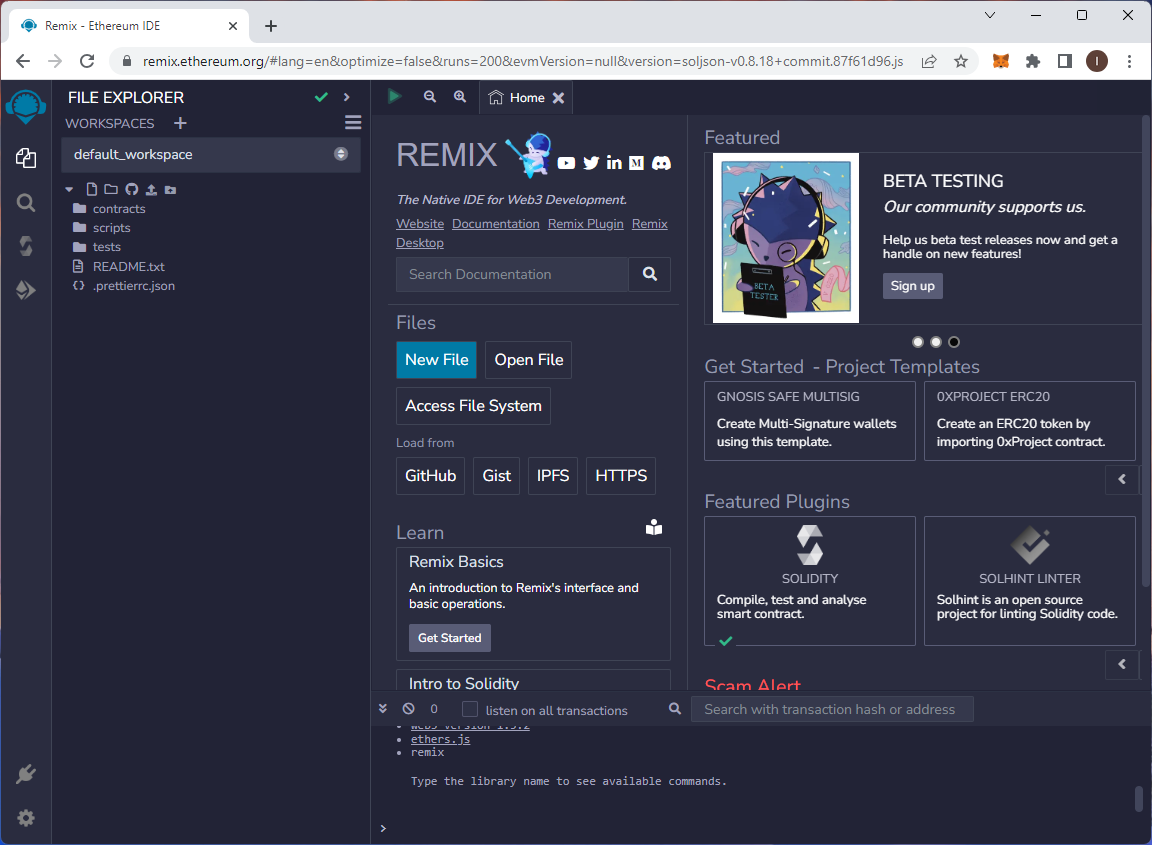
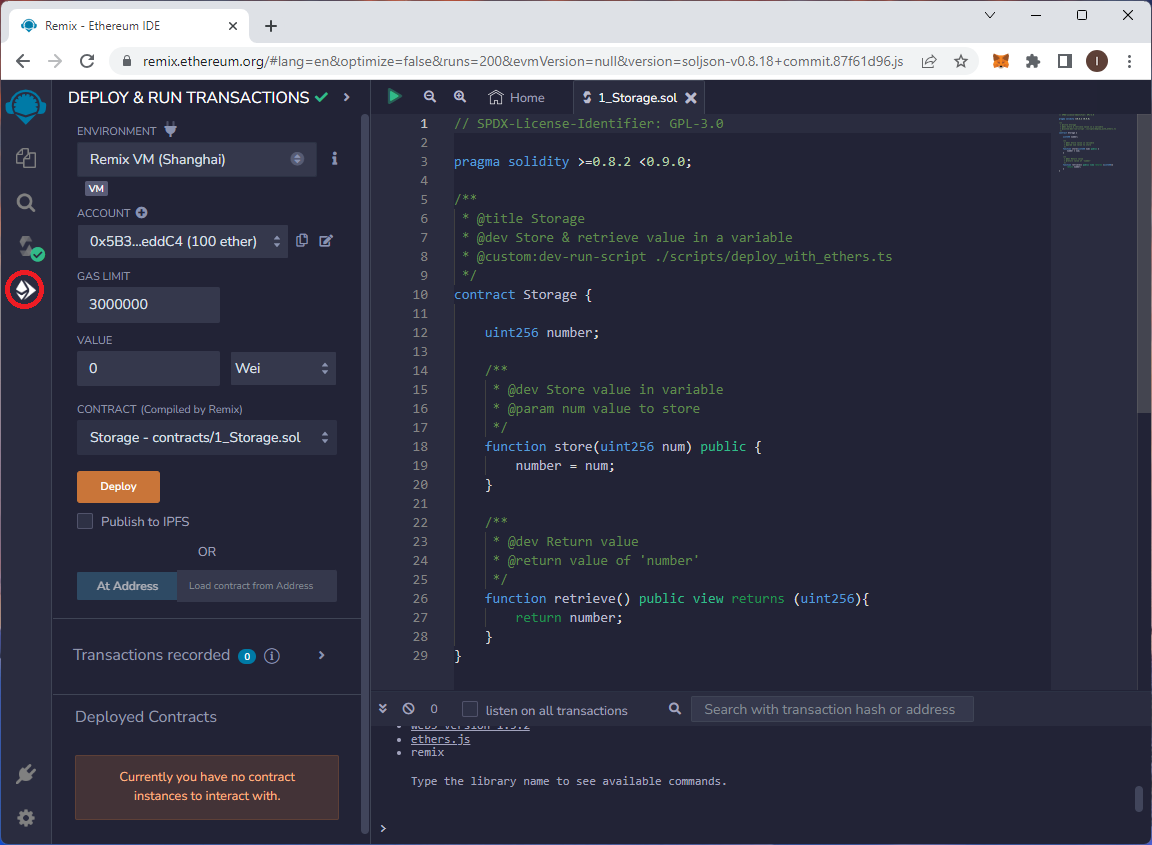
- Open Remix IDE.
2. In our example, we will use one of the sample contracts from the IDE. This contract provides two functions: the first, store, allows you to save any number in the contract, while the second, retrieve, enables you to read the stored number. Open the contracts/1_Storage.sol file.
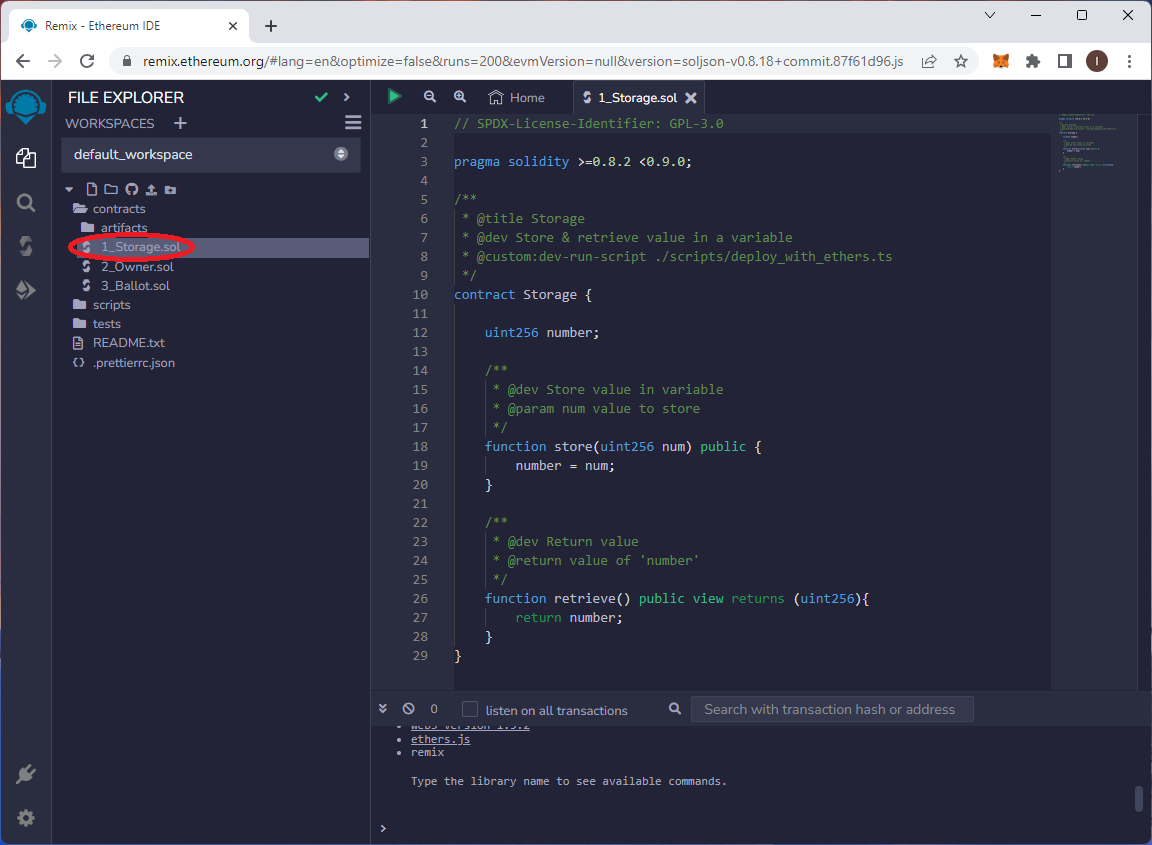
3. Compile the contract by right-clicking on the file name and selecting Compile.

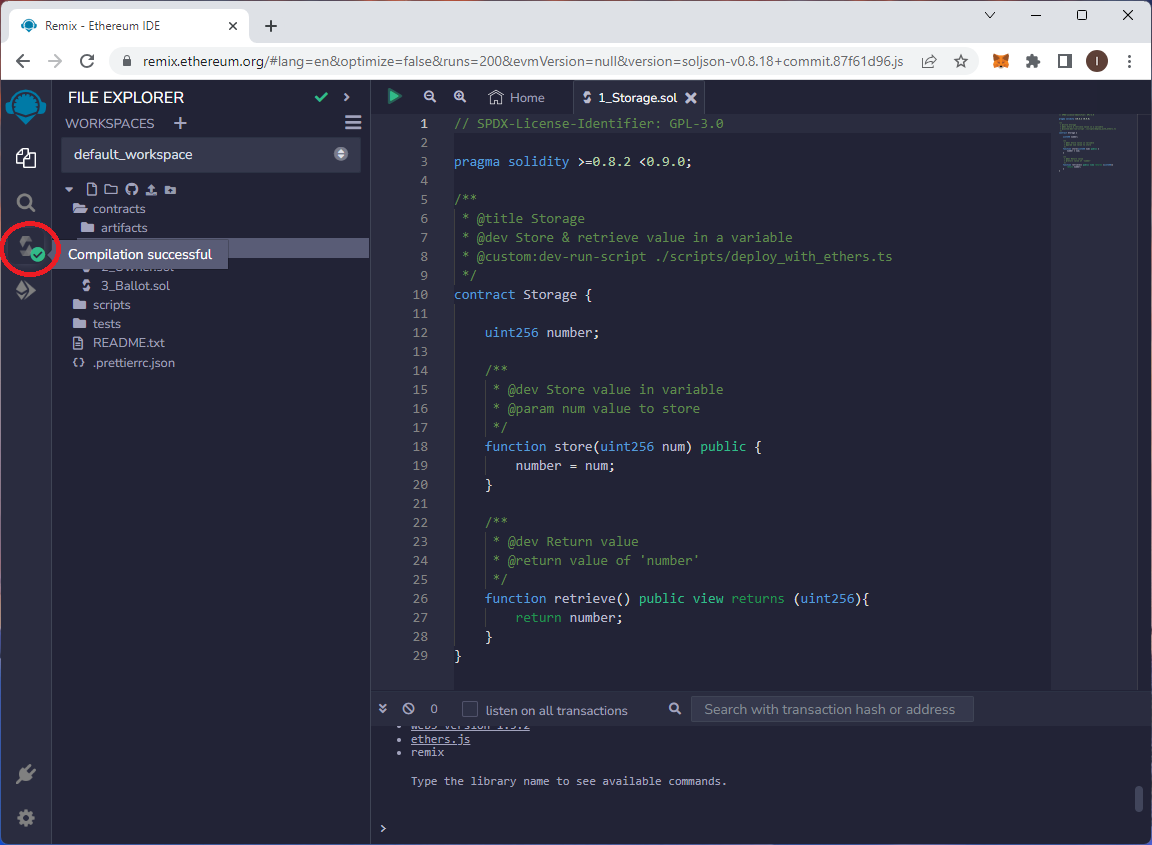
4. When the source code is error-free and the compilation is successful, you will see a green success icon.
5. Go to the Deploy tab.
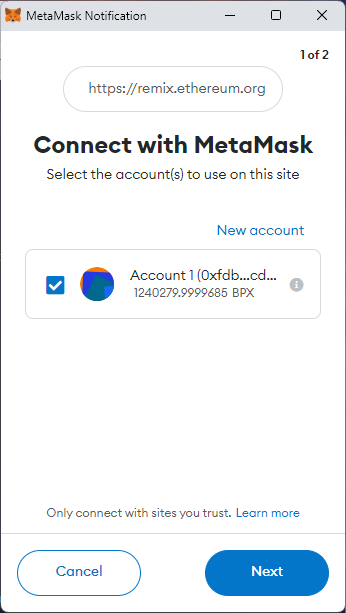
6. Expand the Environment list and select Injected Provider - MetaMask.

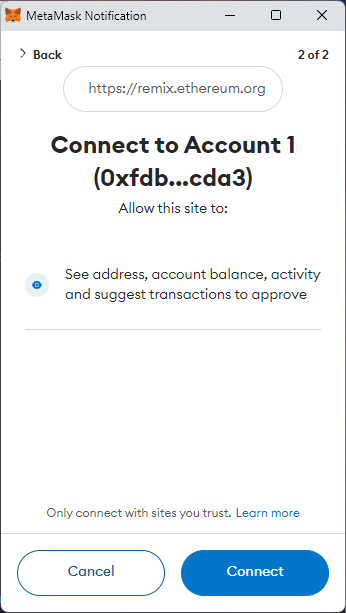
7. Now MetaMask will prompt you for permission to connect to Remix IDE. Agree to the connection.
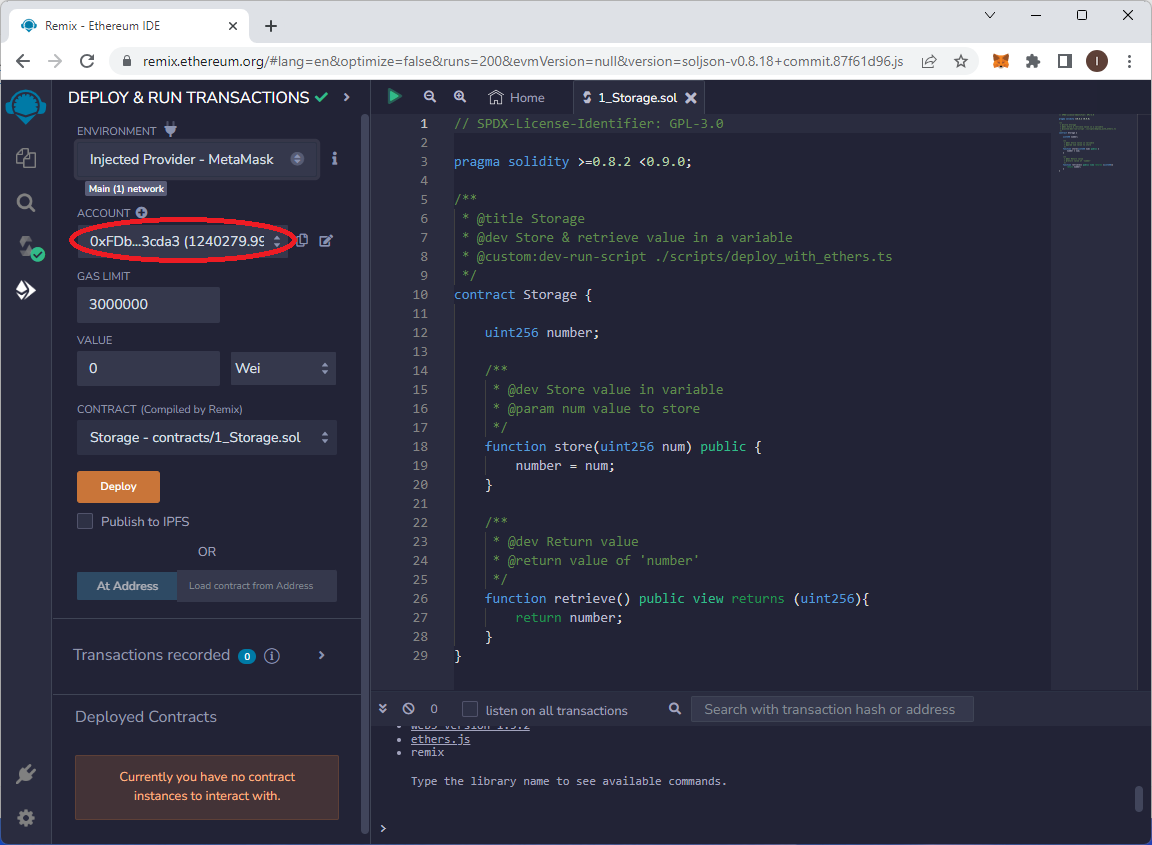
8. After successfully connecting, you should see your account address and its balance in the highlighted field.
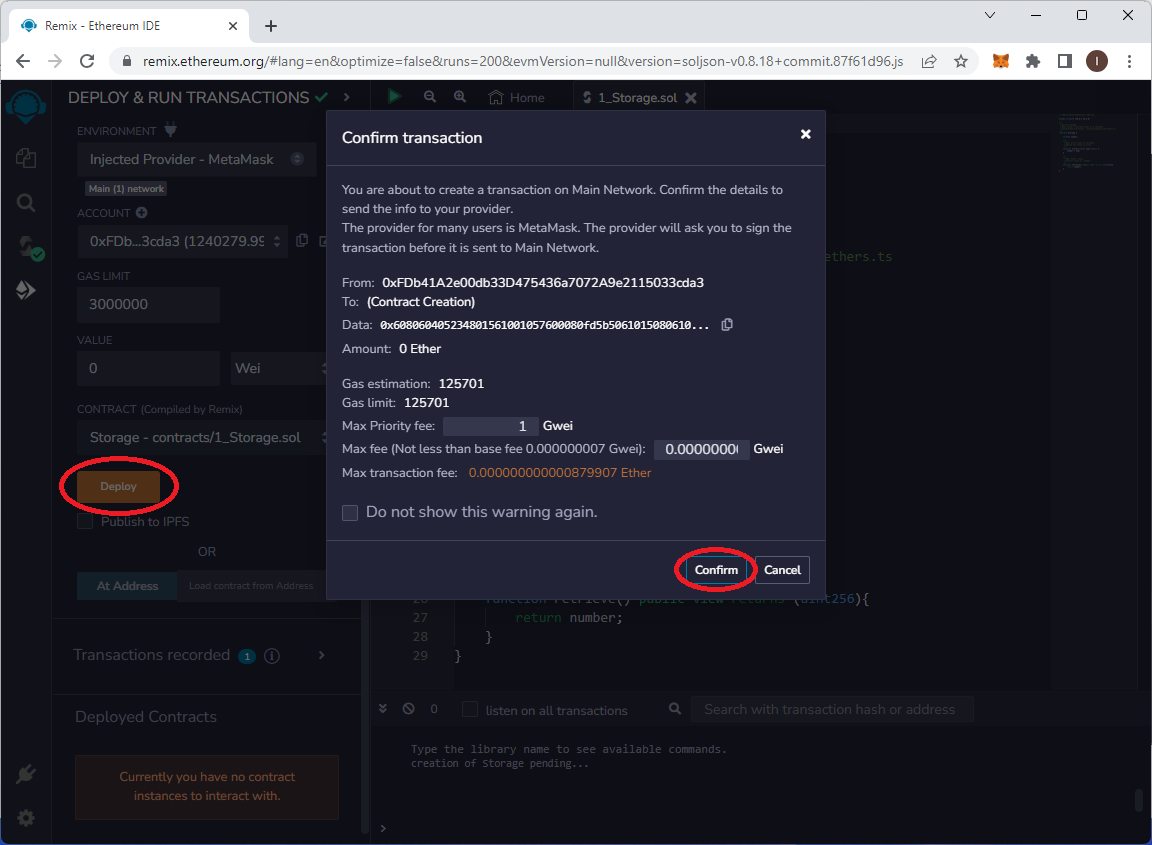
9. Click "Deploy" to begin deploying your contract. Confirm the suggested gas settings.
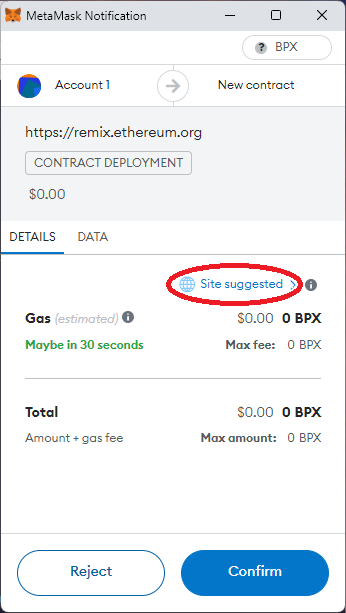
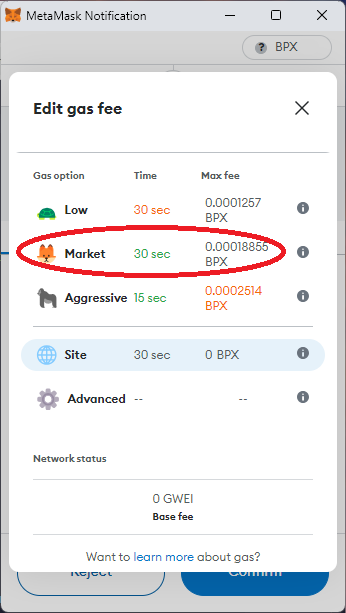
10.In the MetaMask popup window, change the gas settings by clicking on "Site suggested," then select the "Market" option. After that, confirm the transaction.
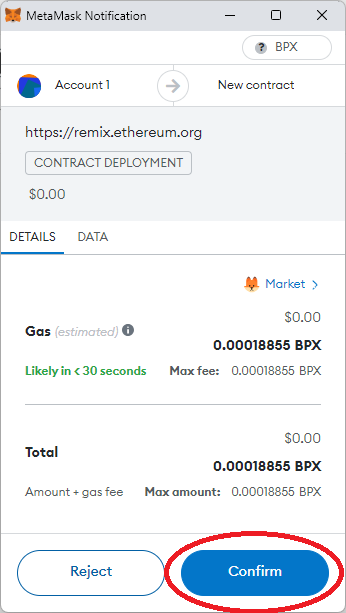
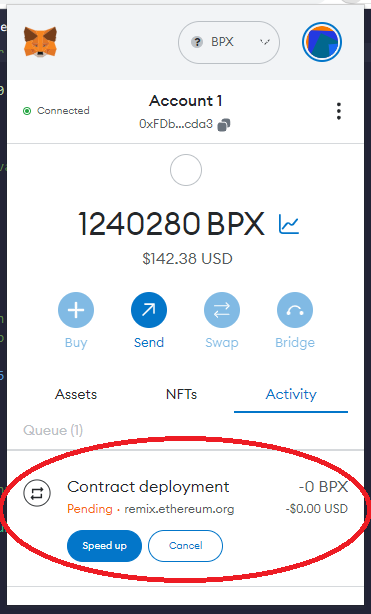
11. Your contract is now deploying. If you open the MetaMask window, you should see a new pending transaction.
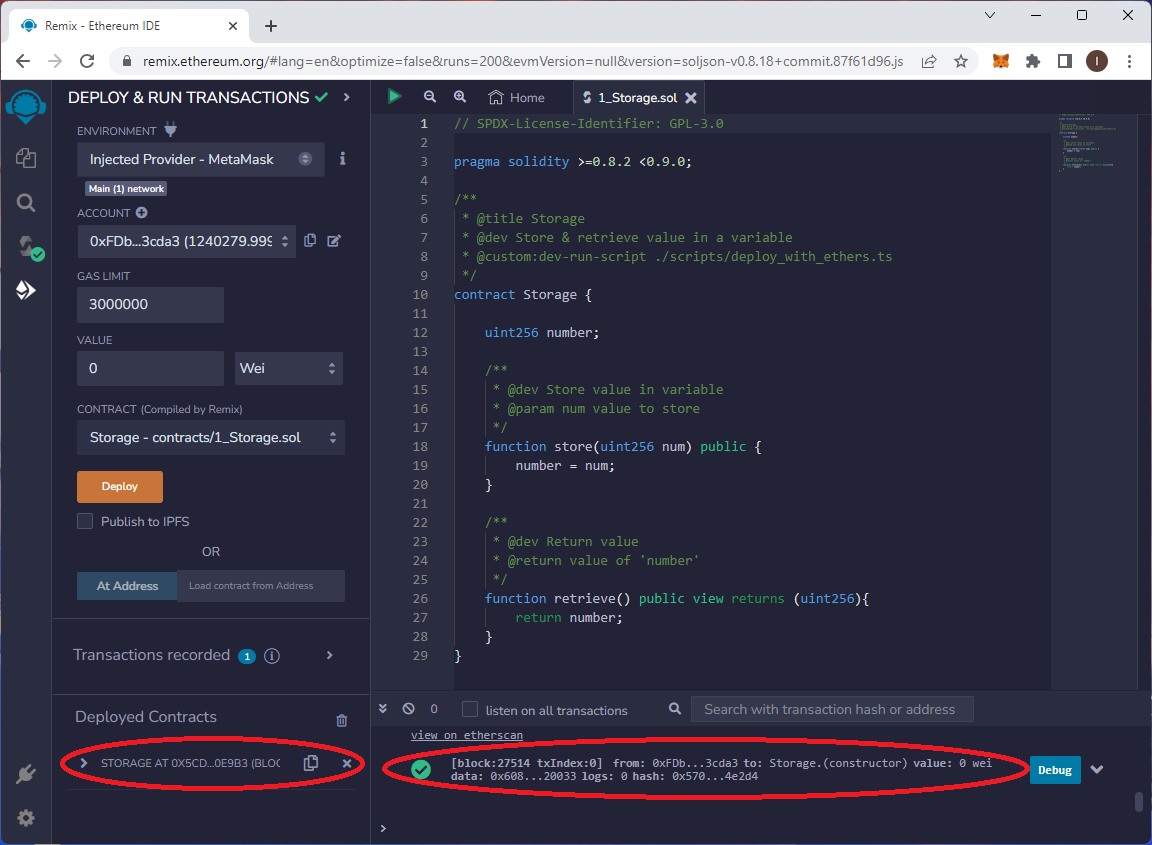
12. Once the transaction is confirmed by the blockchain, you will see its confirmation and a new entry in the Deployed Contracts section. Your contract has been successfully deployed.
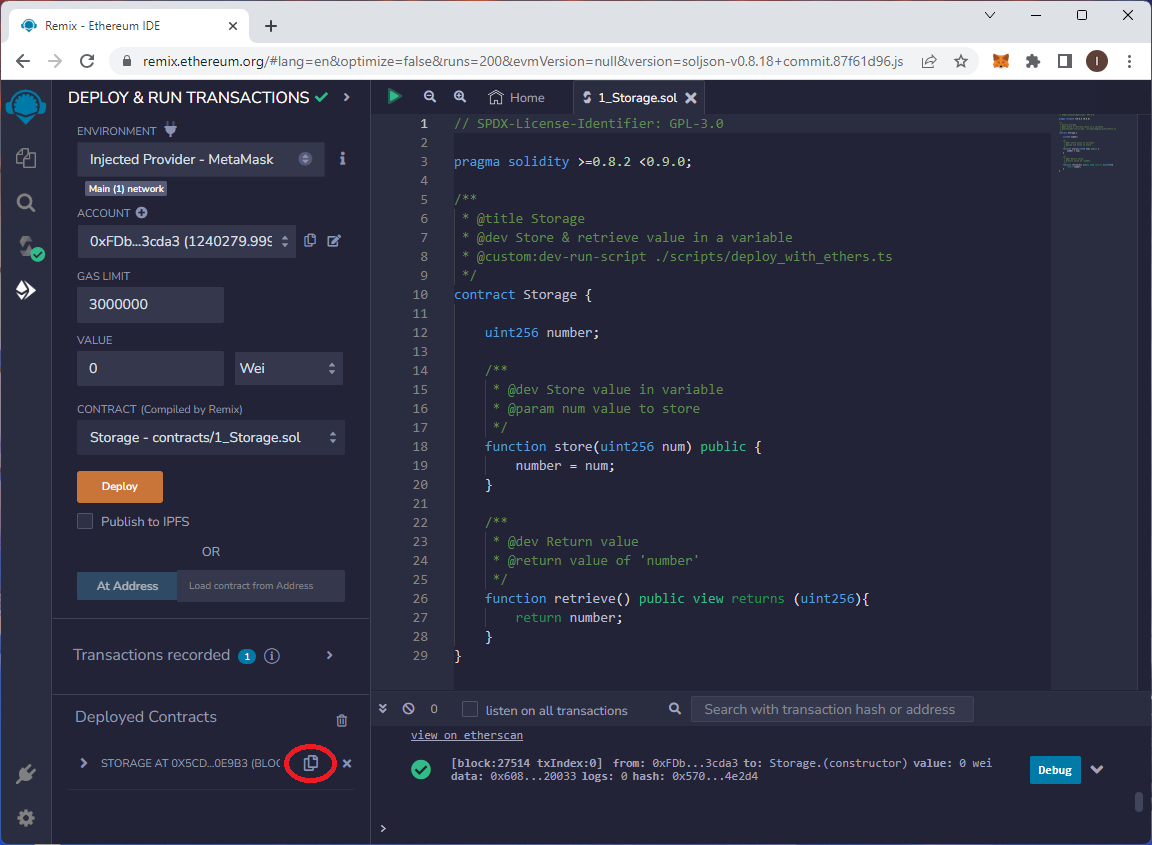
13. You can use the highlighted button to copy the address of your new contract.
14. You can interact with your contract directly from the IDE. Expand the list of contract methods to access them.
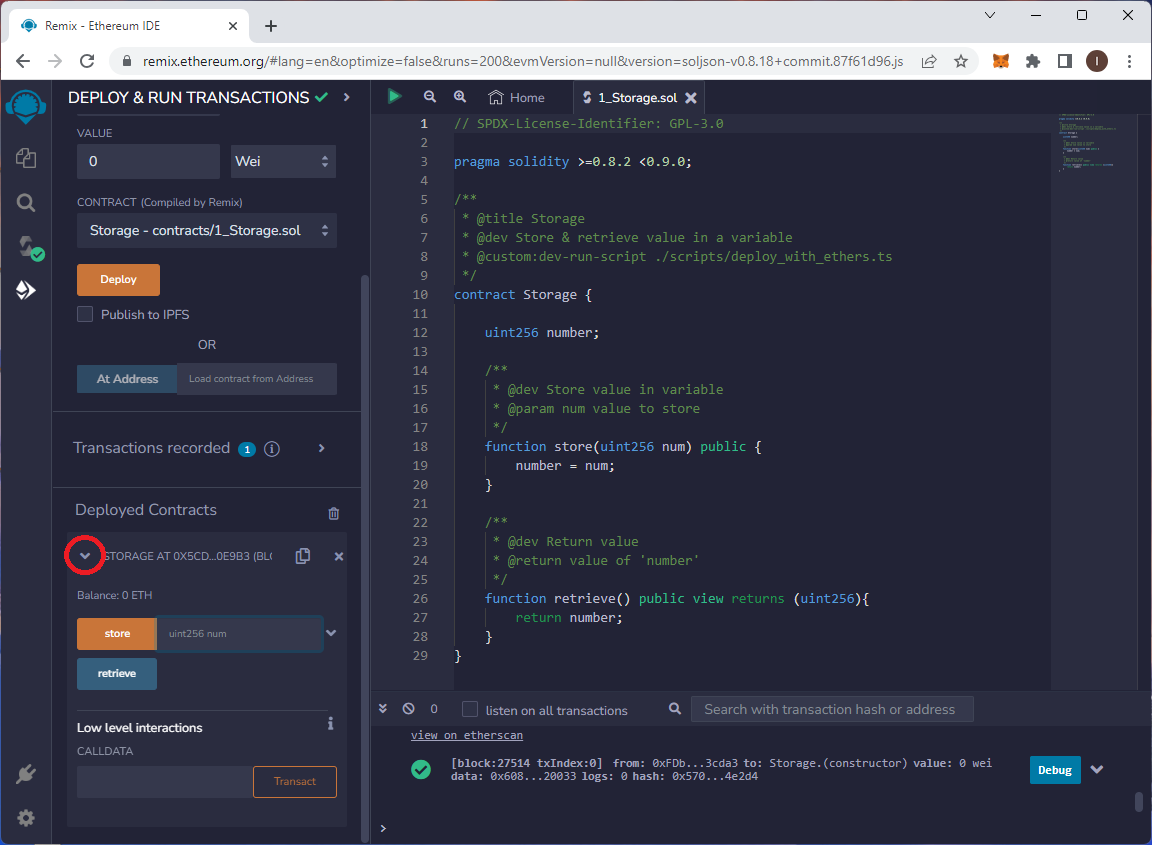
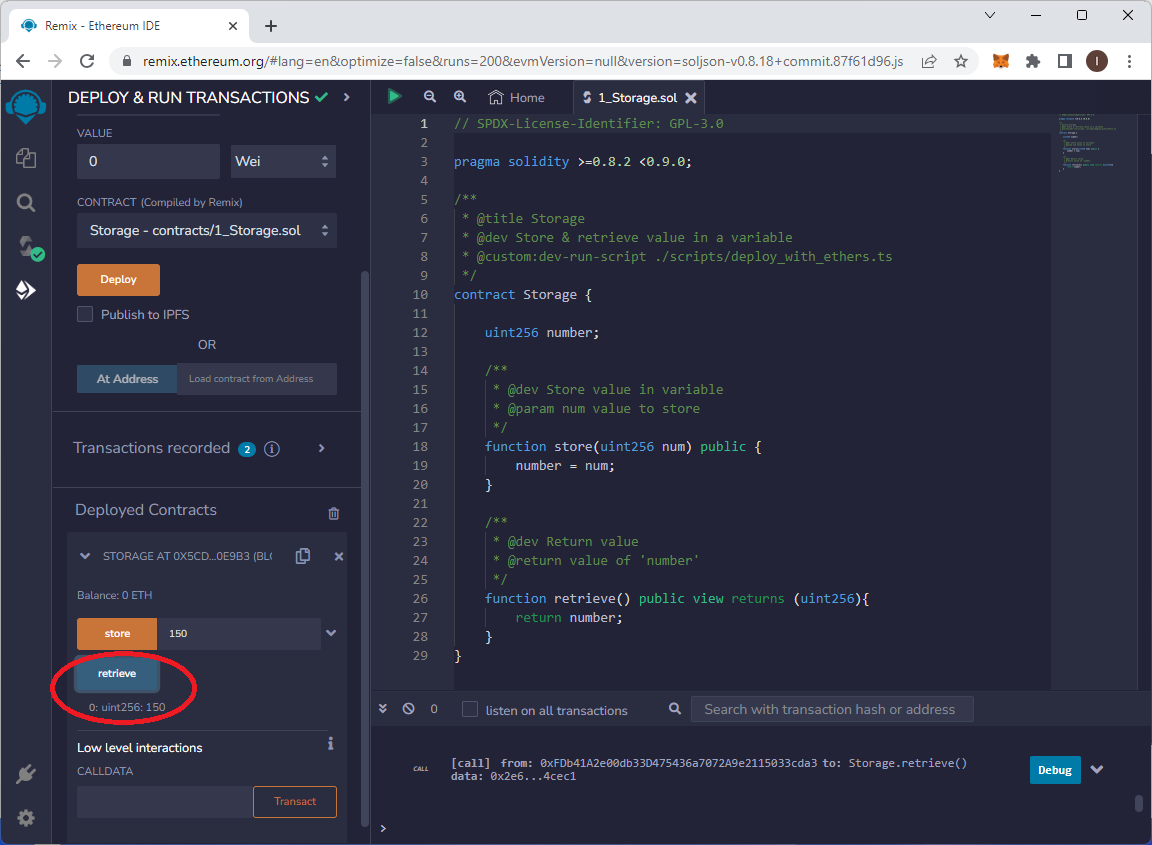
15. Let's call the first function (store) to save a number in our sample contract. Enter a random number in the text field next to the "store" button, and then press the "store" button.
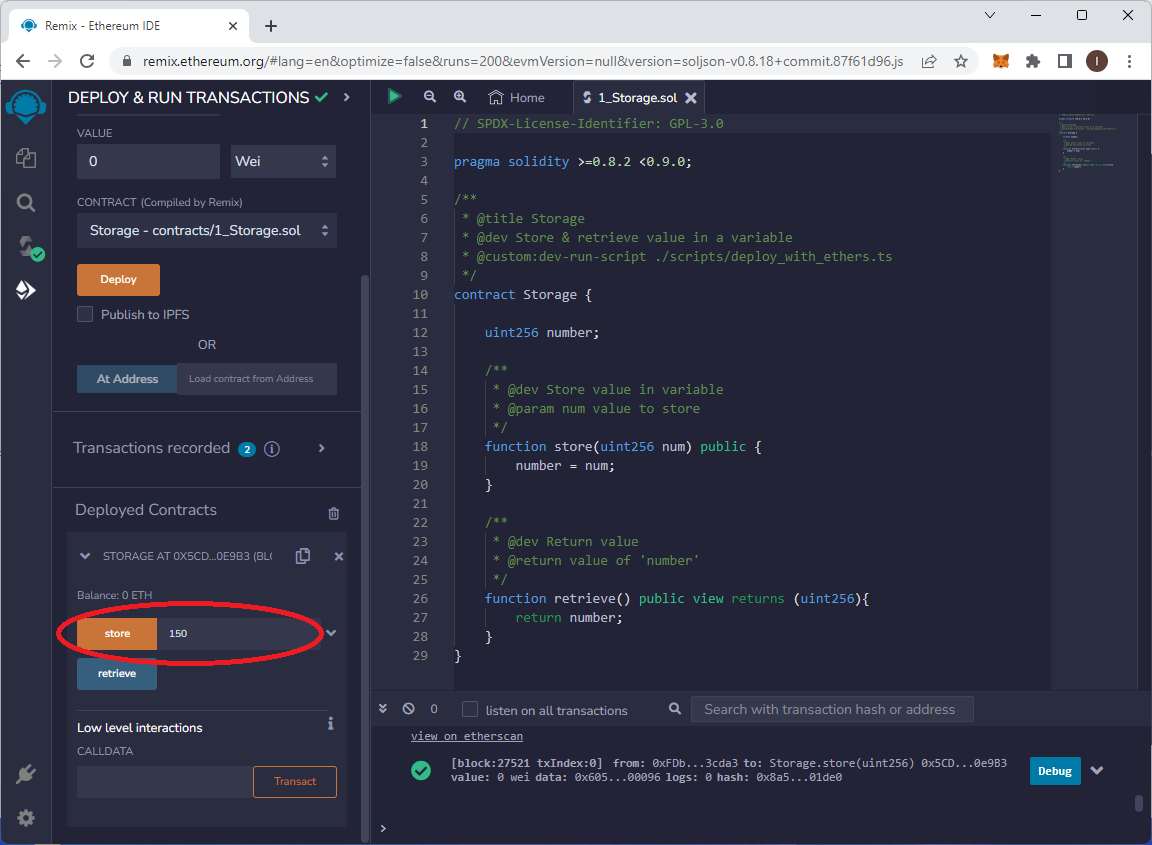
16. Confirm the transaction in your wallet as you did when deploying the contract. Saving data to a smart contract requires a transaction on the blockchain.
17. When the transaction is confirmed, call the second method (retrieve) to read the number stored in the smart contract. Click the "retrieve" button, and the blockchain will return the value stored in the contract.