Usage
- Setting up Metamask wallet for BPX Chain (Chrome extension)
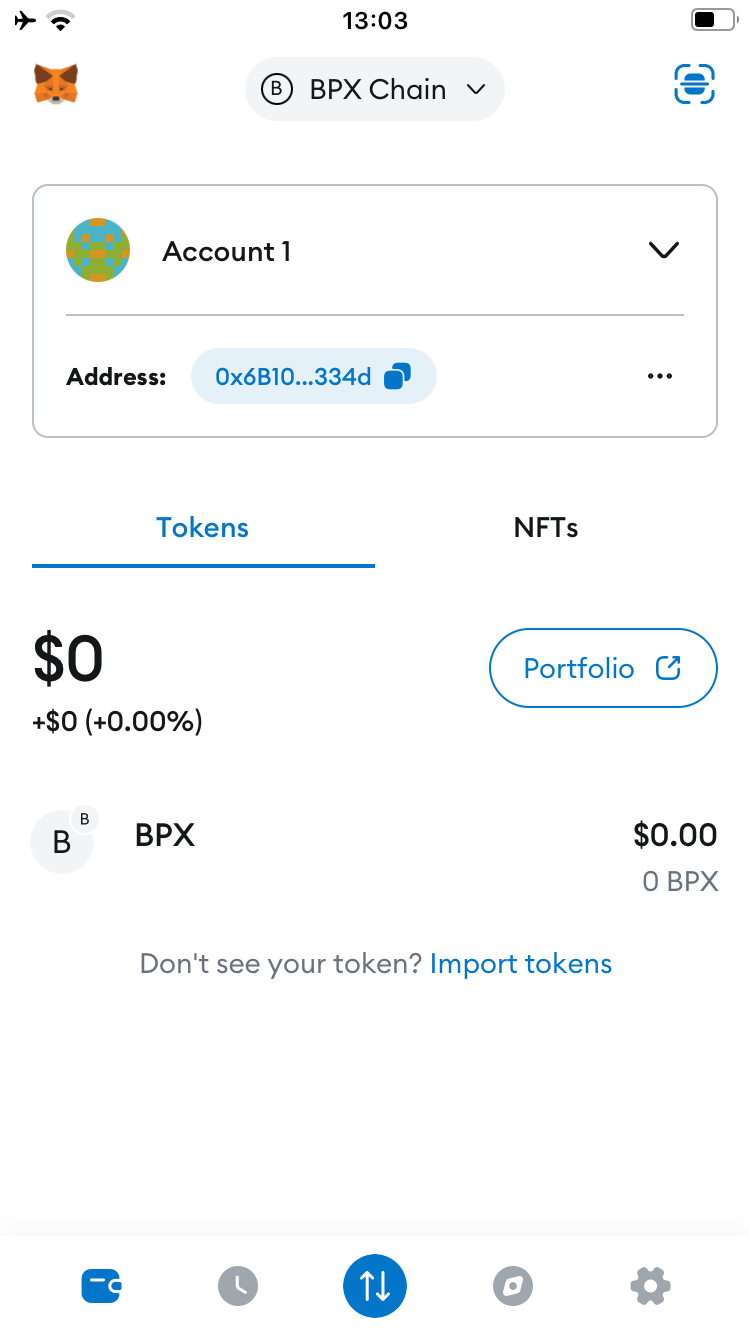
- Setting up Metamask wallet for BPX Chain (Mobile app)
- Installing and running BPX full node on Windows
- Installing and running BPX full node on Debian / Ubuntu
Setting up Metamask wallet for BPX Chain (Chrome extension)
1. Open MetaMask. Expand the list of available networks.
2. Scroll to the bottom and select "Add a custom network".

3. Fill out the form as follows and click "Save":
Network name: BPX Chain
Default RPC URL: https://rpc.bpxchain.cc
Chain ID: 279
Currency symbol: BPX
Block explorer URL: https://explorer.bpxchain.cc

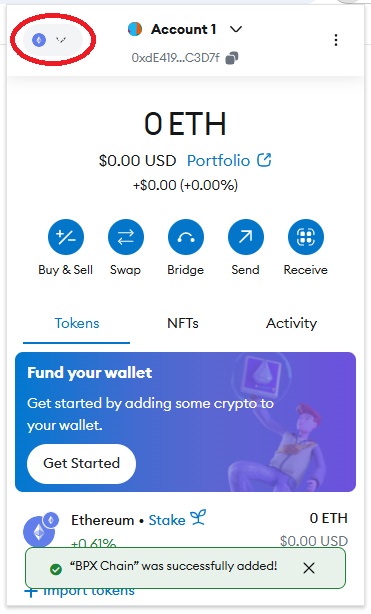
4. You should see a success notification. Expand the list of available networks again.
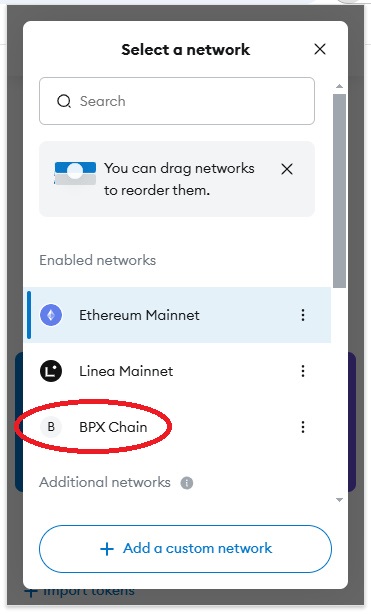
5. Select "BPX Chain", which should now be on the list.
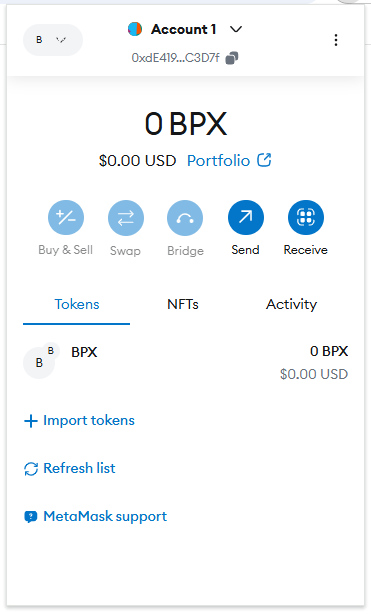
6. Your wallet is now ready to use.
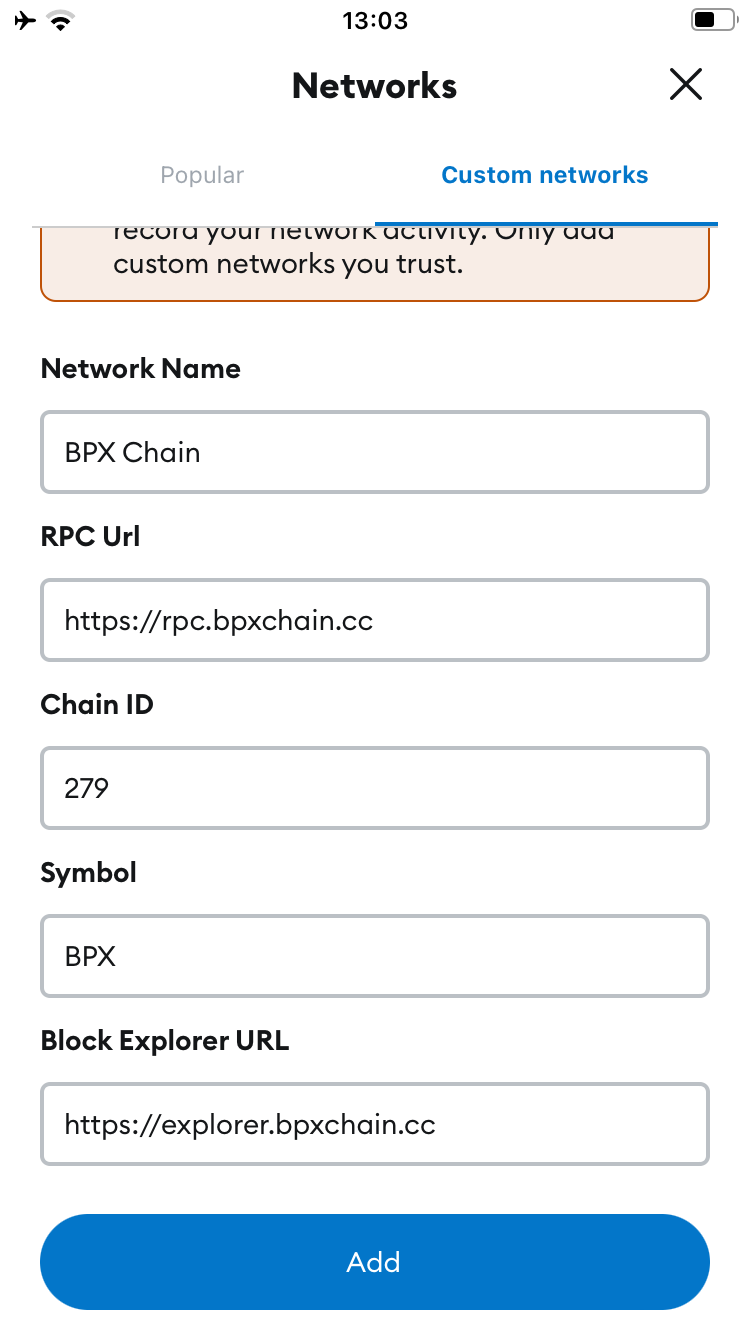
Setting up Metamask wallet for BPX Chain (Mobile app)
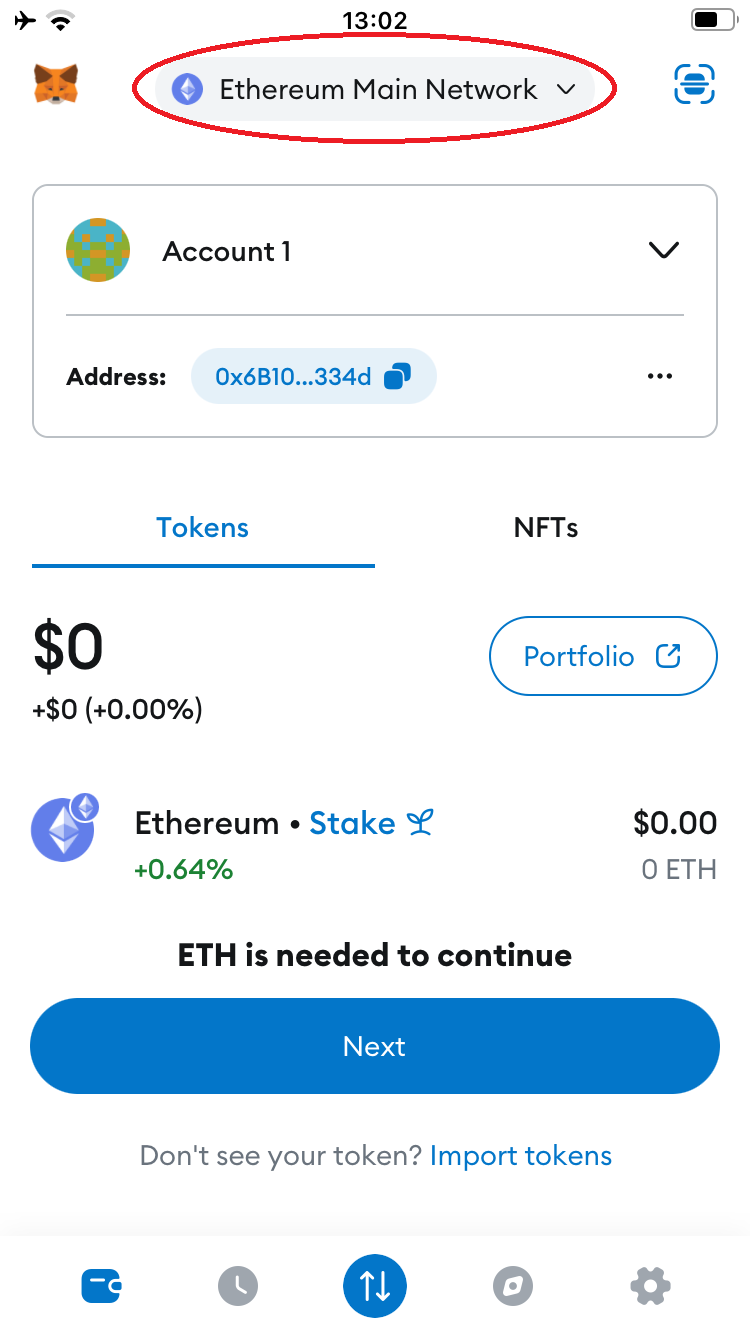
1. Open MetaMask. Expand the list of available networks.
2. Select "Add Network".
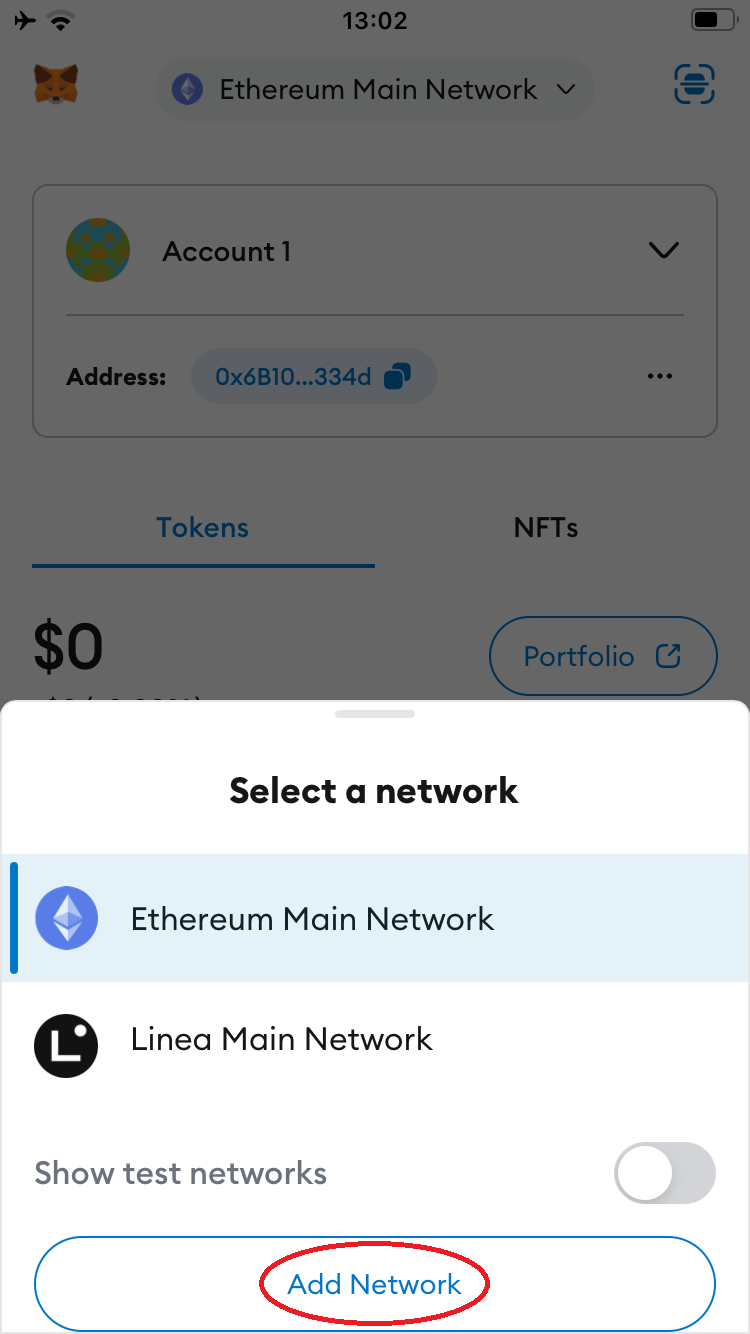
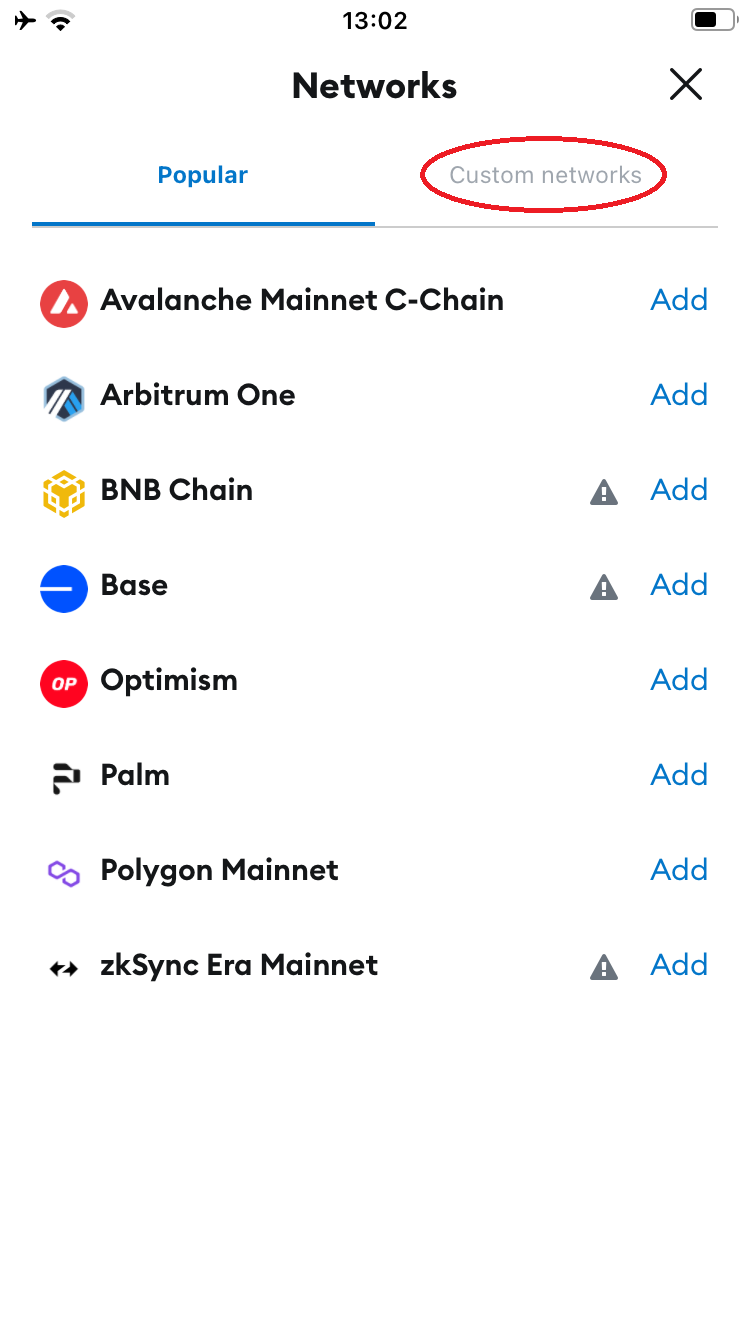
3. Go to the "Custom networks" tab.
4. Fill out the form as follows and confirm:
Network name: BPX Chain
Default RPC URL: https://rpc.bpxchain.cc
Chain ID: 279
Currency symbol: BPX
Block explorer URL: https://explorer.bpxchain.cc
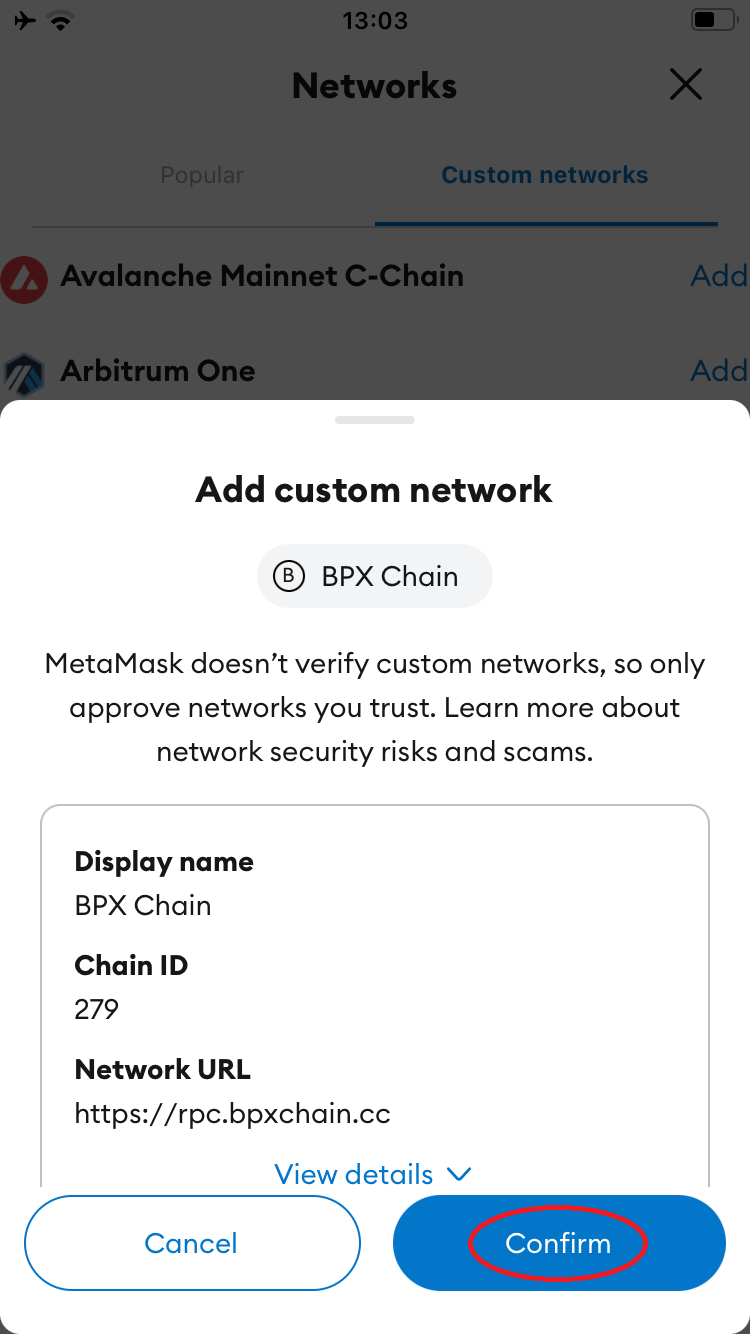
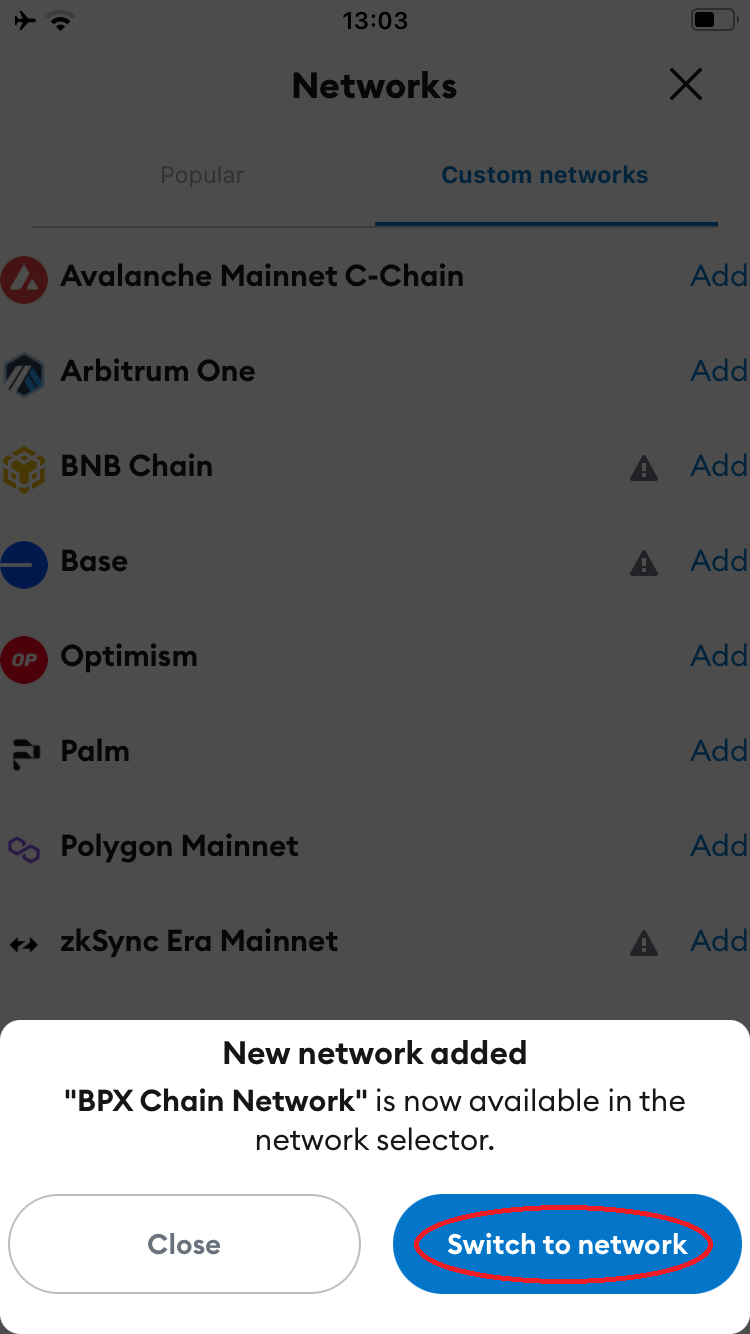
5. Proceed through the next steps by tapping "Confirm", "Switch to network", and "Got it".
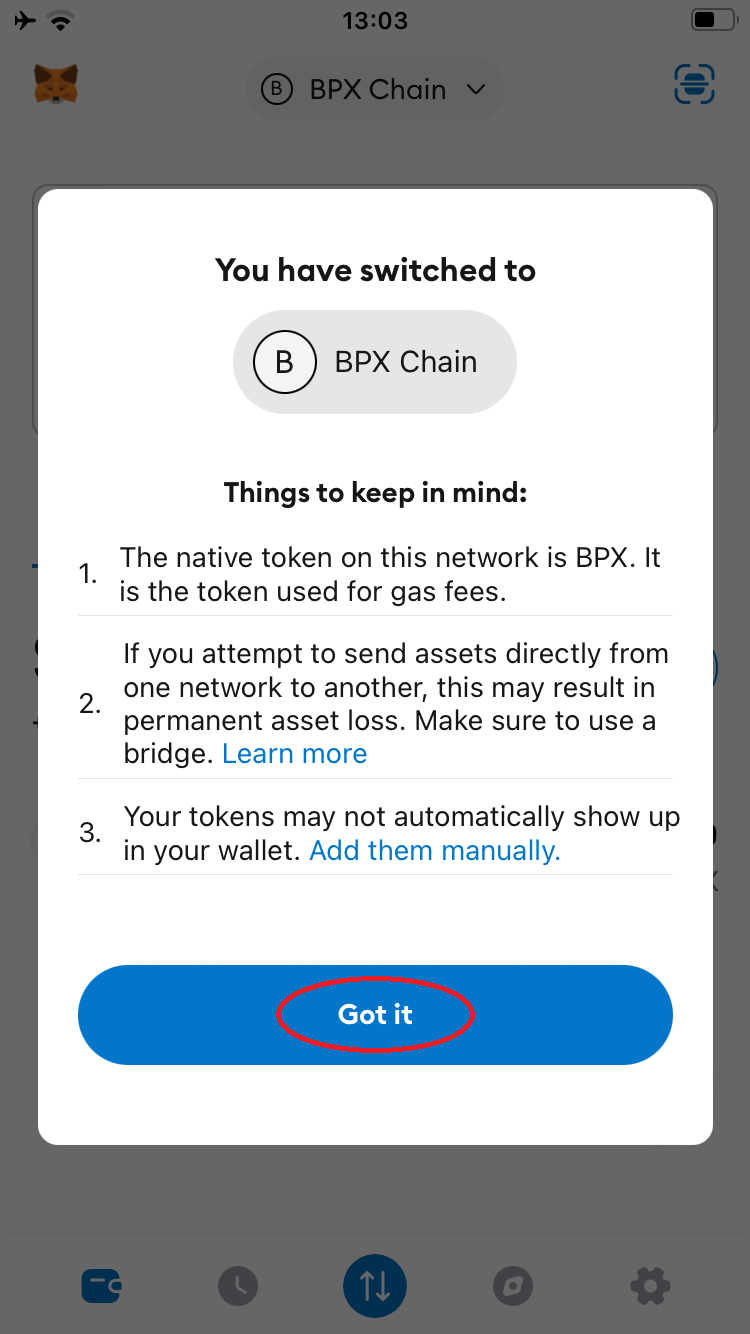
6. Your wallet is now ready to use.
Installing and running BPX full node on Windows
1. Download the EXE installers for the latest releases of the Execution Client and Beacon Client.
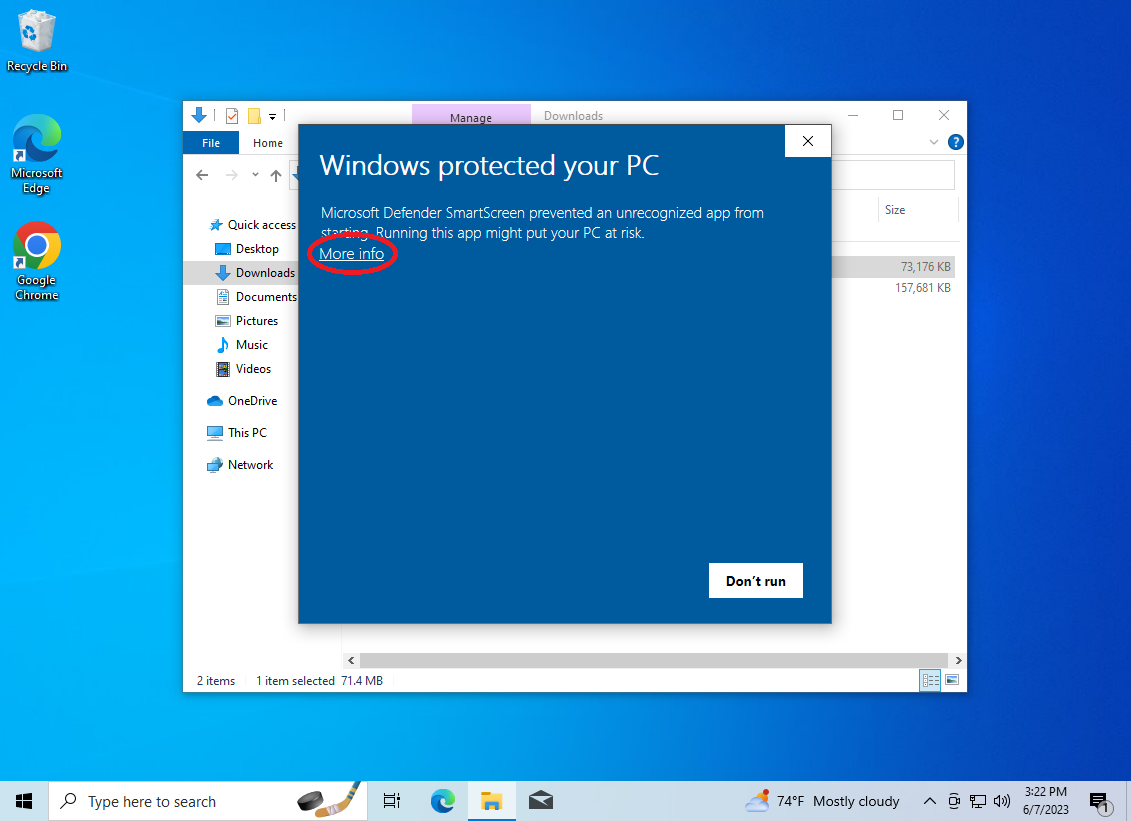
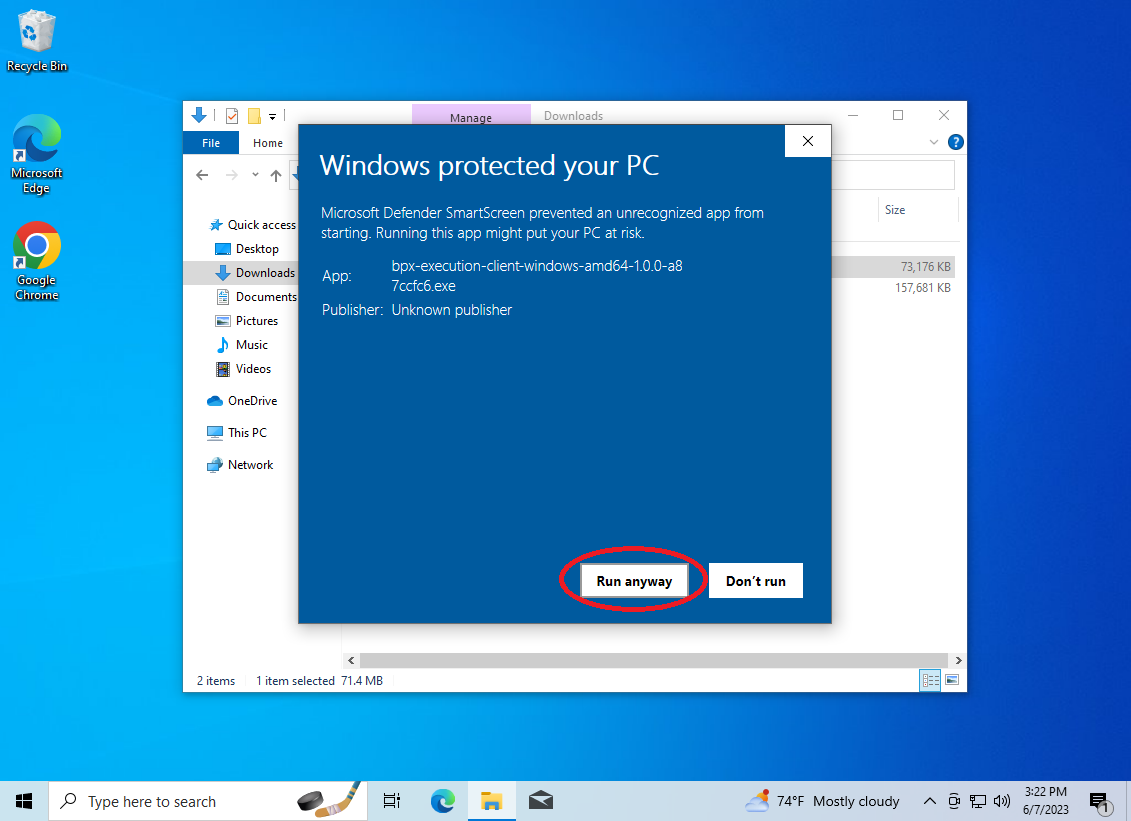
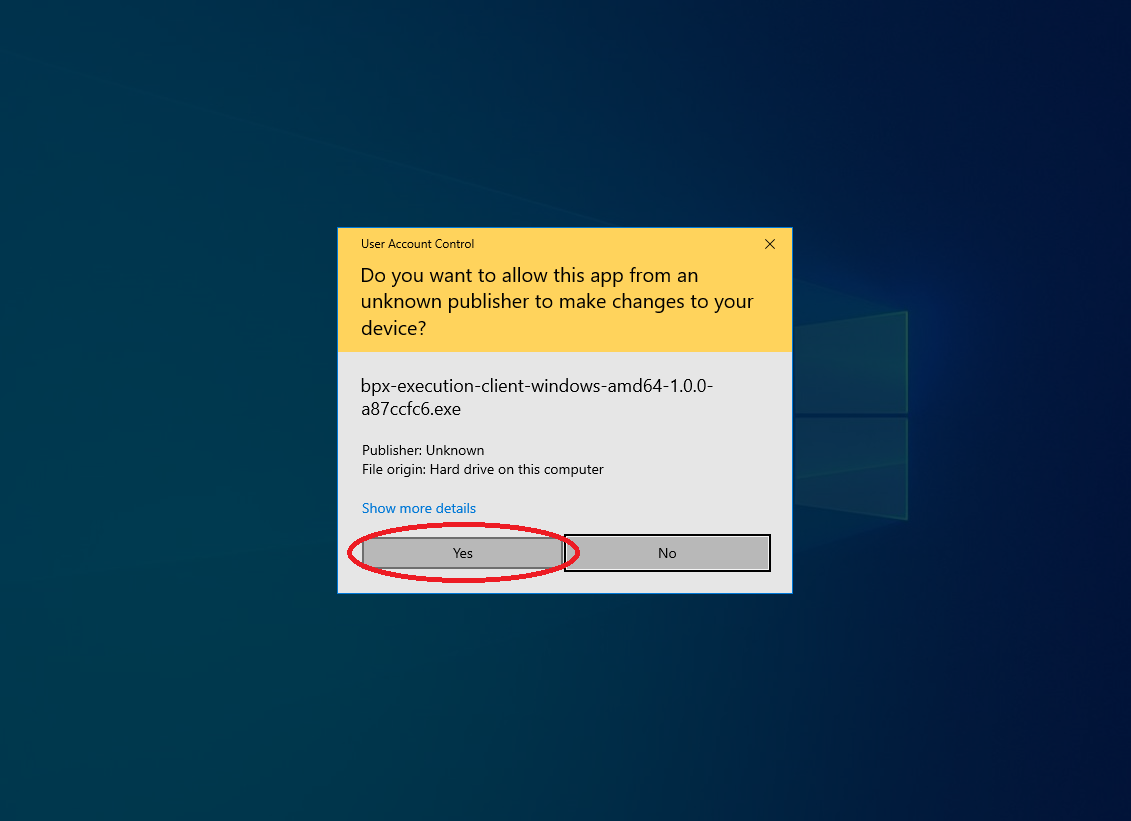
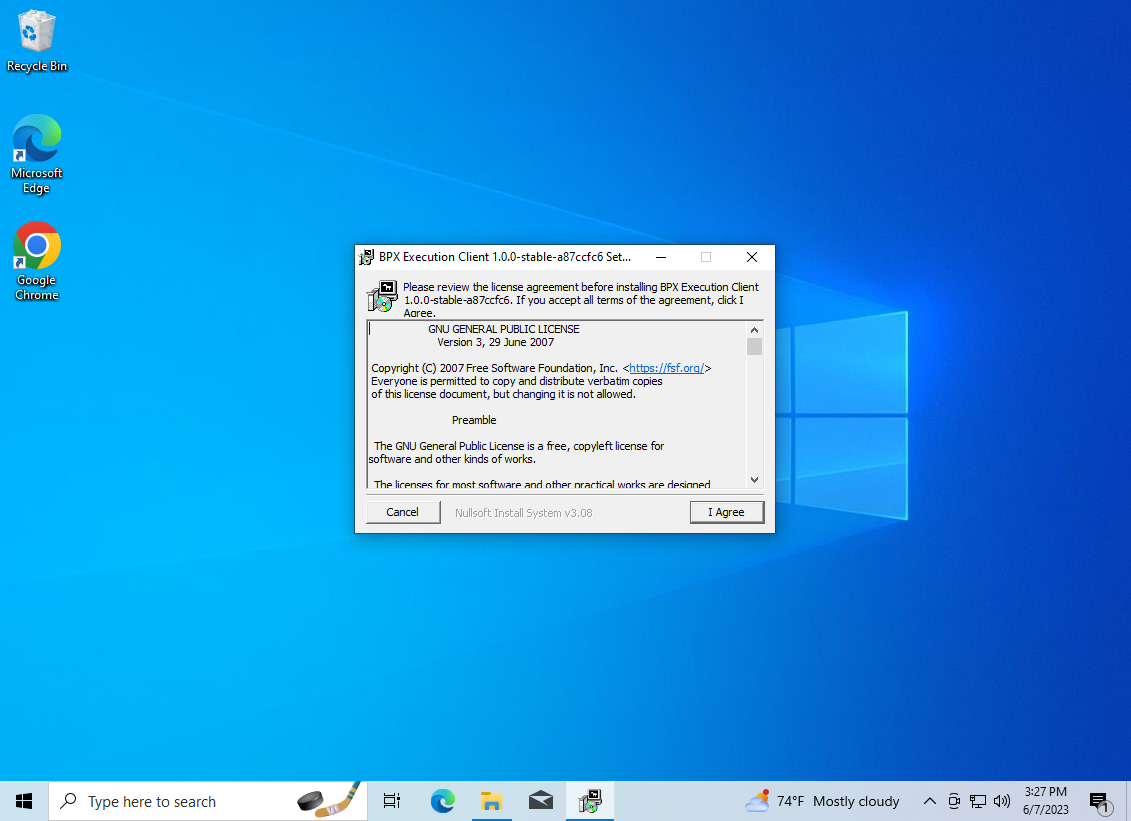
2. Run the Execution Client installer first. Depending on your Windows version, different warnings may appear. In these cases, click "More info", then select "Run anyway", and "Yes".
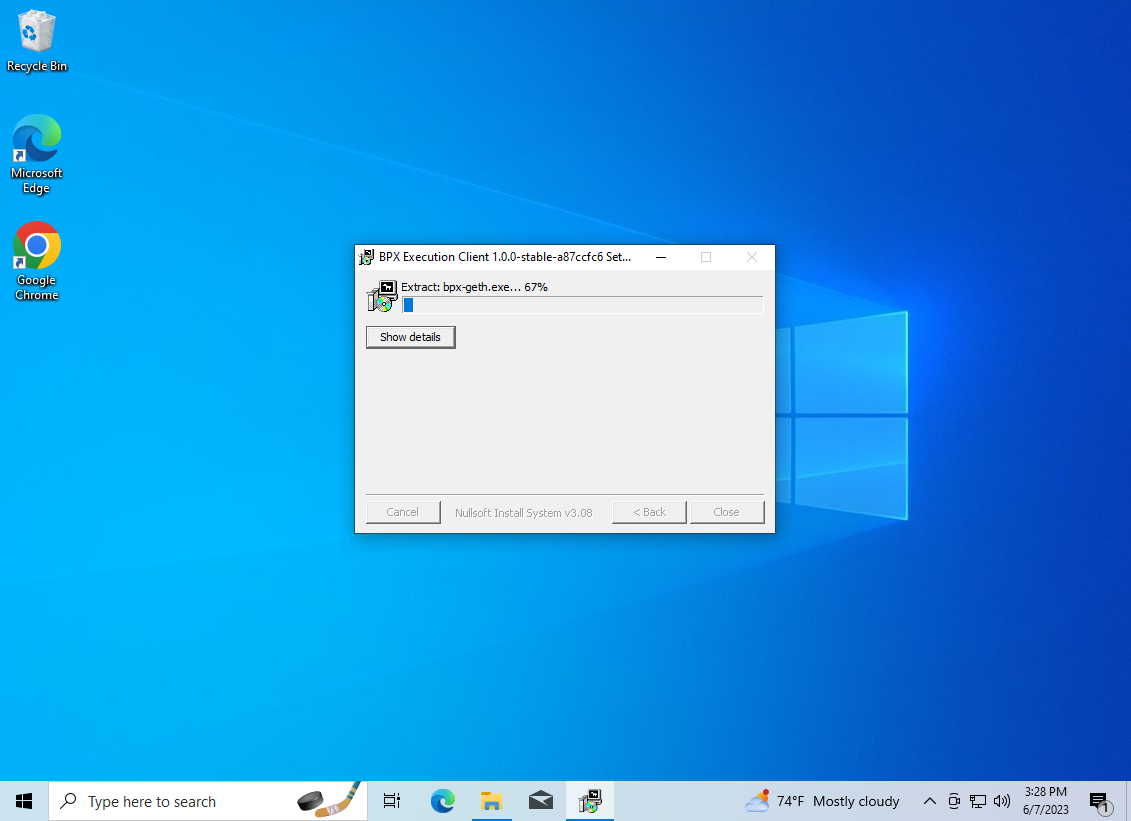
3. Follow all the installer steps by clicking "I Agree", "Next" and "Install". Once the installation process is complete, close the installer.
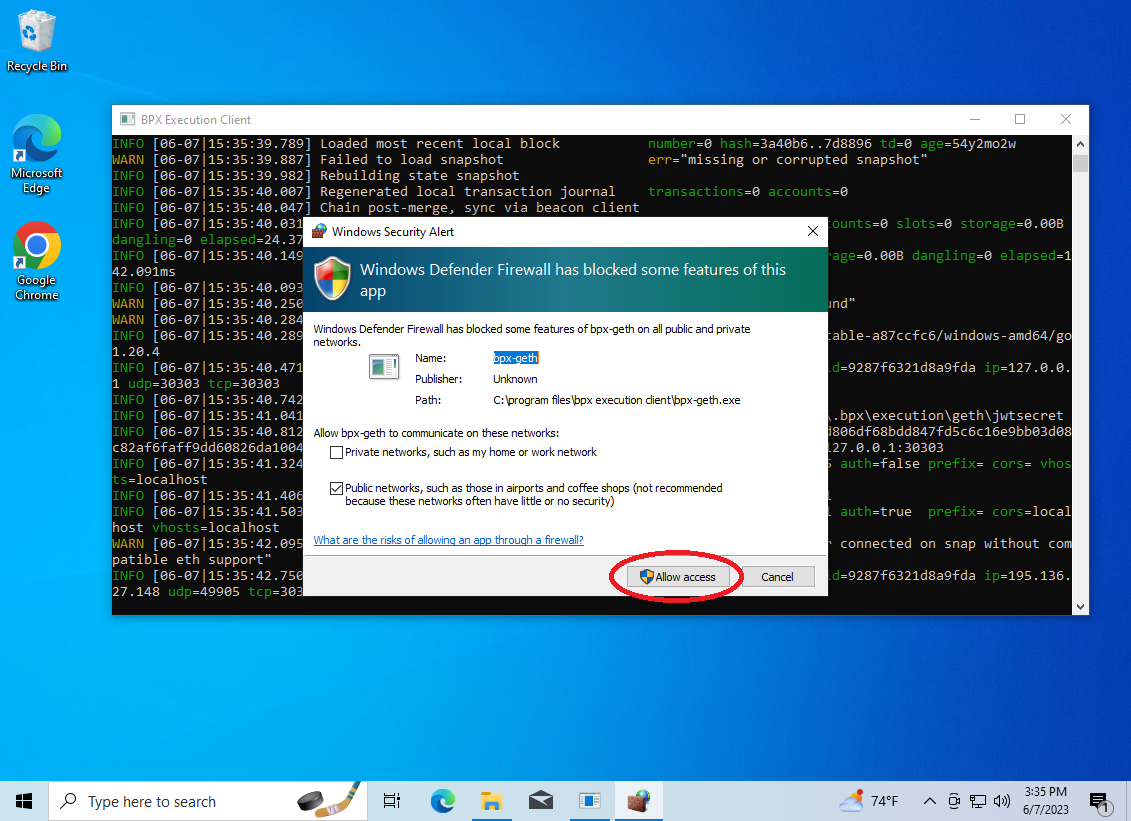
4. A shortcut to the BPX Execution Client will be created in the Start Menu. Launch it from there.

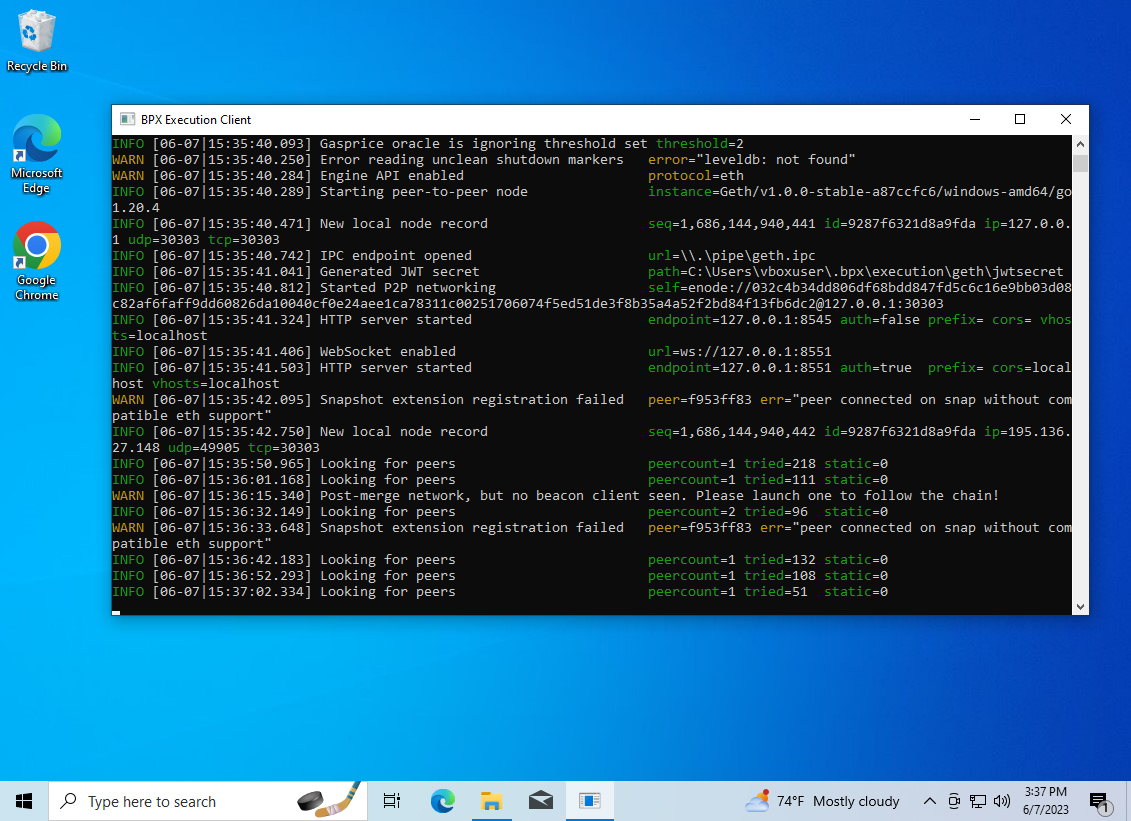
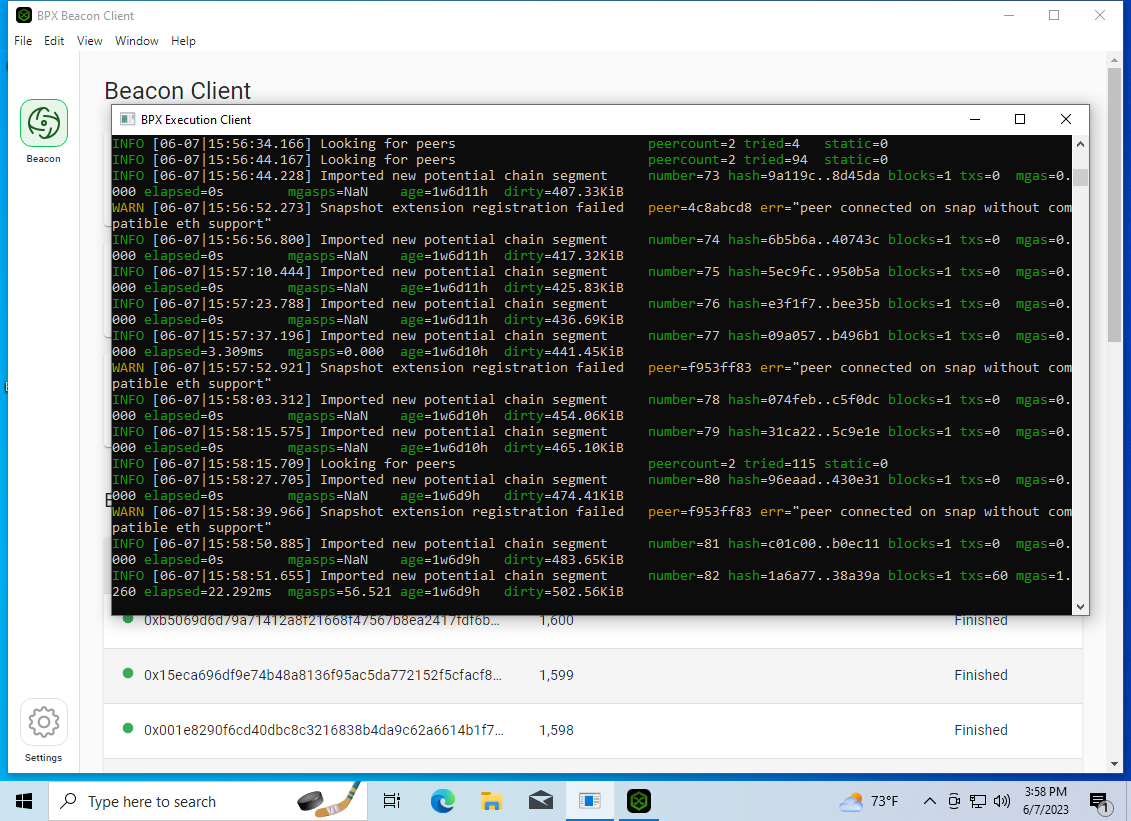
5. Allow the Windows Firewall to open the execution client port. The execution client will start, and you should see its console window.
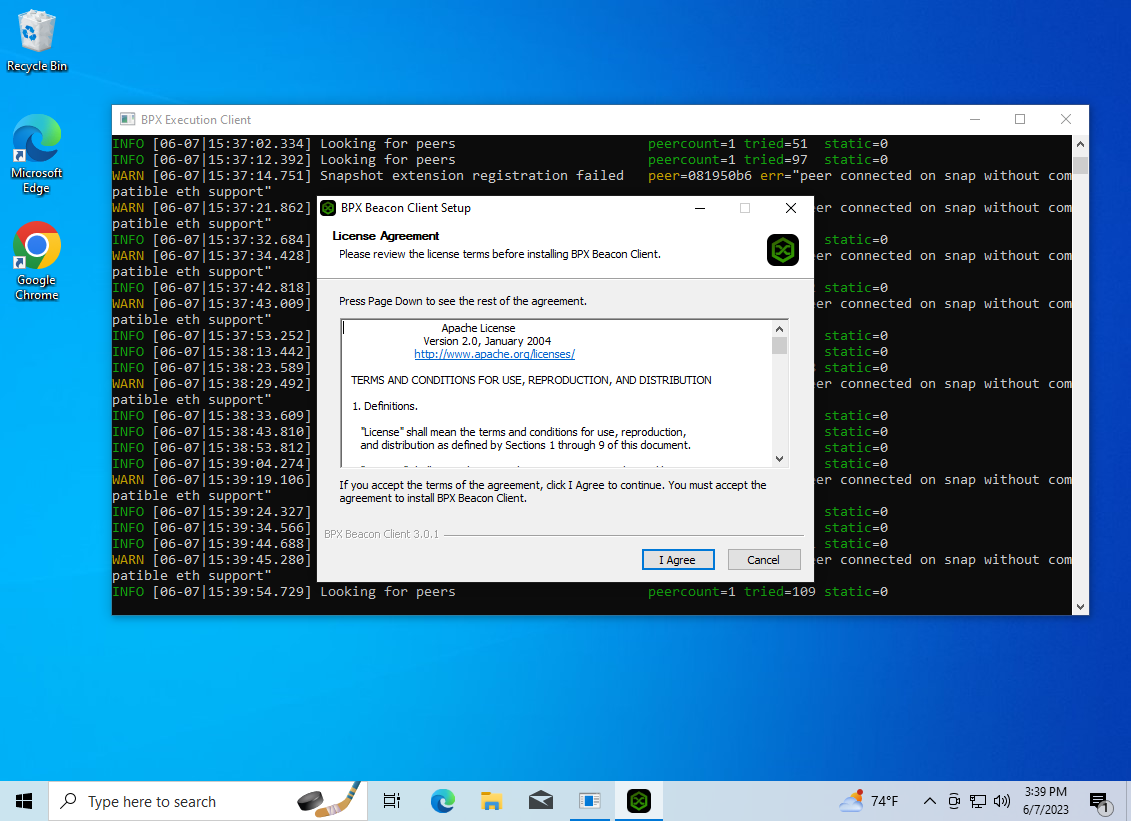
6. Now run the Beacon Client installer. Navigate through the Microsoft Defender pop-ups as before.
7. Accept the license agreement and proceed through the subsequent installation steps.
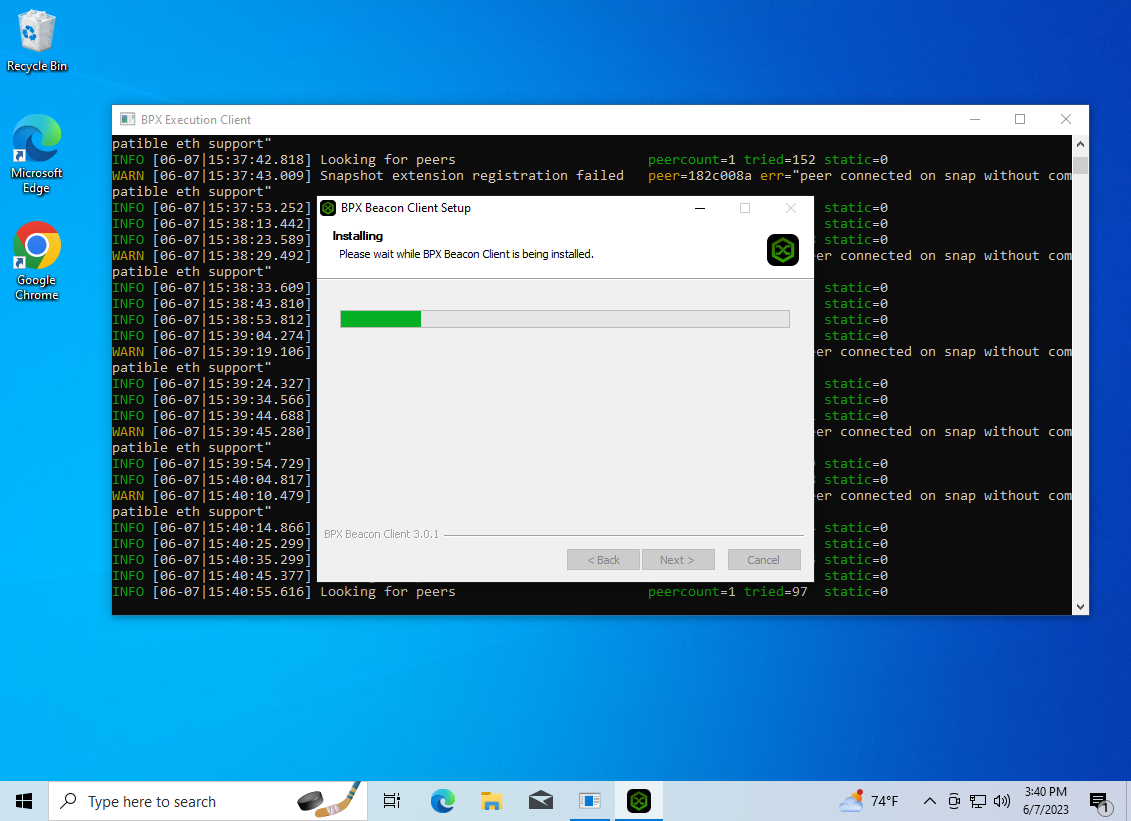
8. Once the installation is complete, click the "Get Started" button.
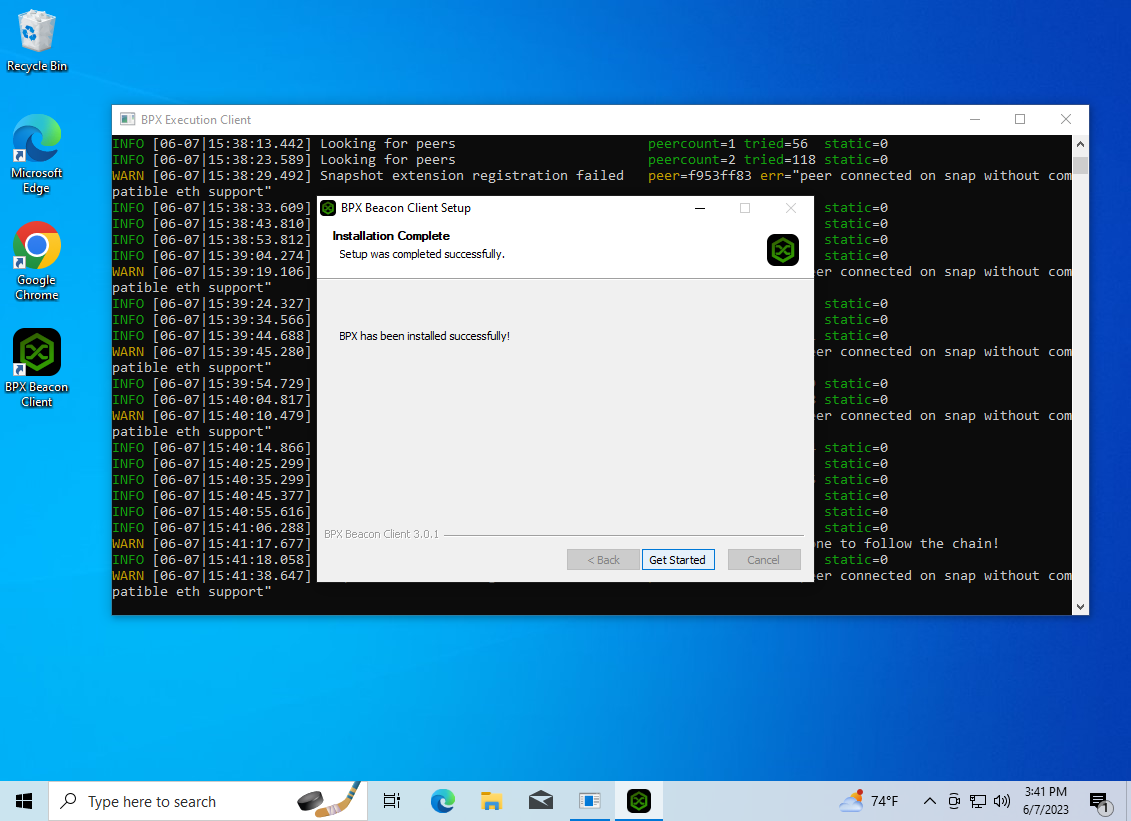
9. Allow to open the required port as before.
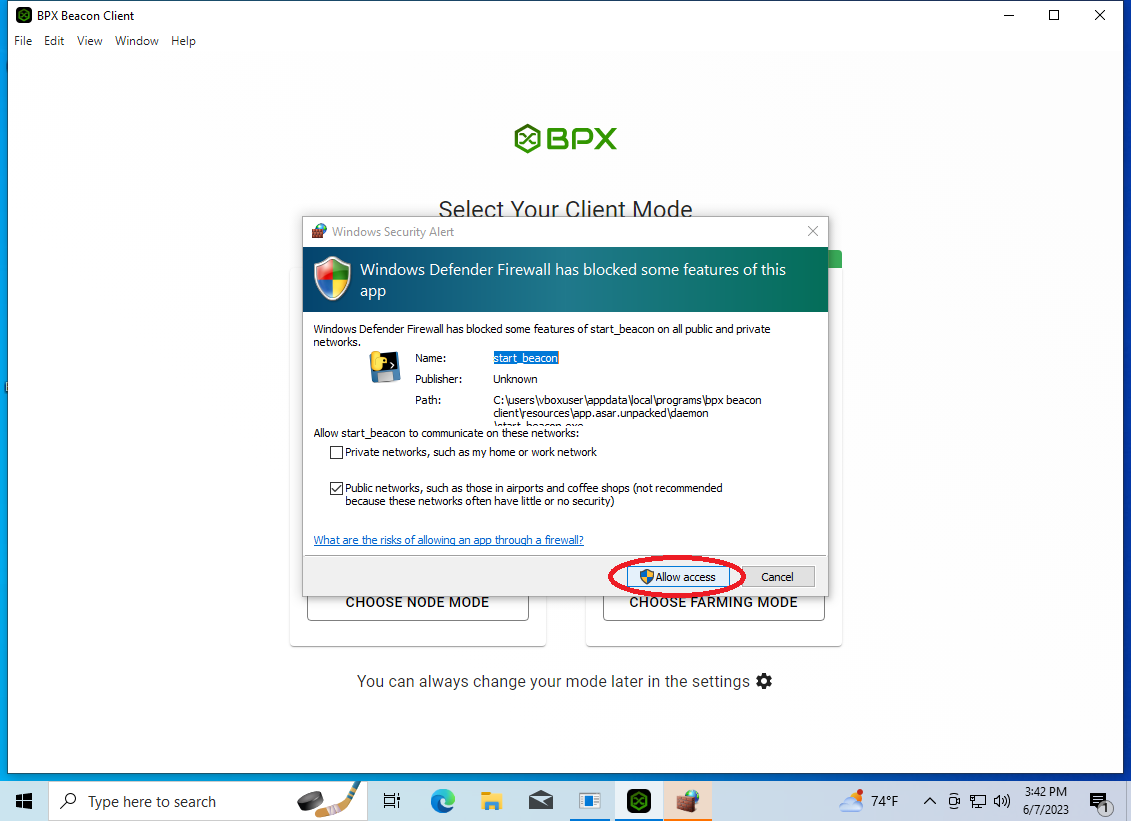
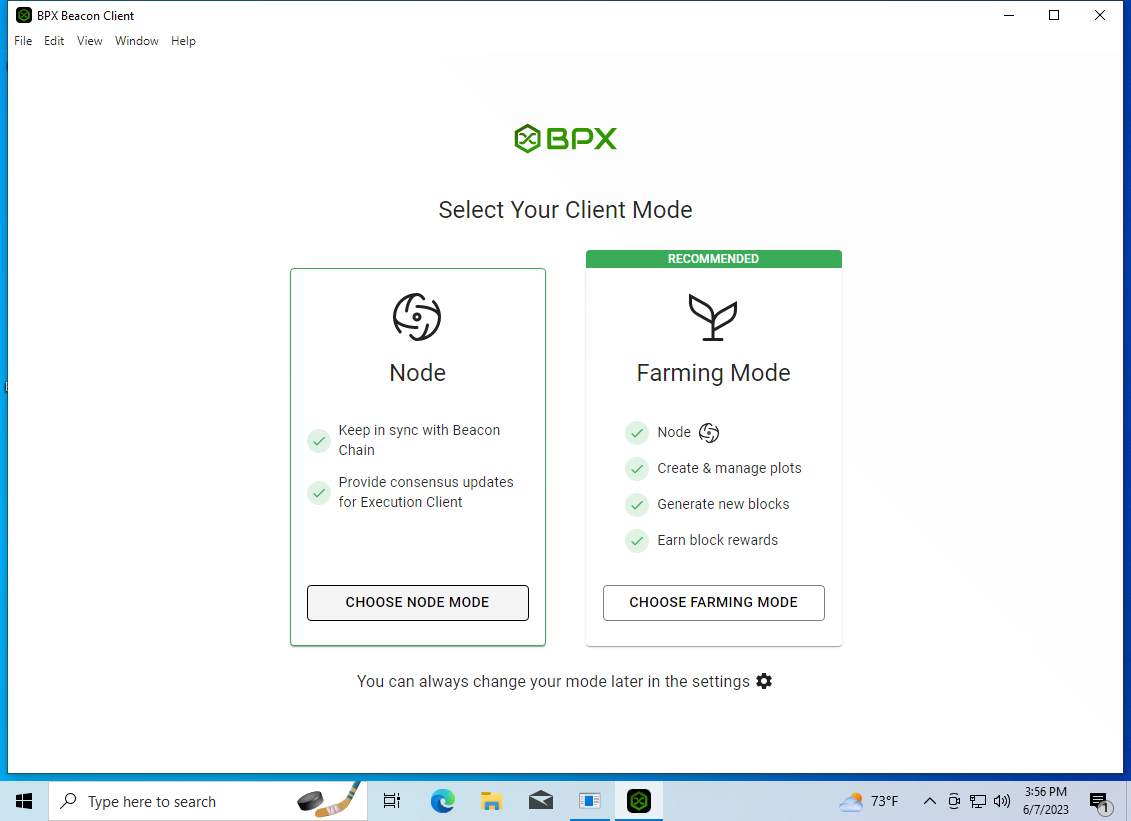
10. Beacon Client GUI will be launched. Select the Node mode.
11. At this point, both clients will begin synchronizing with the network. This process may take several hours or even days.
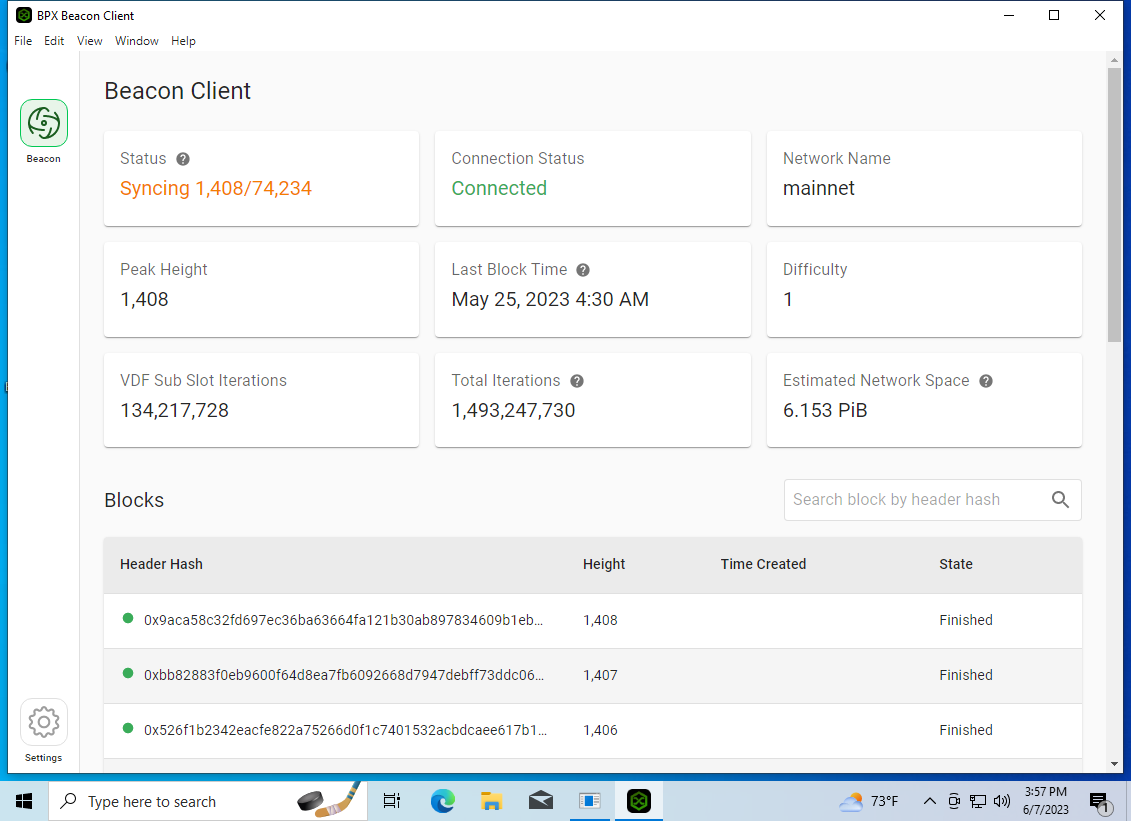
12. Once synchronization is complete, your full node will be ready to operate.

Never stop the Execution Client by closing the console window. Instead, use the Control + C shortcut and wait for the client to save all data to disk and shut down gracefully.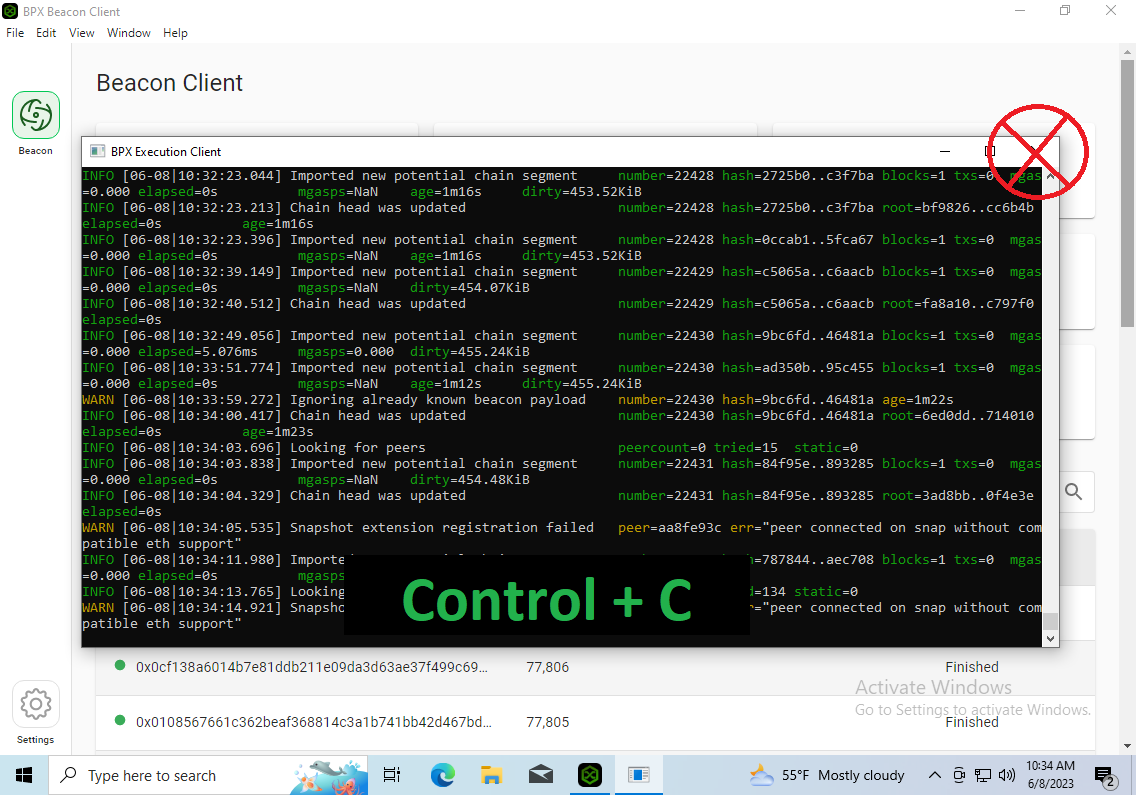
Installing and running BPX full node on Debian / Ubuntu
- Log in as root. Use wget to download the DEB packages for the latest releases of the Execution Client and Beacon Client. Replace X.X.X with the latest versions tags.
wget "https://github.com/bpx-chain/bpx-execution-client/releases/download/X.X.X/bpx-execution-client_X.X.X+stable_amd64.deb"
wget "https://github.com/bpx-chain/bpx-beacon-client/releases/download/X.X.X/bpx-beacon-client-cli_X.X.X-1_amd64.deb"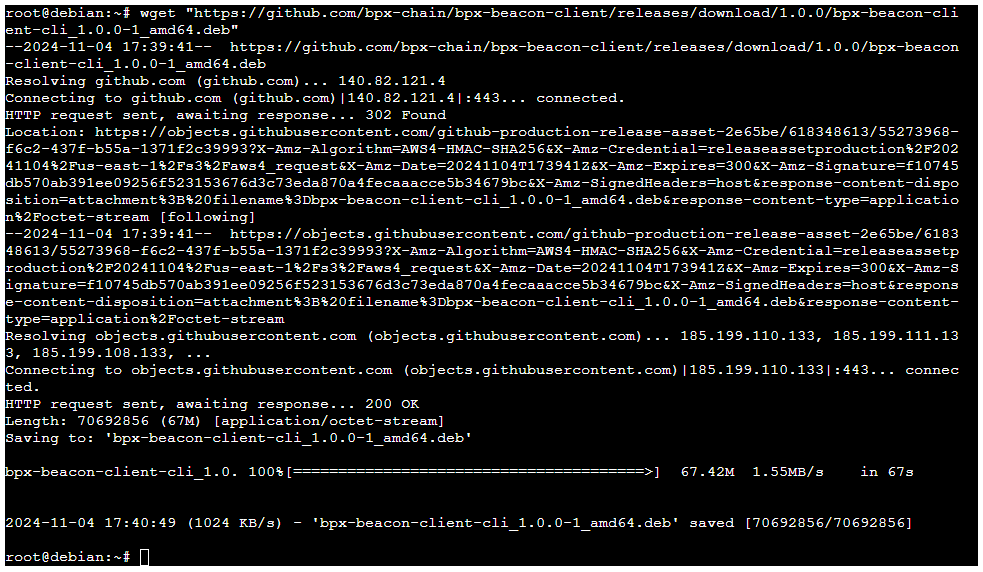
2. Install both packages. Replace X.X.X with the downloaded versions tags.
dpkg -i bpx-execution-client_X.X.X+stable_amd64.deb bpx-beacon-client-cli_X.X.X-1_amd64.deb
3. Create a new user account for BPX Chain services.
adduser bpxchainSet a password for the new account. You can leave the additional information fields empty.

4. Switch to the newly created account.
su - bpxchain5. Initialize the Beacon Client configuration.
bpx init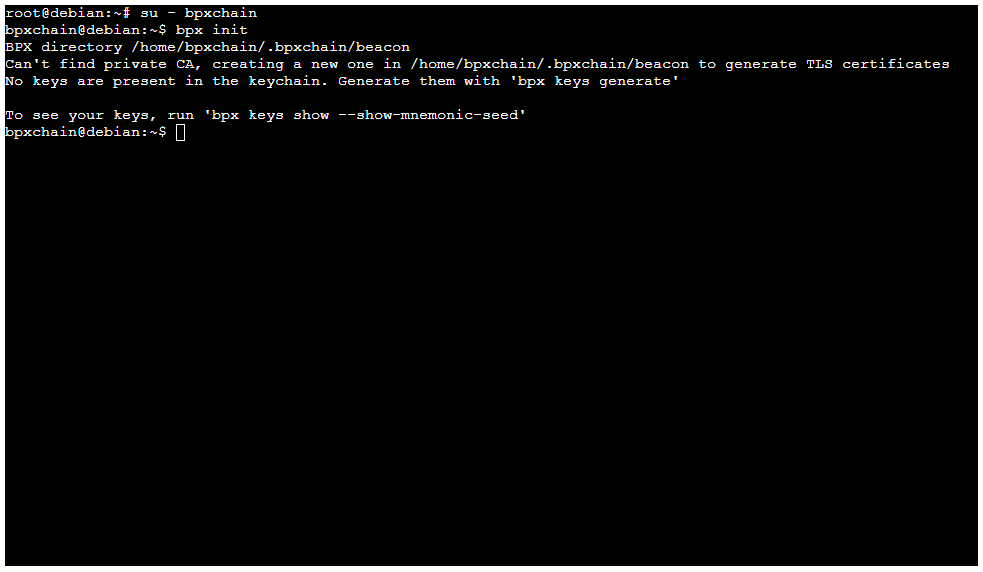
6. Press Control + D to log out and return to the root console.
7. Create a configuration file for the BPX Execution Client systemd service using any text editor, for example nano:
nano /etc/systemd/system/bpx-execution.serviceInsert the following file content:
[Unit]
Description=BPX Execution Client
[Service]
Type=simple
User=bpxchain
ExecStart=bpx-geth --http
Restart=always
[Install]
WantedBy=multi-user.targetSave the file by pressing Control + O and close the editor with Control + X.
8. Follow the same procedure to create a configuration file for the Beacon Client service:
nano /etc/systemd/system/bpx-beacon.serviceInsert the following file content:
[Unit]
Description=BPX Beacon Client
[Service]
Type=forking
User=bpxchain
ExecStart=bpx start beacon
ExecStop=bpx stop -d all
Restart=always
[Install]
WantedBy=multi-user.target9. Reload the system services configuration.
systemctl daemon-reload10. Enable automatic startup of the BPX Chain services.
systemctl enable bpx-execution
systemctl enable bpx-beacon11. Start both services.
systemctl start bpx-execution
systemctl start bpx-beacon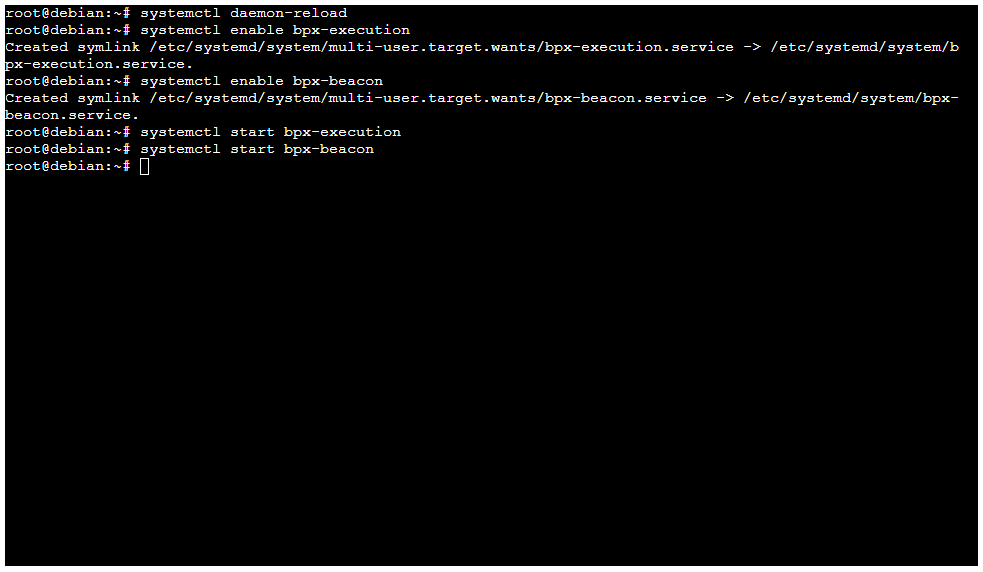
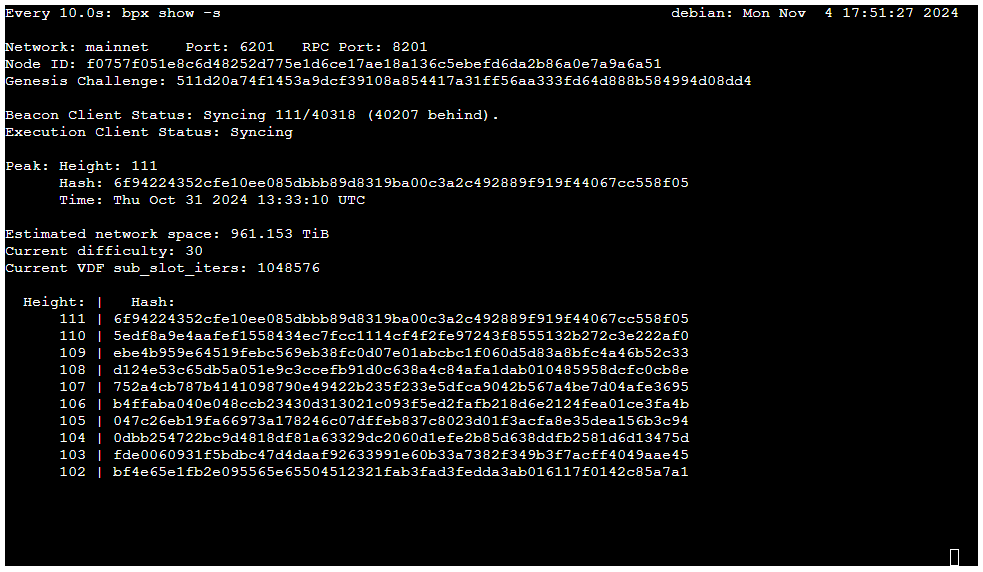
12. Your full node has just started and will begin the initial synchronization of the blockchain. This process may take several hours or even days. Use the following command to watch the sync status.
su - bpxchain
watch -n 10 bpx show -s