How to set up Metamask wallet for BPX network (Google Chrome extension)
Go to theFind Metamask in Chrome Web Store. Click "Add toChrome"Chrome" to begin installation.
2. Confirm the installation in the pop-up window and wait for the installation to complete.
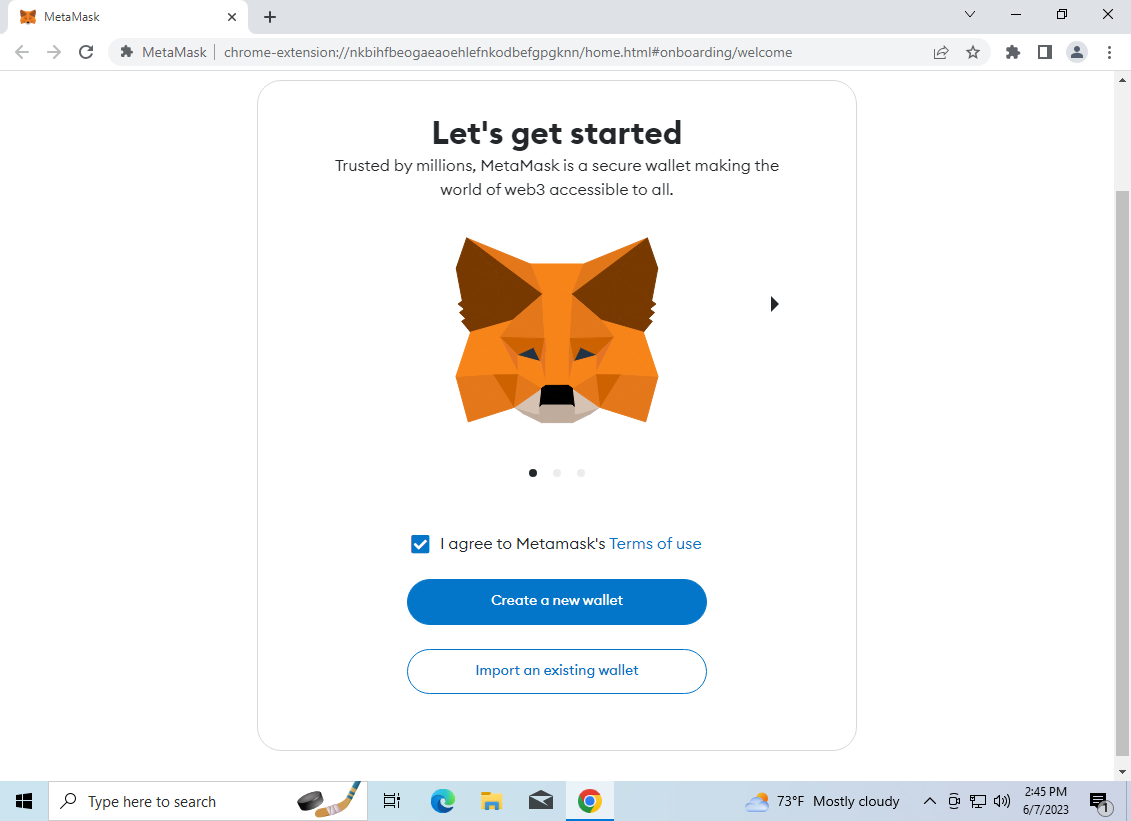
3. On the welcome screen, accept the terms of use and select "Create a new wallet"wallet".
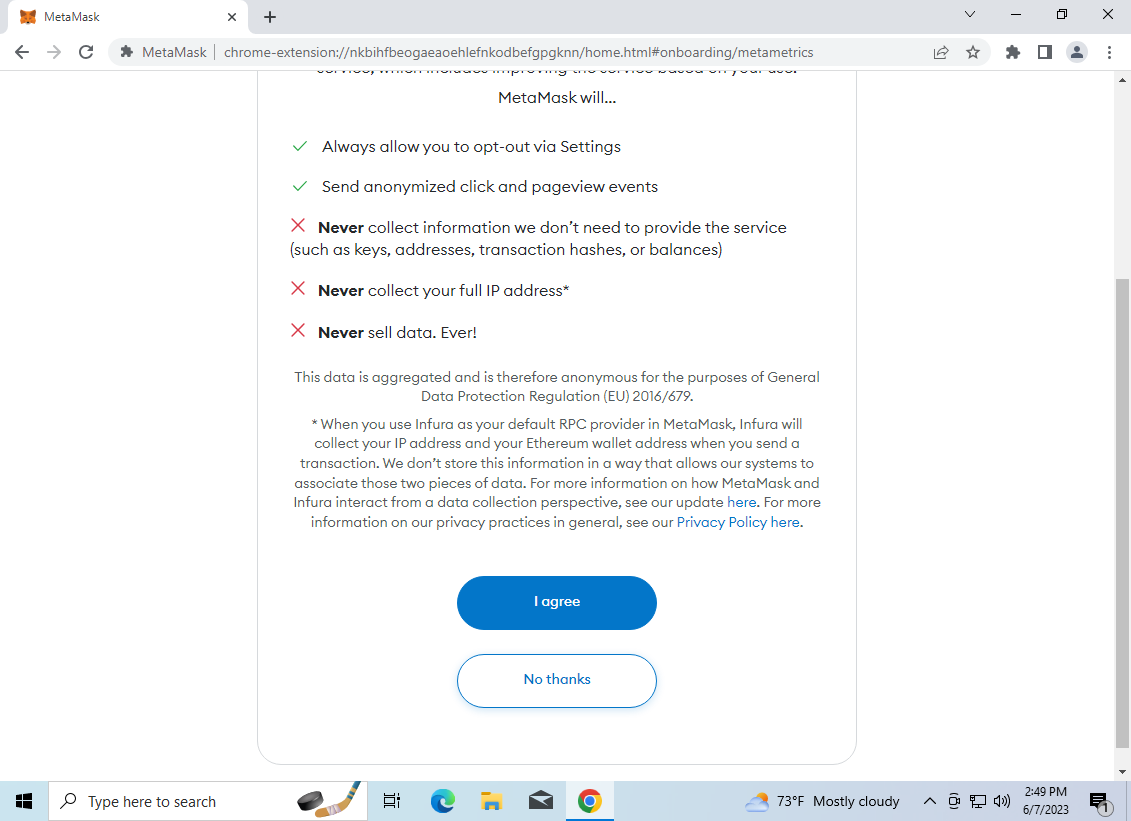
4. On the next screen, choose whether you consent to the collection of some usage statistics be collected by the wallet creators.developers or not. For example, we choose not"No to agree.thanks".
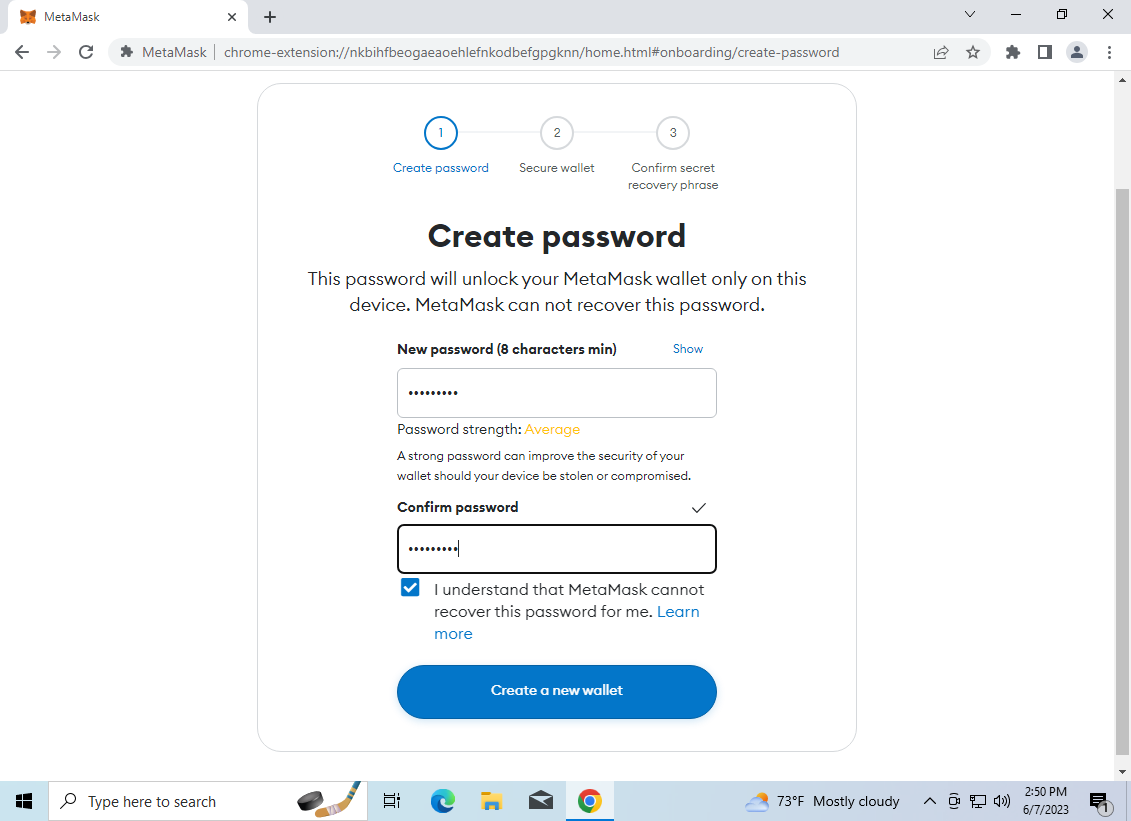
5. Set a password that will be used in the future to unlock the wallet and accept transactions. Tick the password recovery warning checkbox and click "Create a new wallet"wallet".
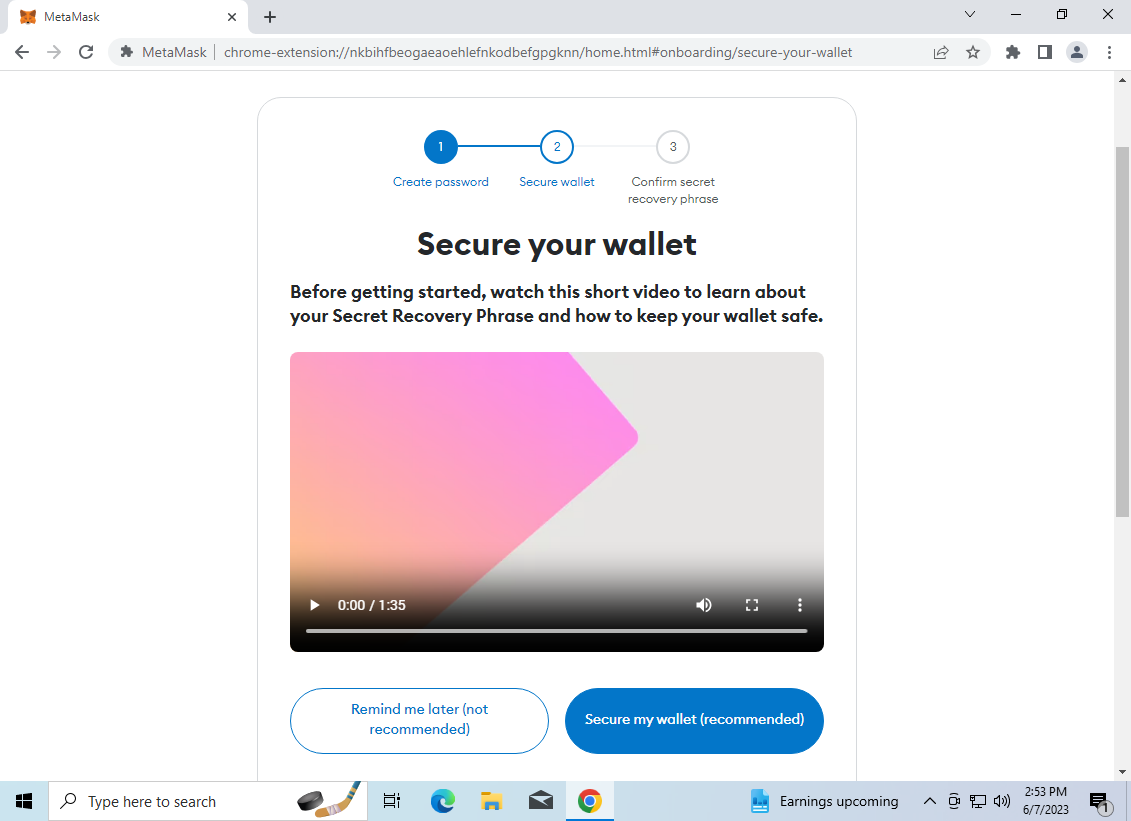
6. On the next screen, use the buttonclick "Secure my wallet (recommended)".
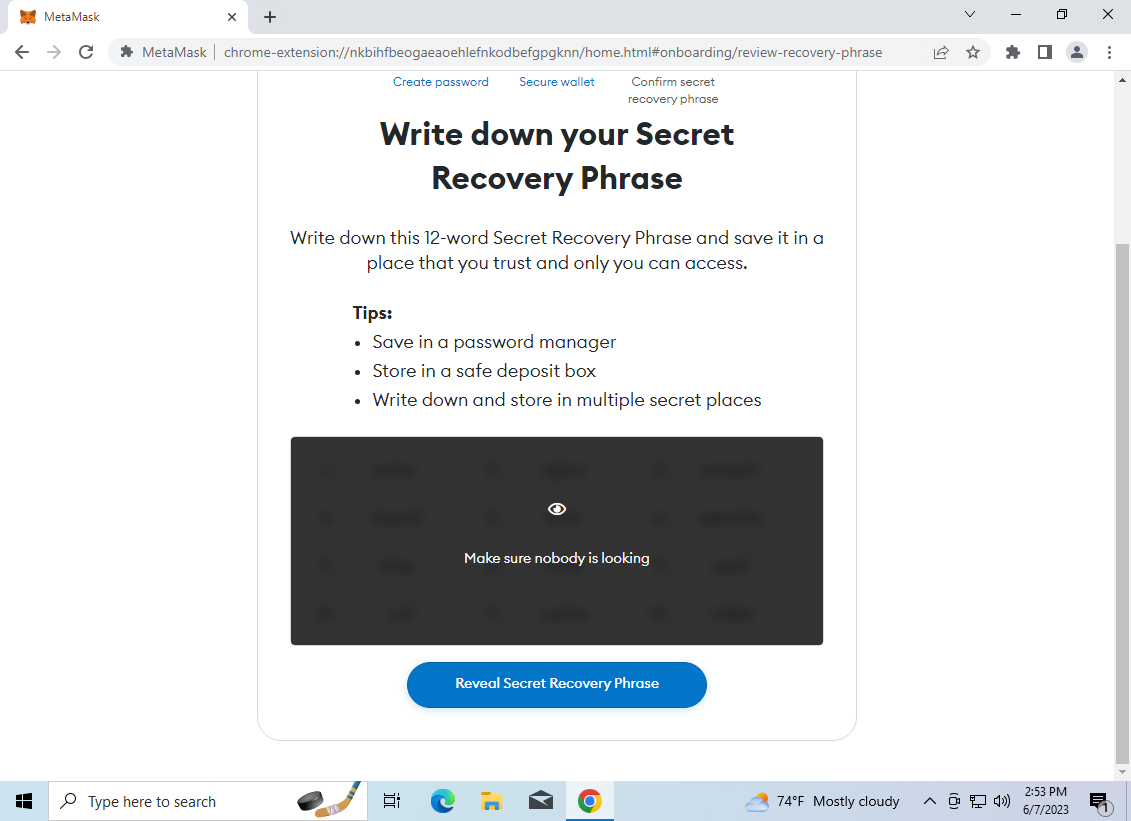
7. Use the "Reveal Secret Recovery Phrase"Phrase" button to see the generated secret words. Write down this 12 words and save it a place that you trust and only you can access. You will need them every time you want to log in to your wallet again on a new device or after reinstalling.
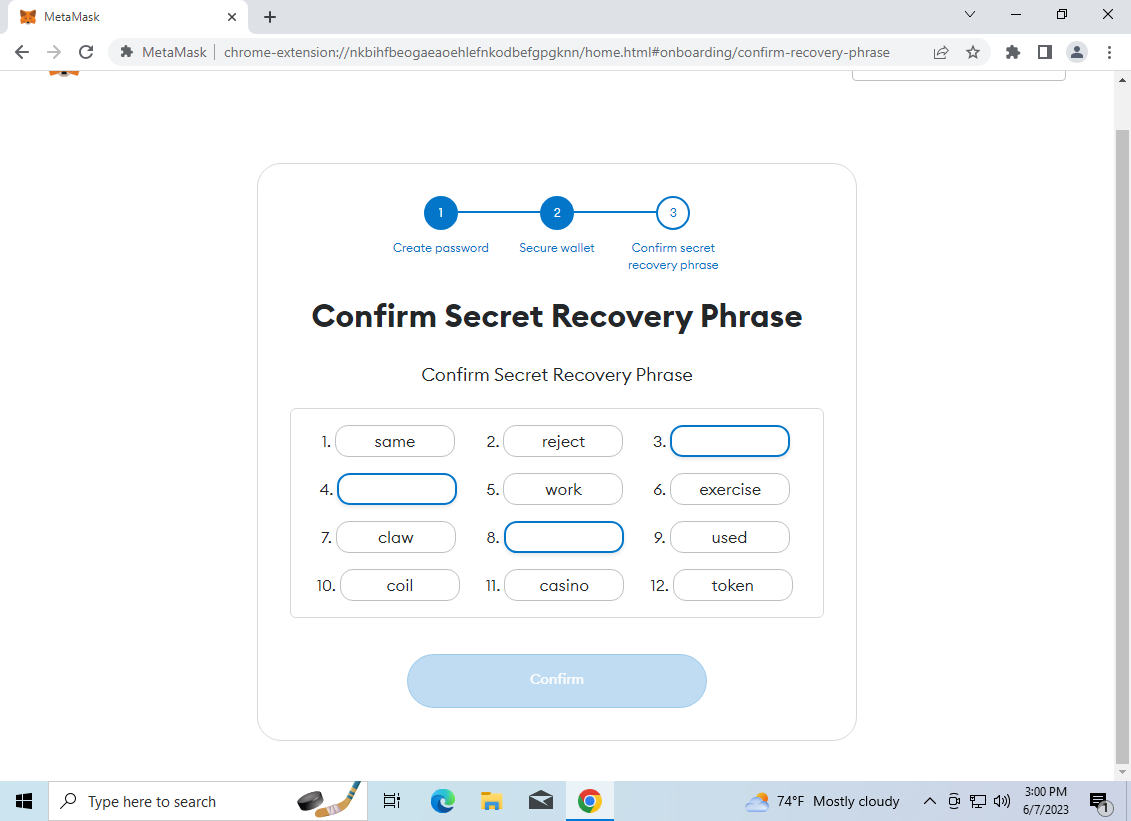
8. In the next step, the wallet will check if you have saved the secret words. You have to fill in the missing ones.
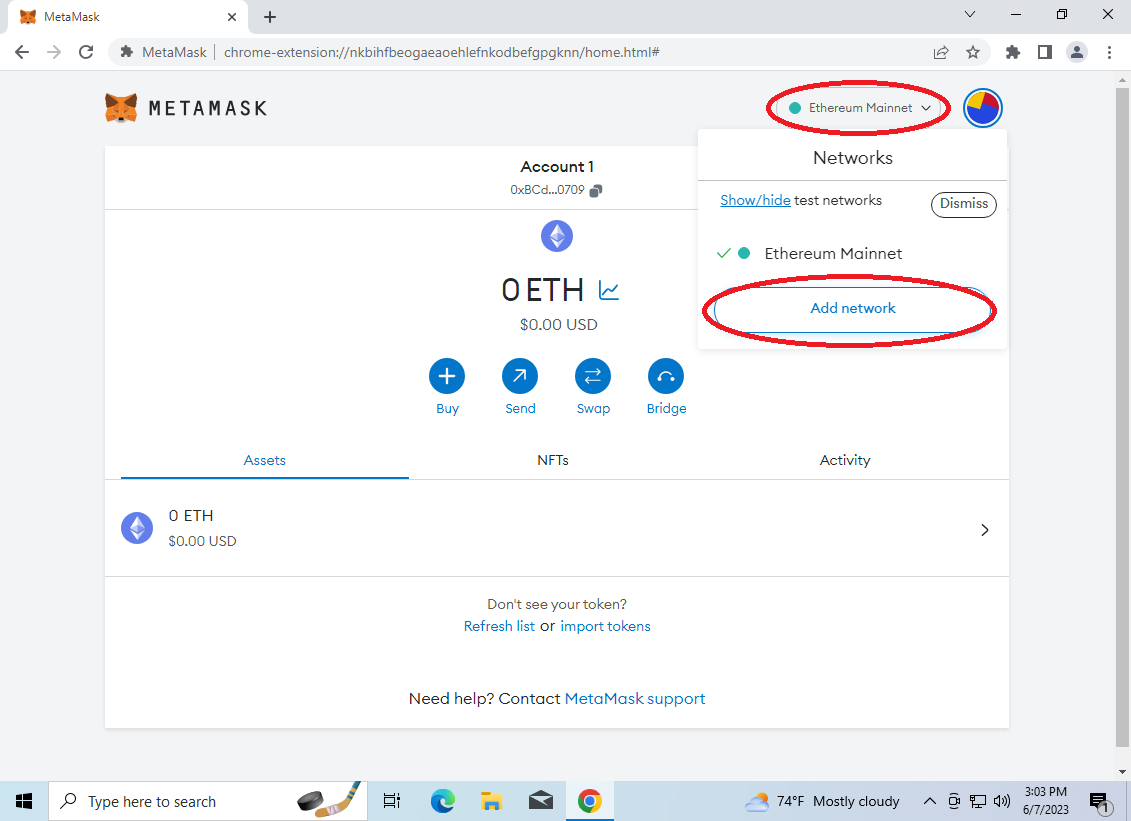
9. Go through the next informational steps and close the "What's new" window. You should see the main wallet screen. Now we will add the BPX network to the wallet. Expand "Ethereum Mainnet"Mainnet" and select "Add network"network".
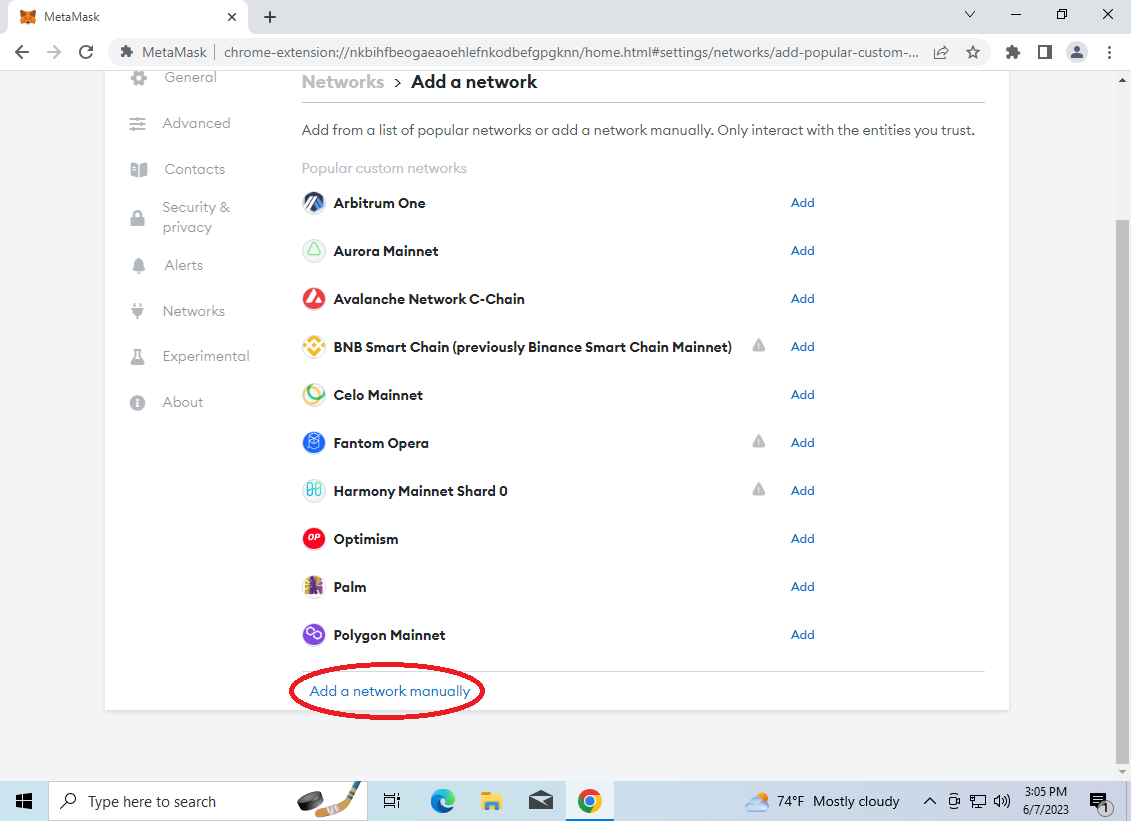
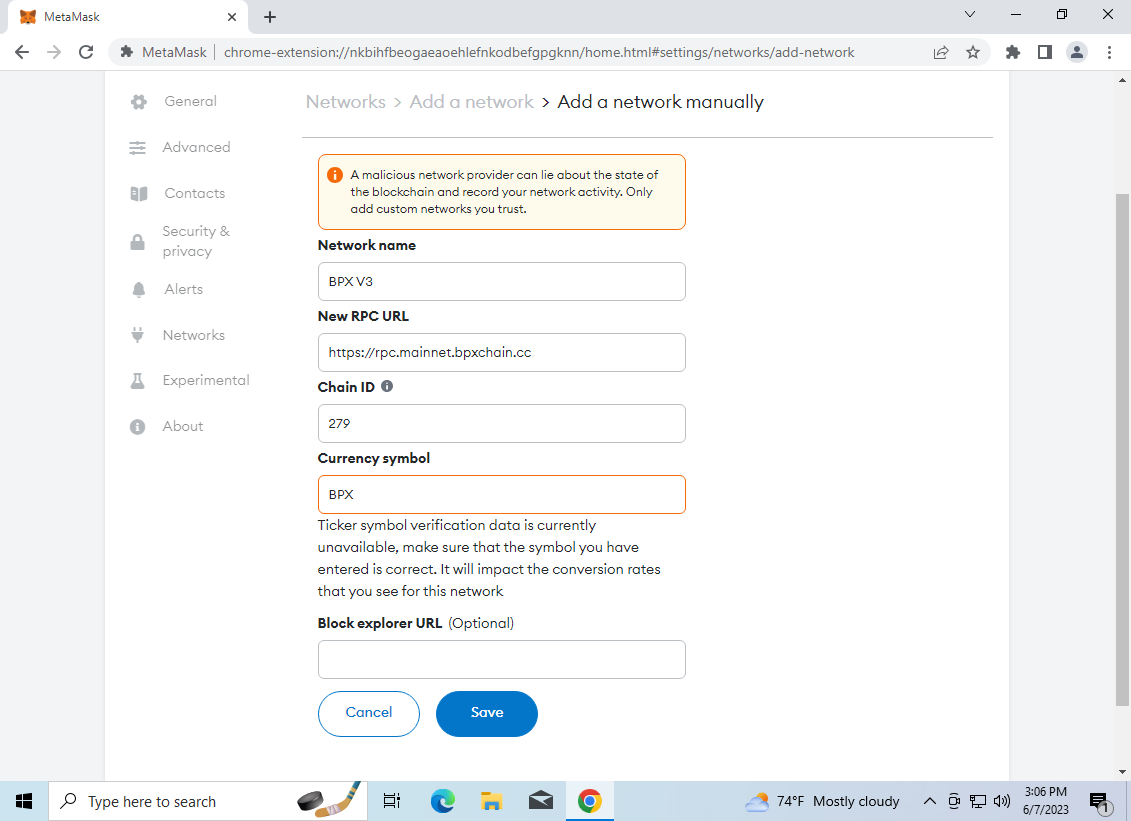
10. Scroll to the bottom of the list and select "Add a network manually"manually".
11. Complete the form as follows and click "Save"Save":
Network name: BPX V3
New RPC URL: https://rpc.mainnet.bpxchain.cc
Chain ID: 279
Currency symbol: BPX
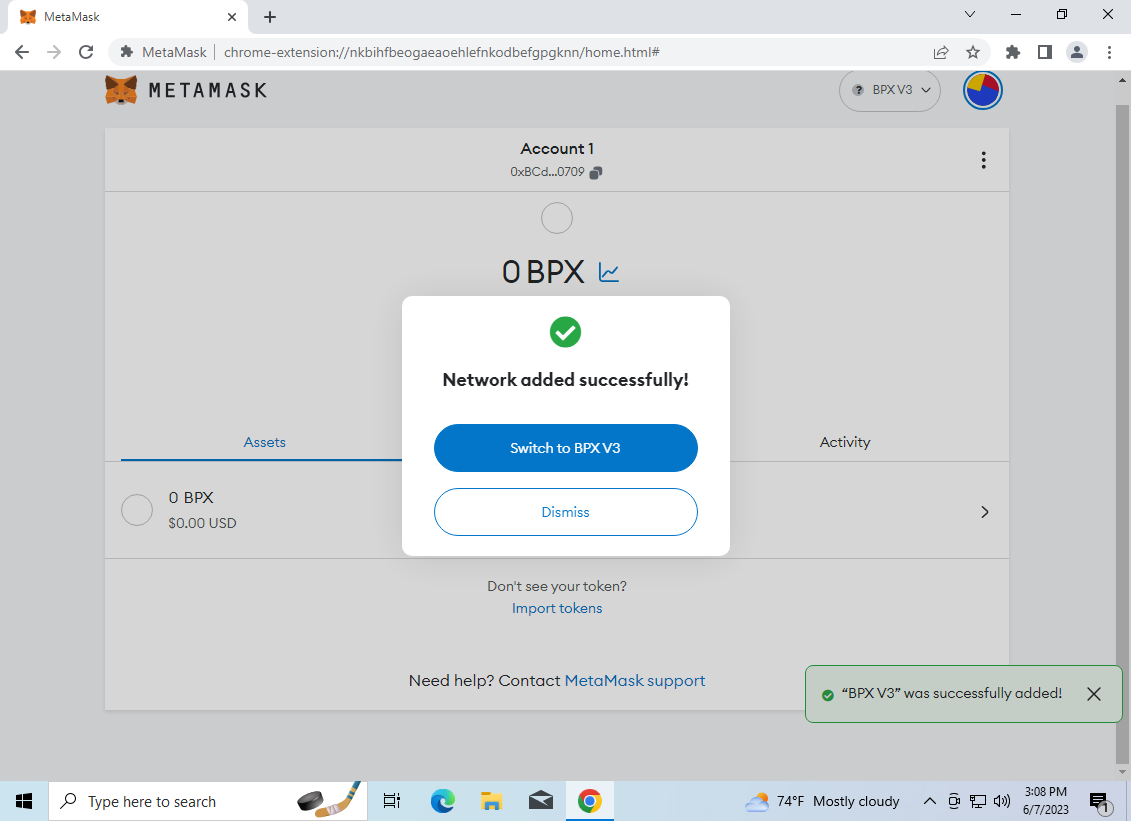
12. In the popup window select "Switch to BPX V3"V3". Your wallet is now ready to use.
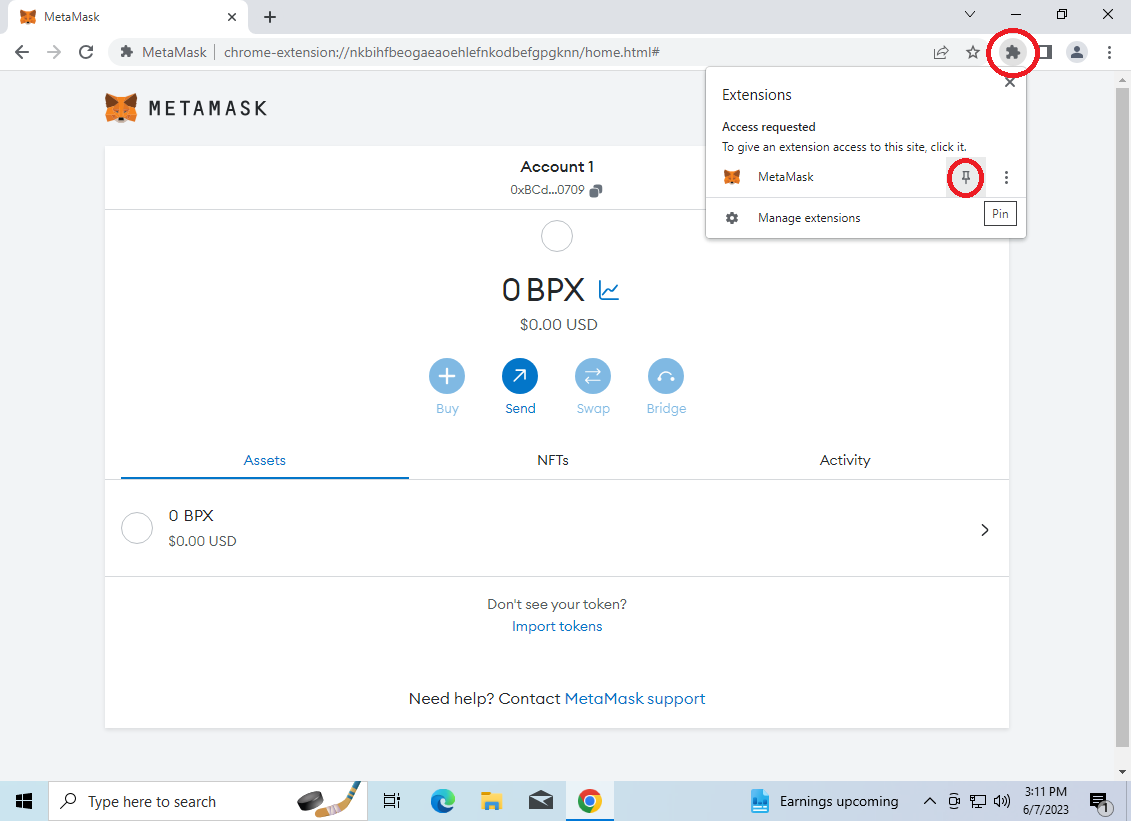
13. For convenience, you can pin the Metamask icon to be always visible
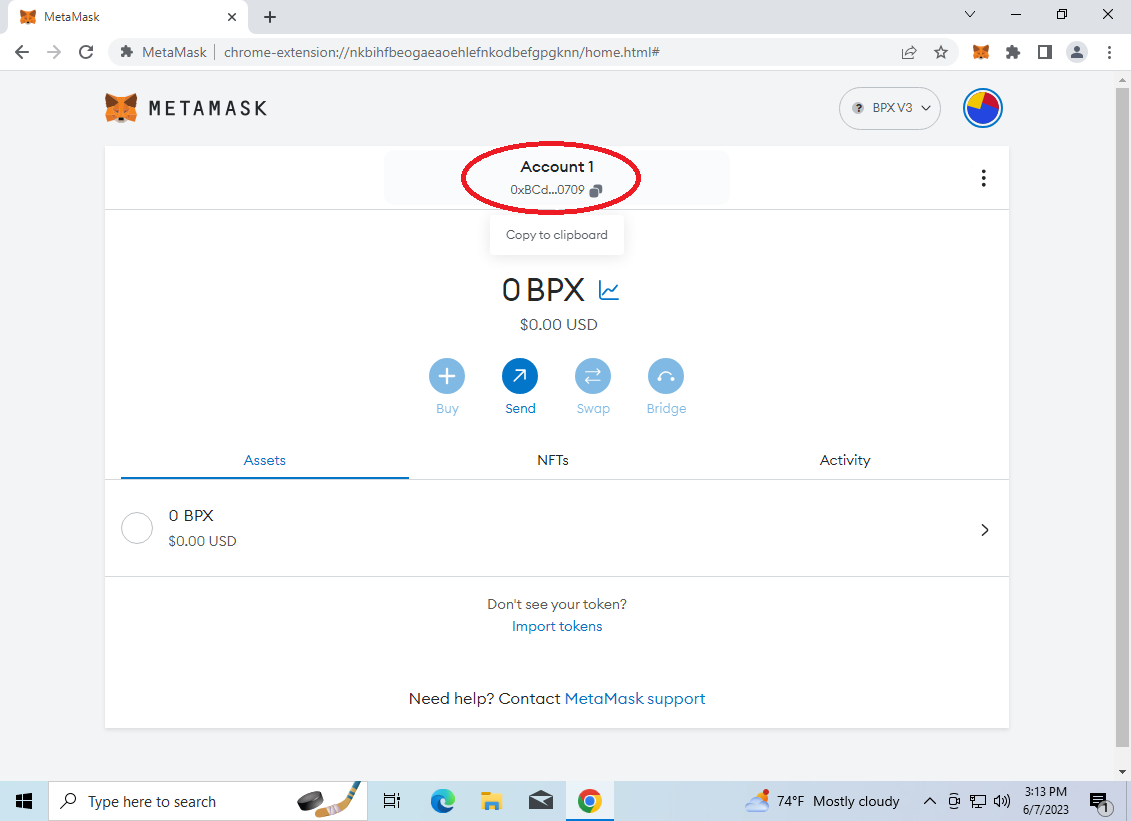
14. To copy your full wallet receiving address, click on the "Account 1"1" header.


