Installing and running BPX full node on Windows
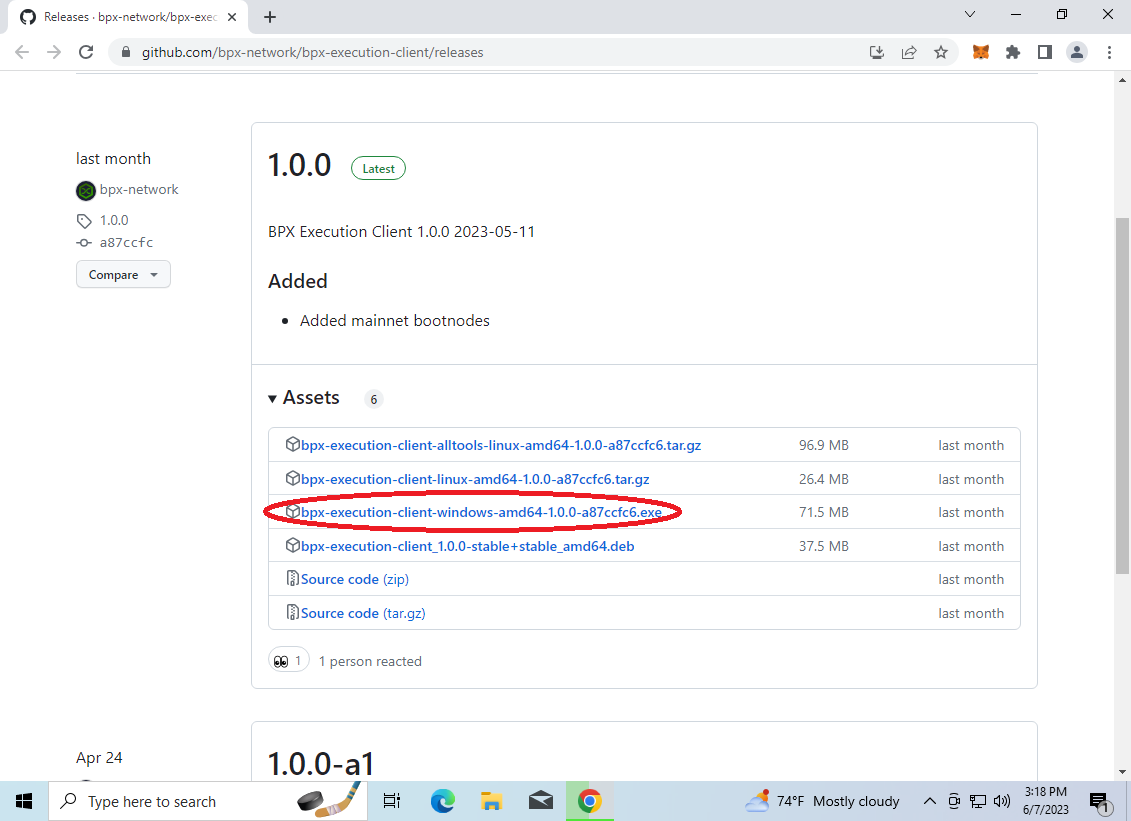
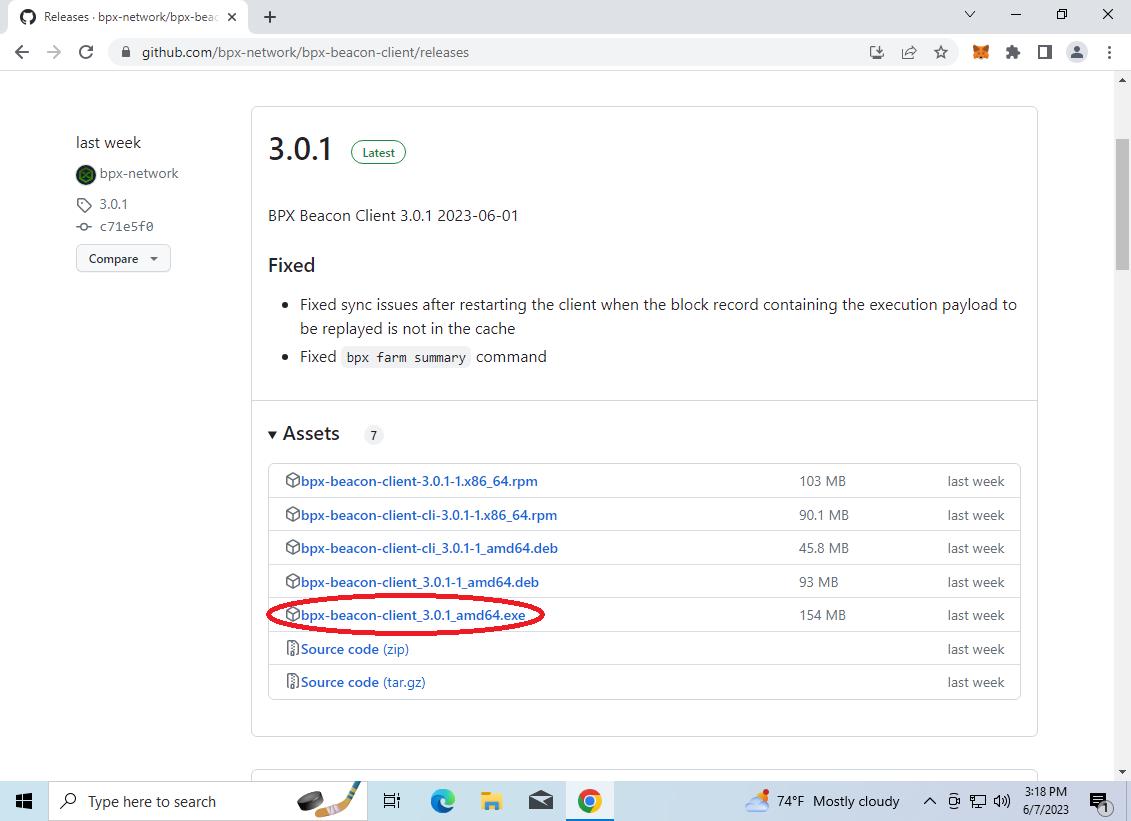
- Download the Execution Client and Beacon Client latest releases EXE installers.
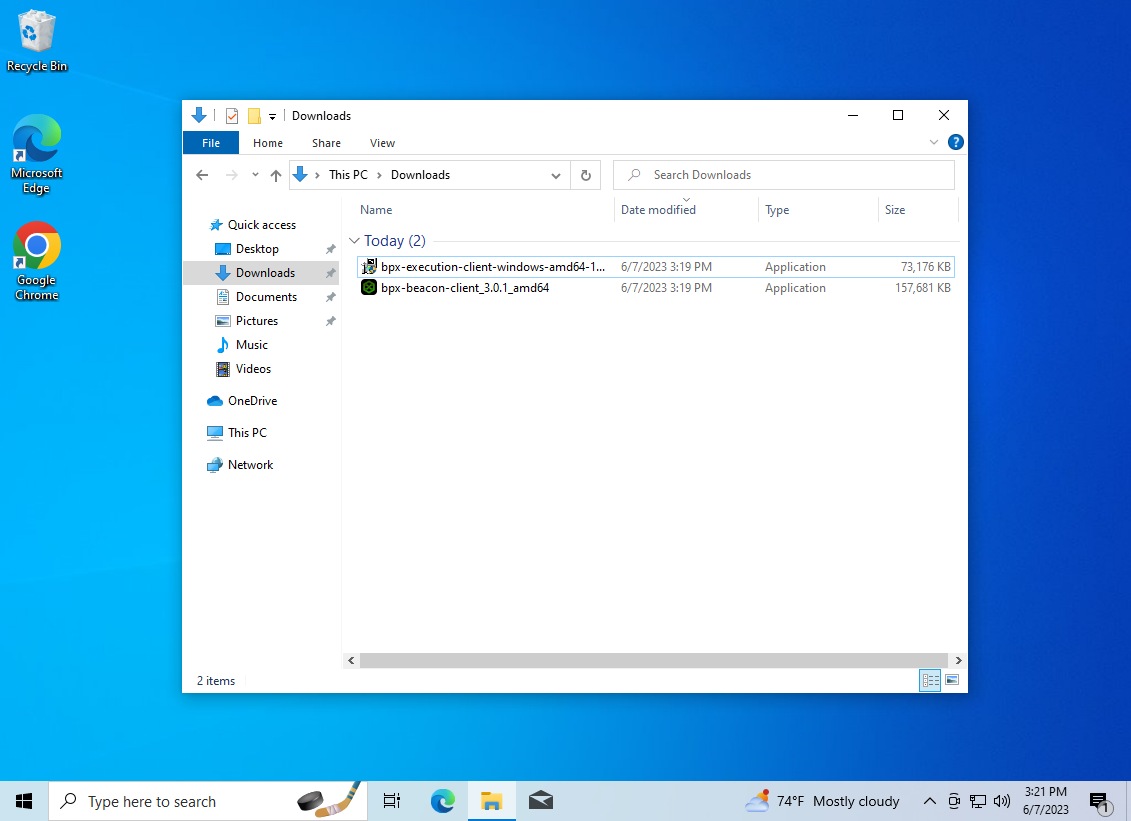
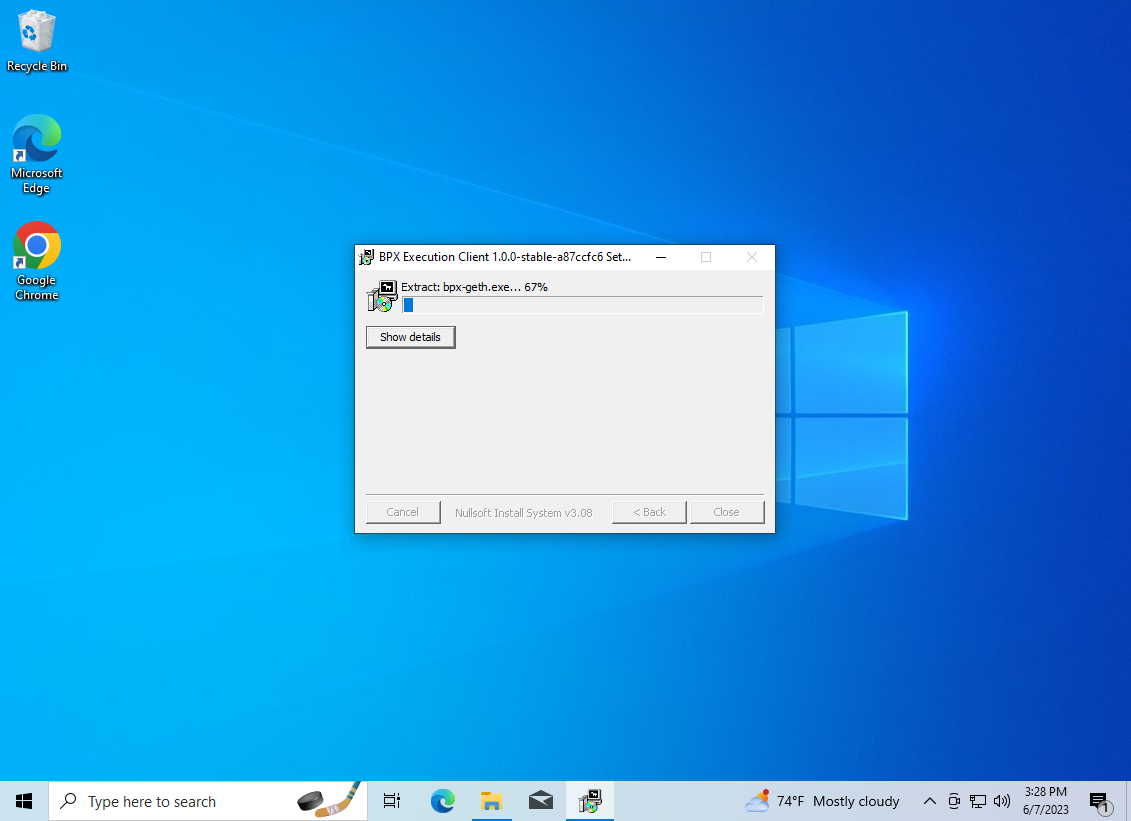
2. Go to your Downloads folder. There should be two installers there. Run the execution client installer first.
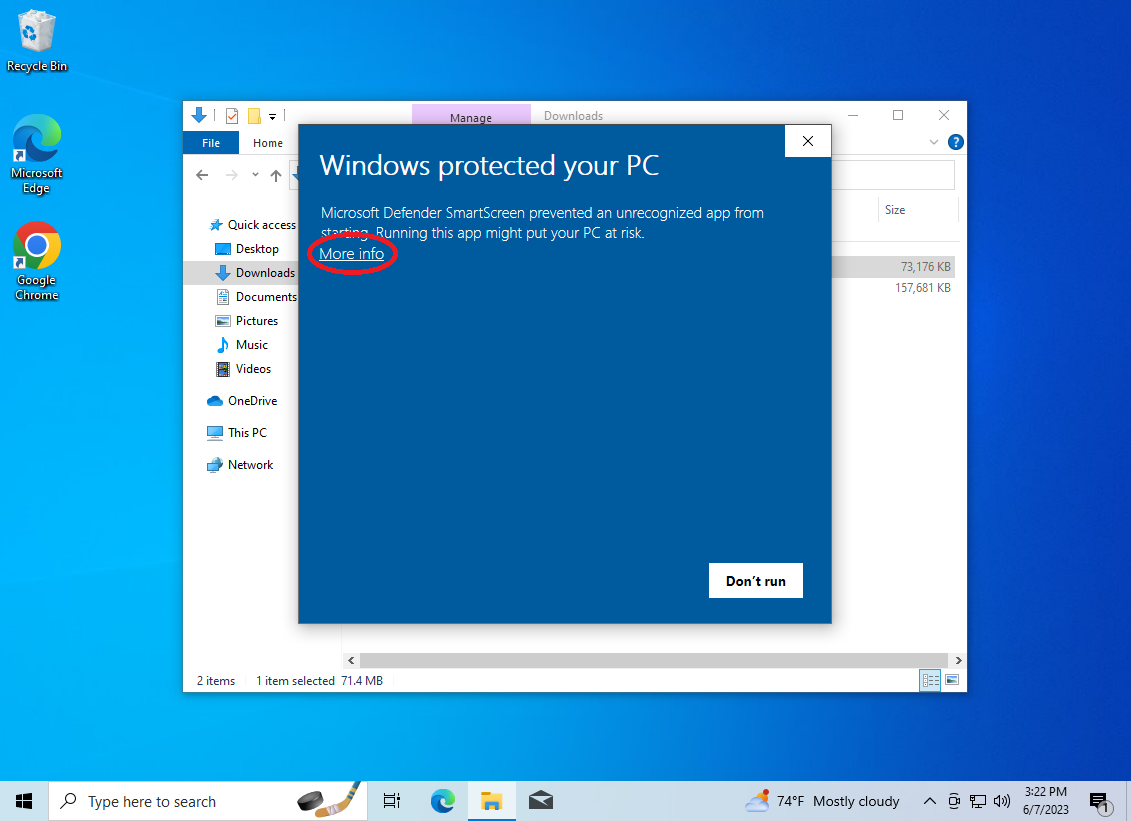
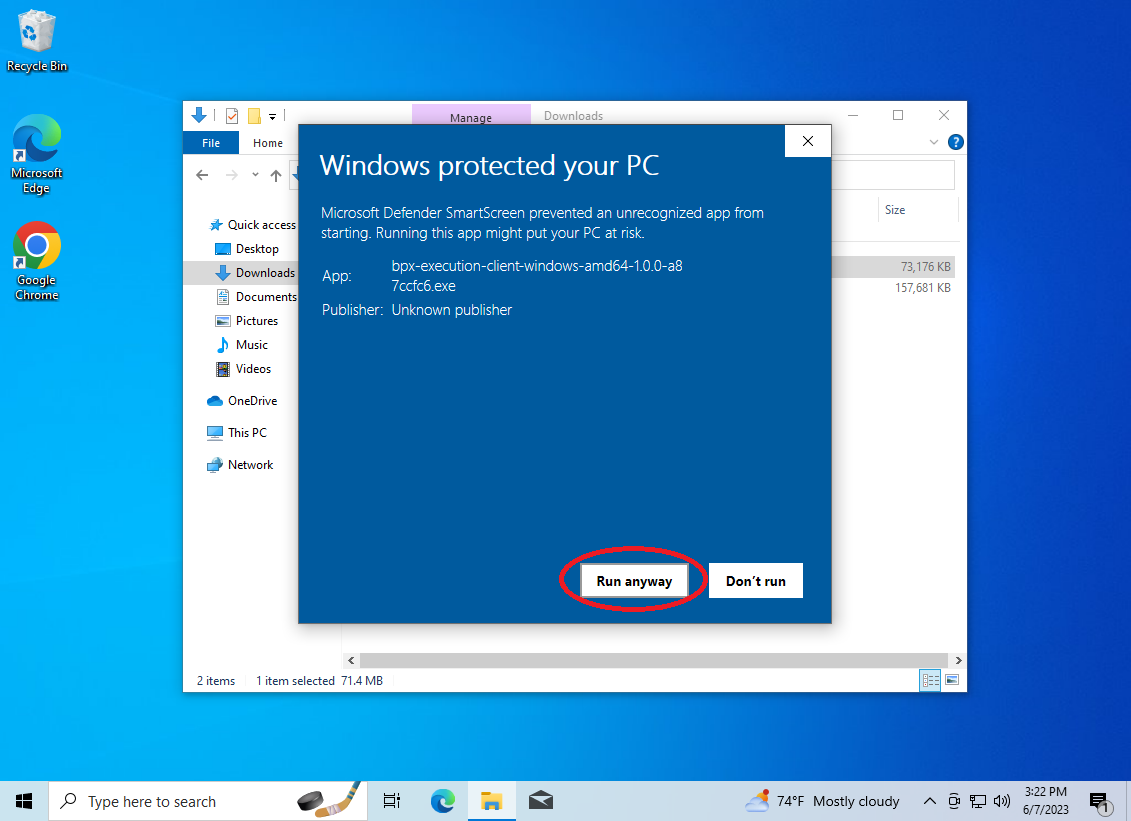
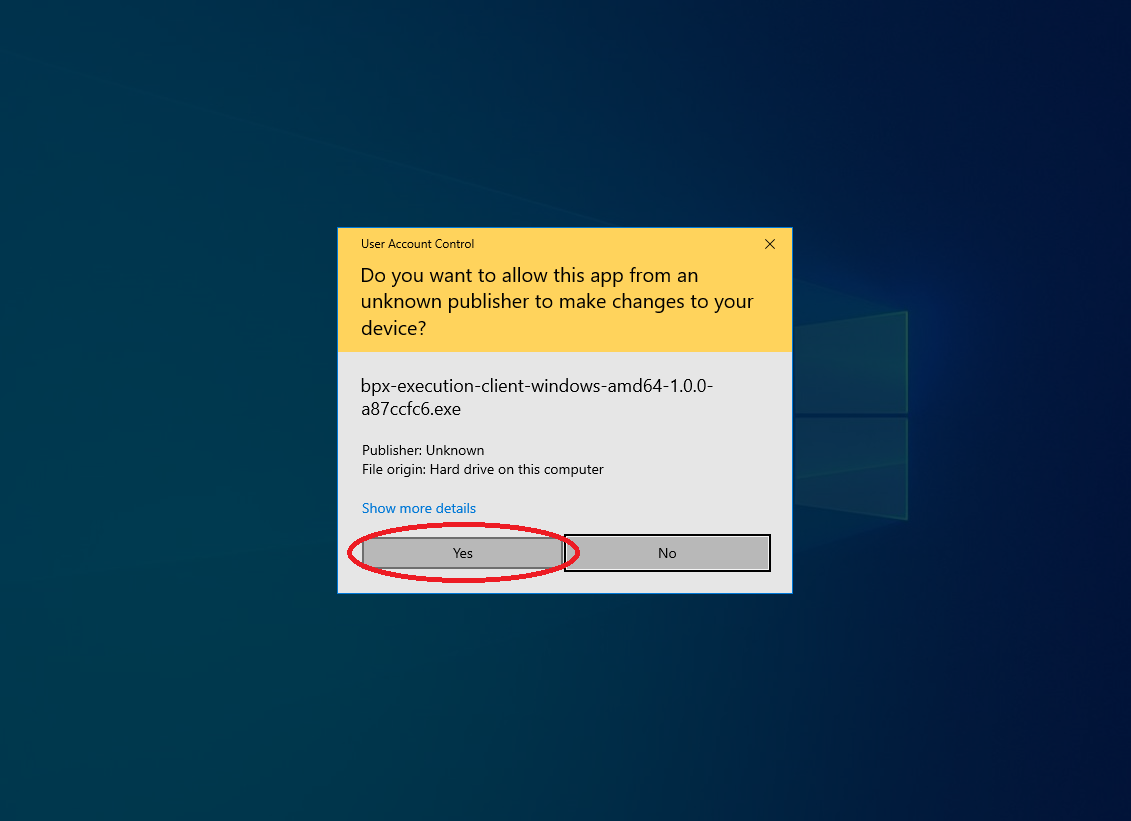
3. Different warnings may appear depending on the Windows version. In such cases, select "More info", "Run anyway" and "Yes".
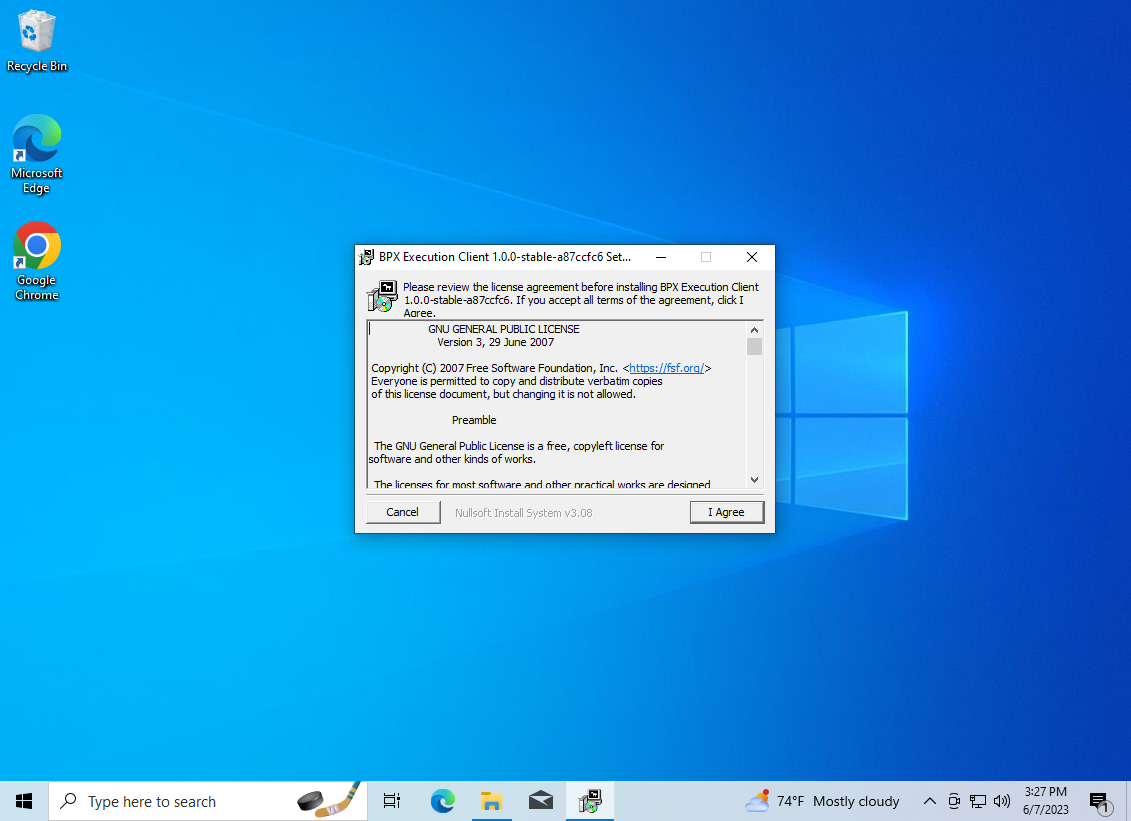
4. Accept the license. Go through all installer steps by clicking "Next" and "Install". When the installation process is finished, close the installer.
5. A shortcut to BPX Execution Client will appear in the Start Menu. RunLaunch it.
Never launch the Execution Client in any other way, especially by double-clicking the bpx-geth.exe file from C:\Program Files. This will switch the synchronization mode which cannot be reverted in any other way than deleting all files from C:\Users\username\.bpx\execution. BPX Execution Client requires additional command-line parameters which are already configured in the Start Menu shortcut. If you are an advanced user, you can run the execution client by this command:bpx-geth.exe --syncmode full --http --authrpc.addr localhost --authrpc.port 8551 --authrpc.vhosts localhostbut never just bpx-geth.exe without any arguments.

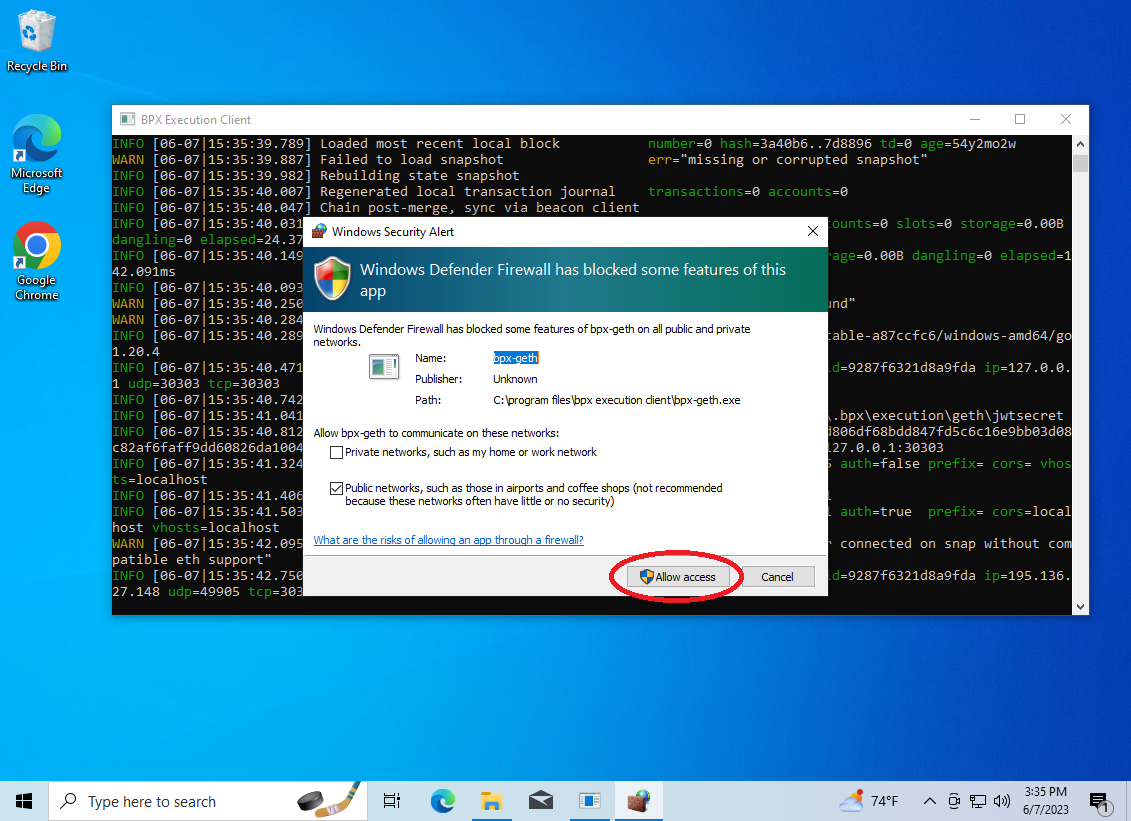
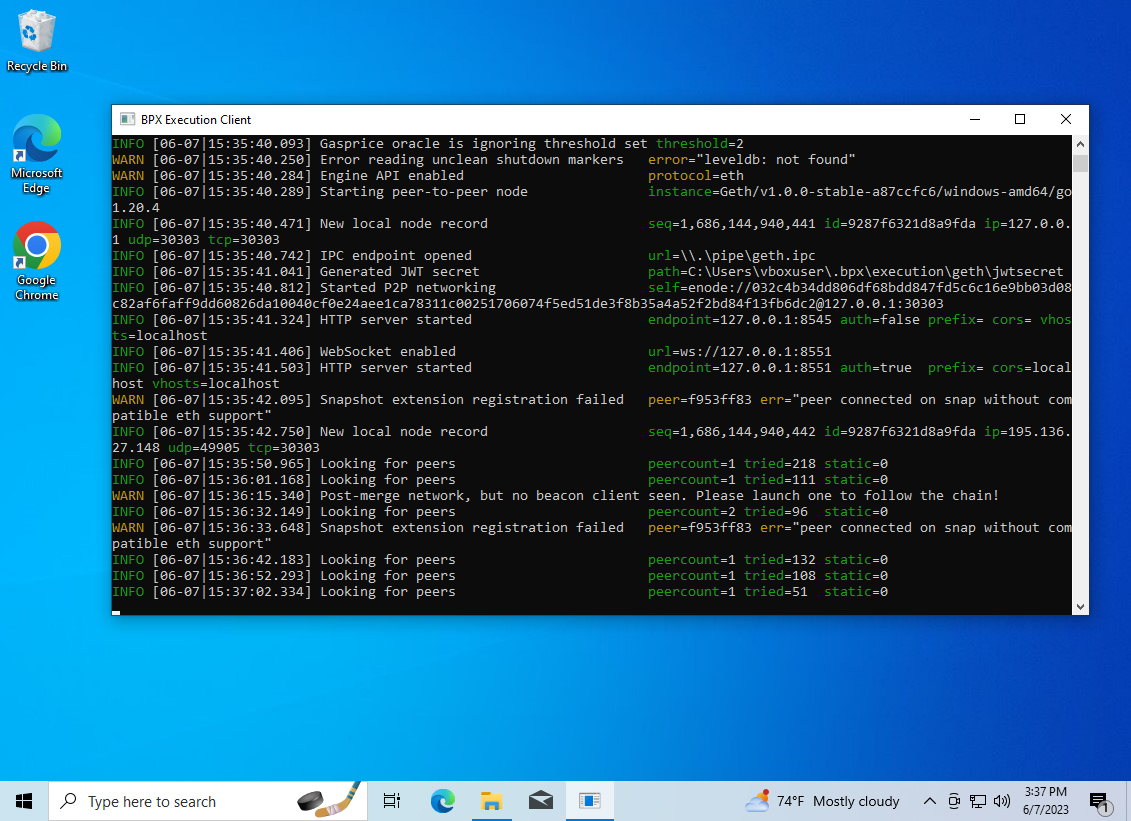
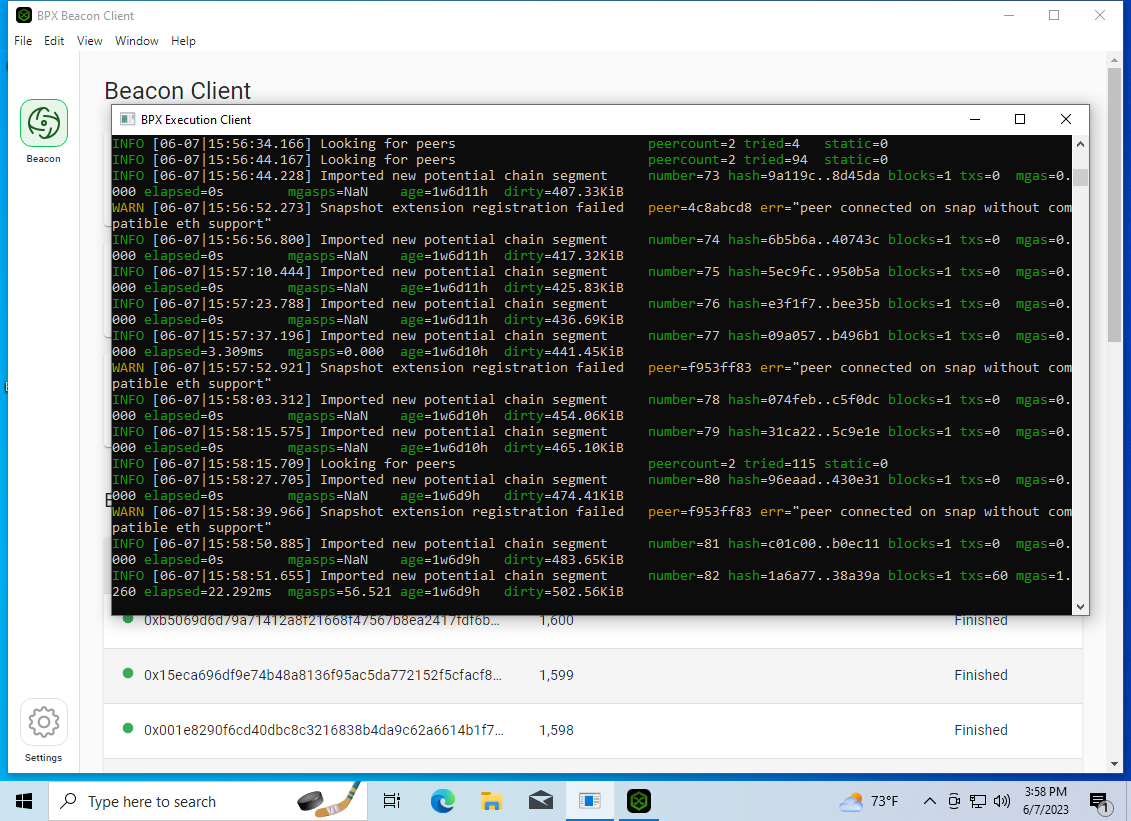
6. Allow the Windows firewall to open the execution client port. Execution client will be started. You should see its console output window.
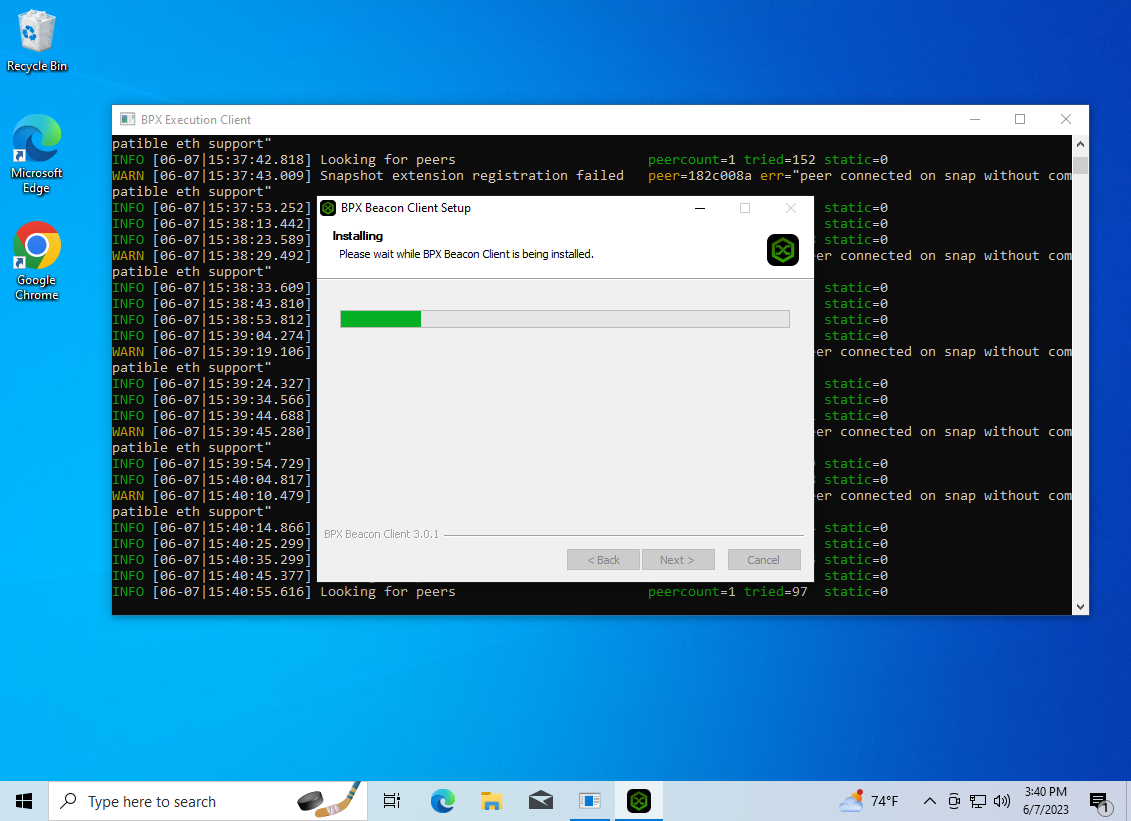
7. Now start the Beacon Client installer. Confirm pop-up warnings as before.
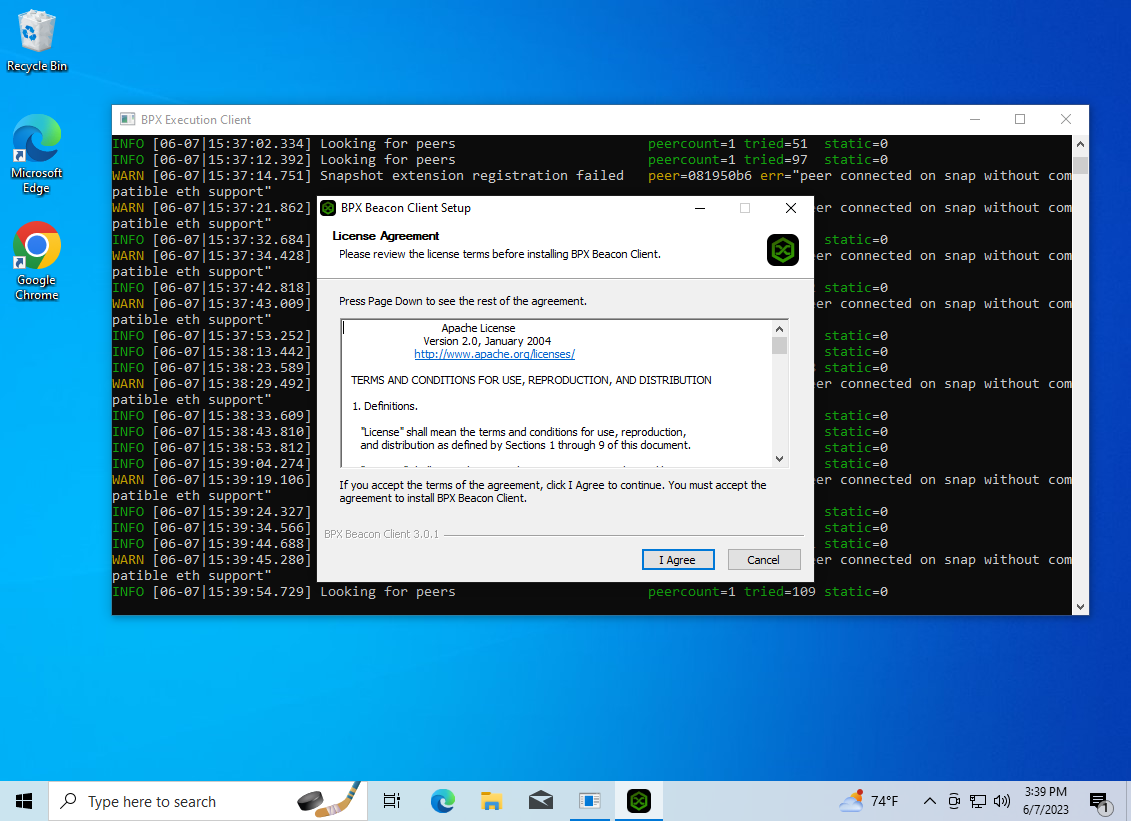
8. Accept the license, go through the next installation steps.
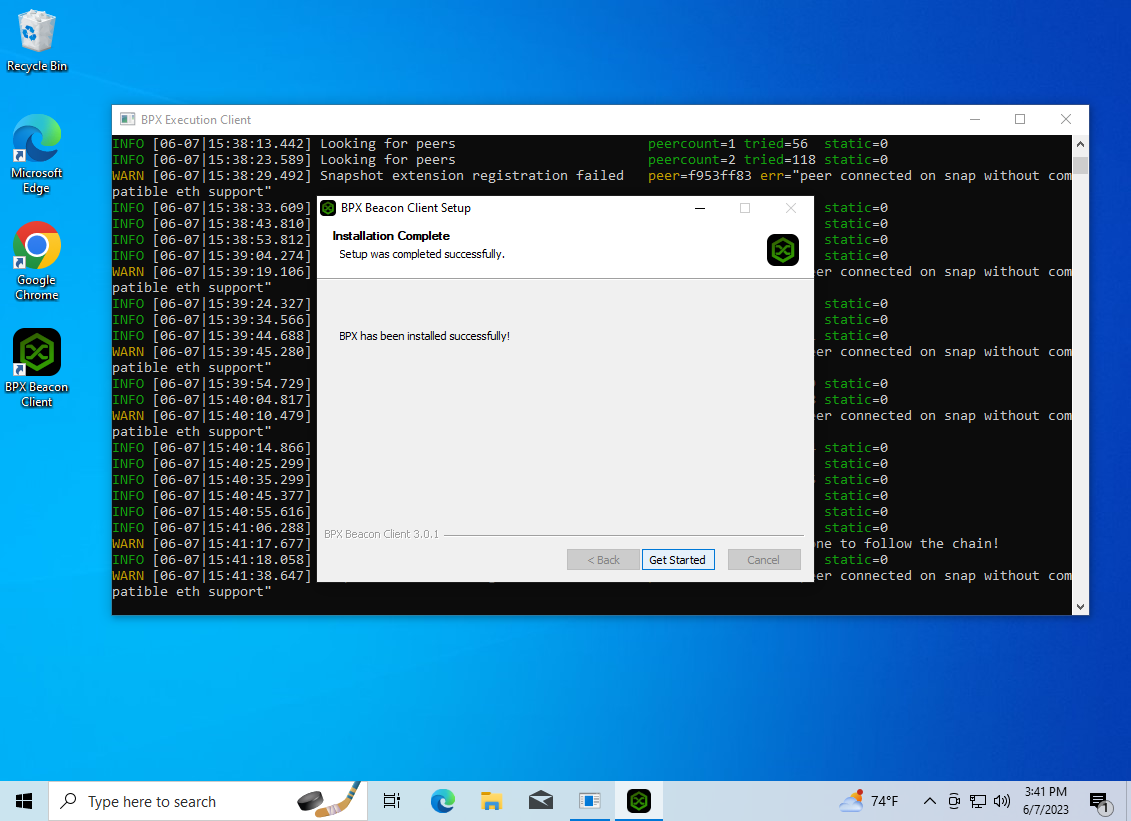
9. When the installation is finished, click the "Get Started" button.
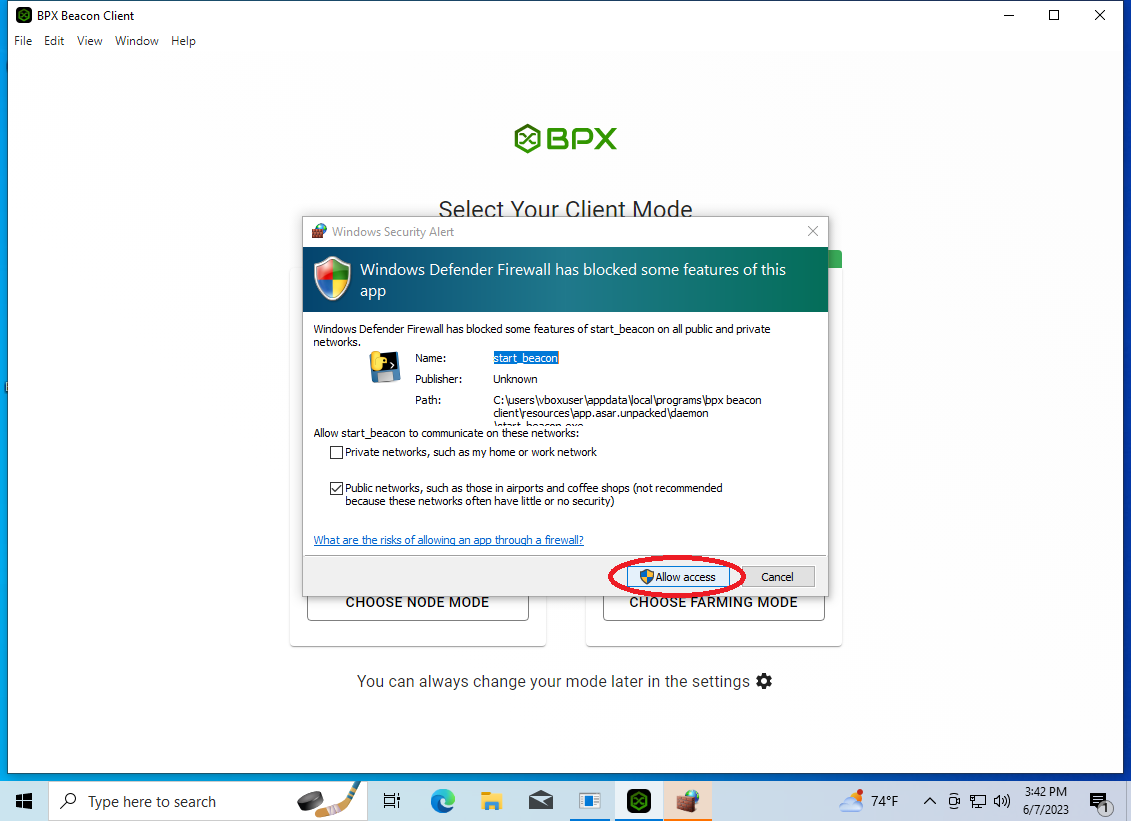
10. Agree to open the beacon client port as before.
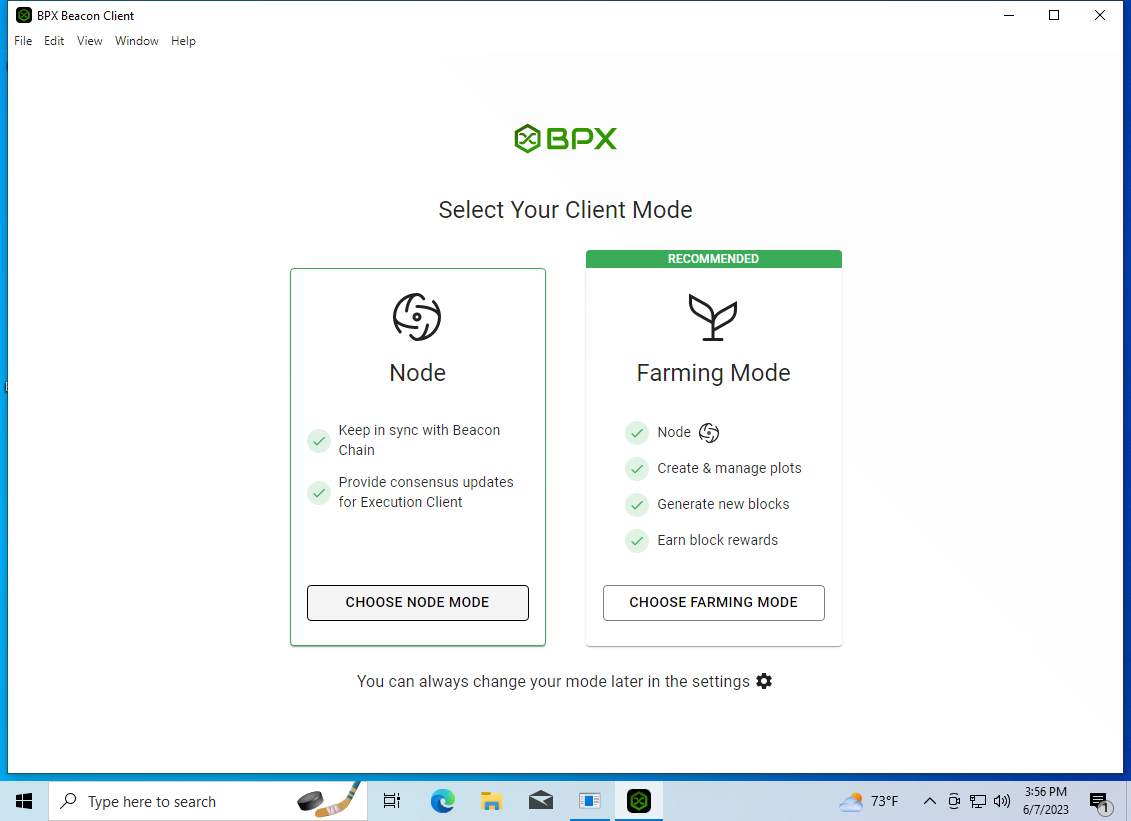
11. Beacon Client GUI will be launched. Select Node mode.
12. At this point, both clients will start synchronizing with the network. This may take many hours or days.
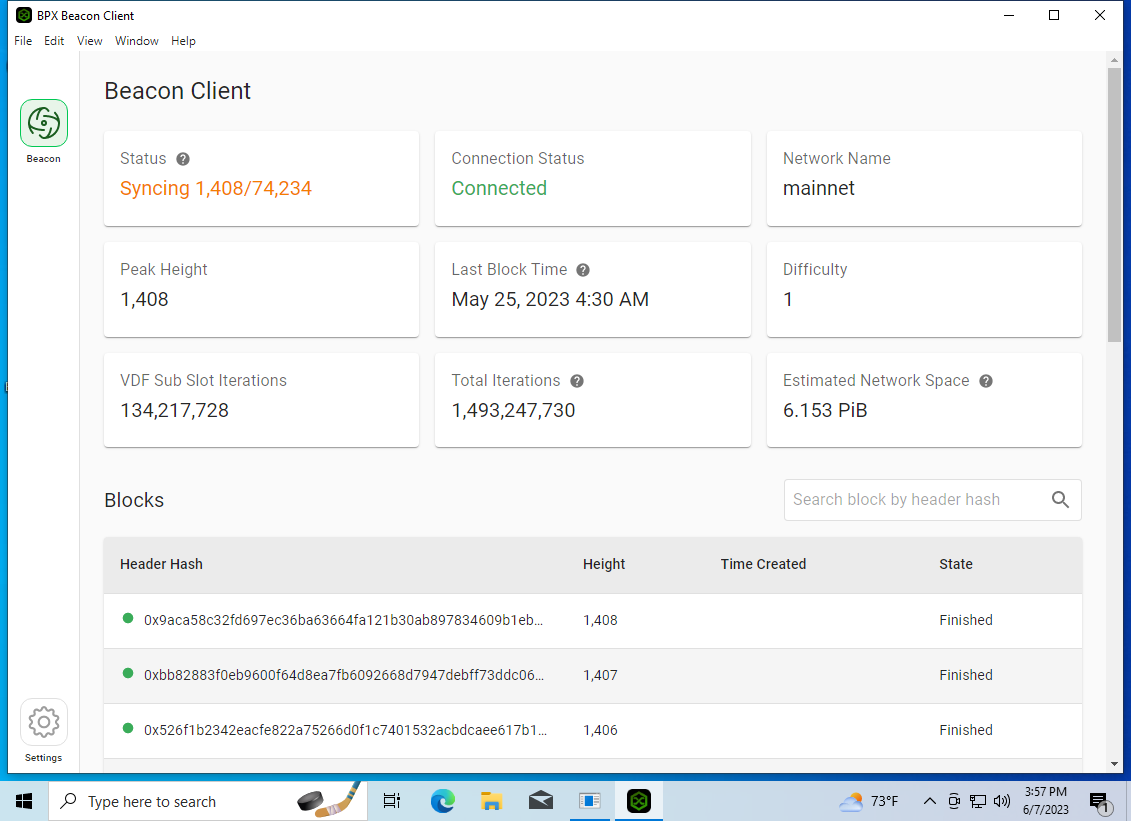
13. When synchronization is finished, your full node is ready to work. You'll know it by the green "Synced" status.

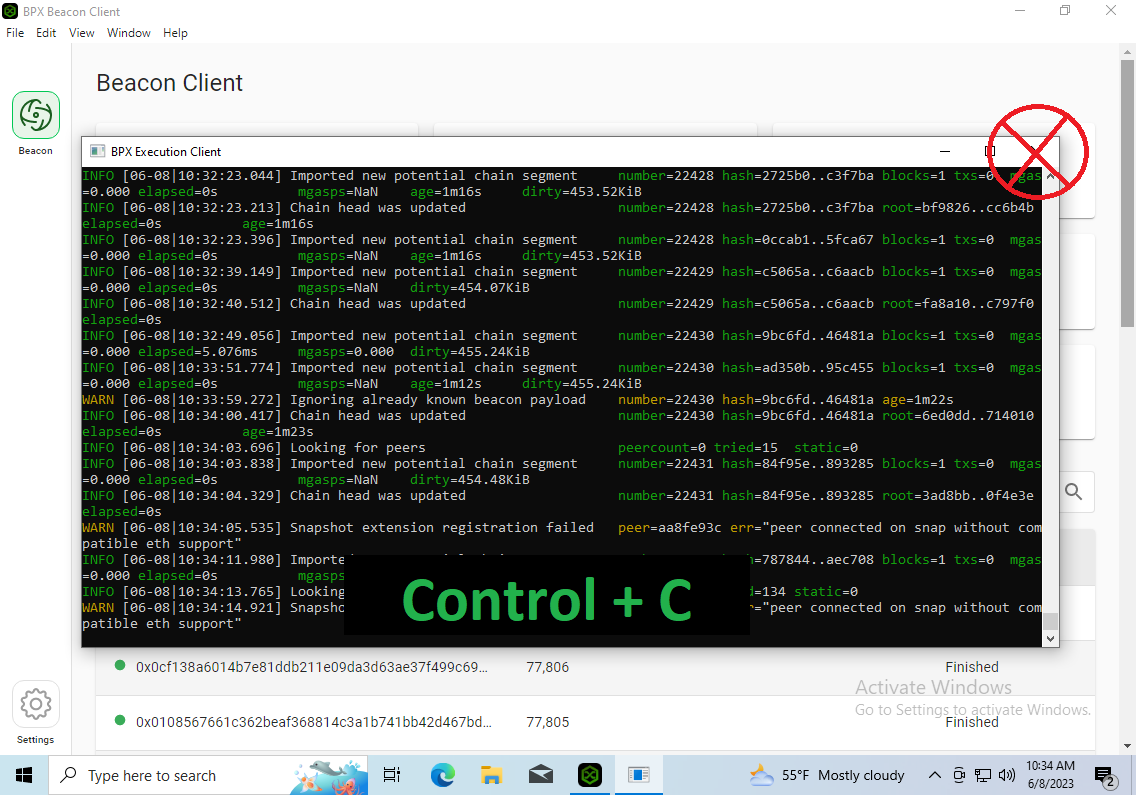
14. When you need to stop your full node, it's highly recommended to close the beacon client first, then the execution client. To start it again, run the execution client first, then the beacon client.
Never stop the Execution Client by closing the console window. Use the Control + C shortcut and wait for the client to close itself. If your database becomes corrupted due to improper shutdown, you have to delete all files from C:\Users\username\.bpx\execution and wait until the long-running synchronization ends.