Farming BPX on Windows
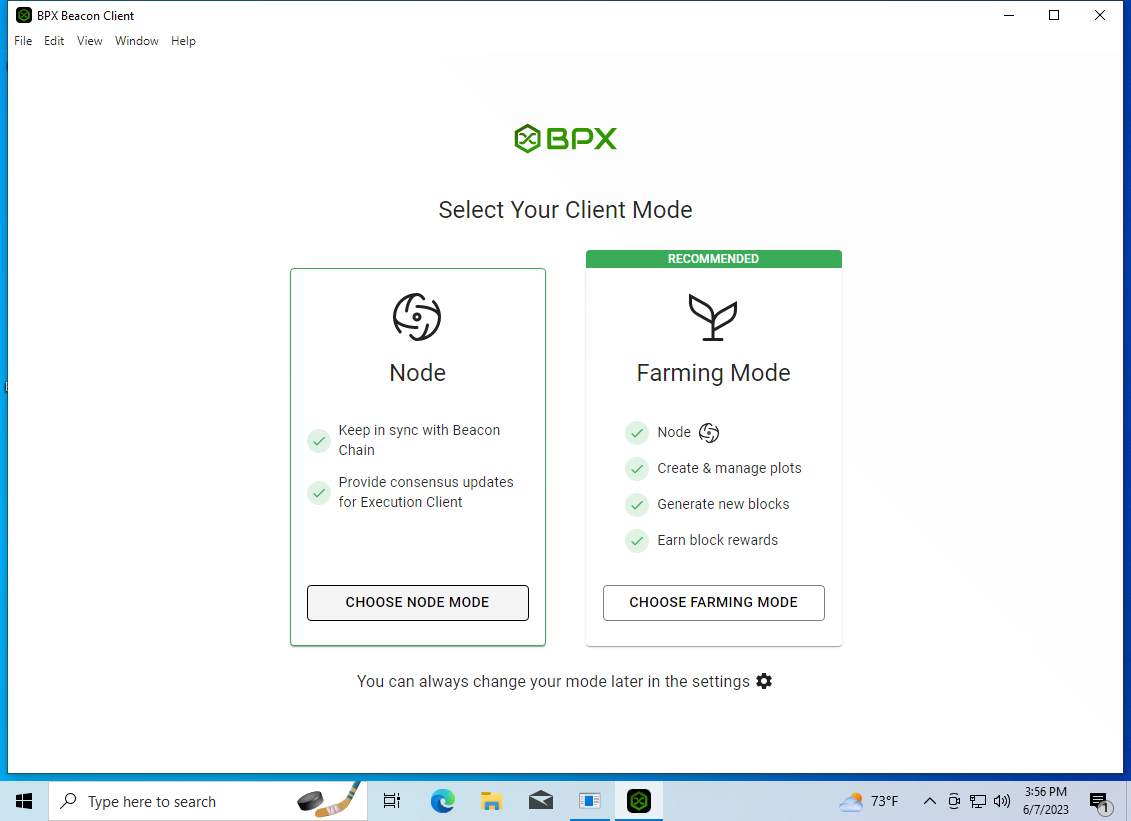
1. To start farming BPX, you need a fully synchronized full node. If you don’t have one, follow all the steps of this tutorial, but in the step shown in the screenshot below, choose the Farming Mode instead of Node Mode. Then, proceed directly to the Step 4.
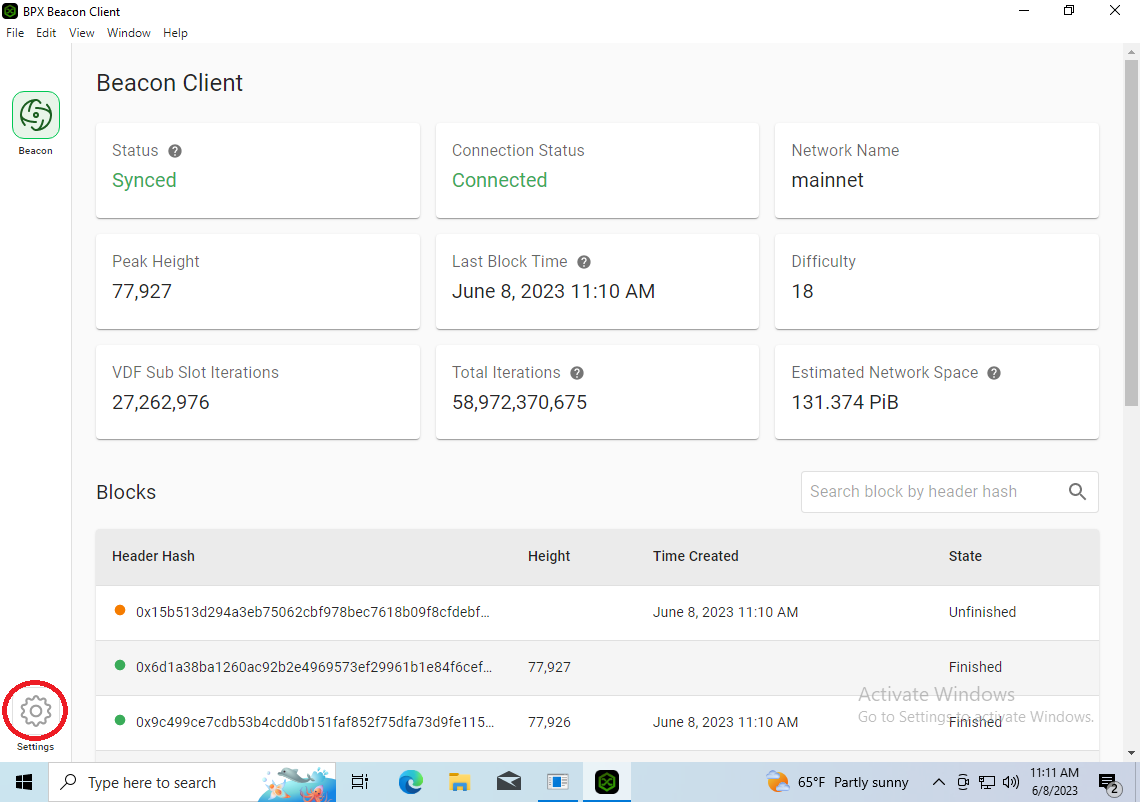
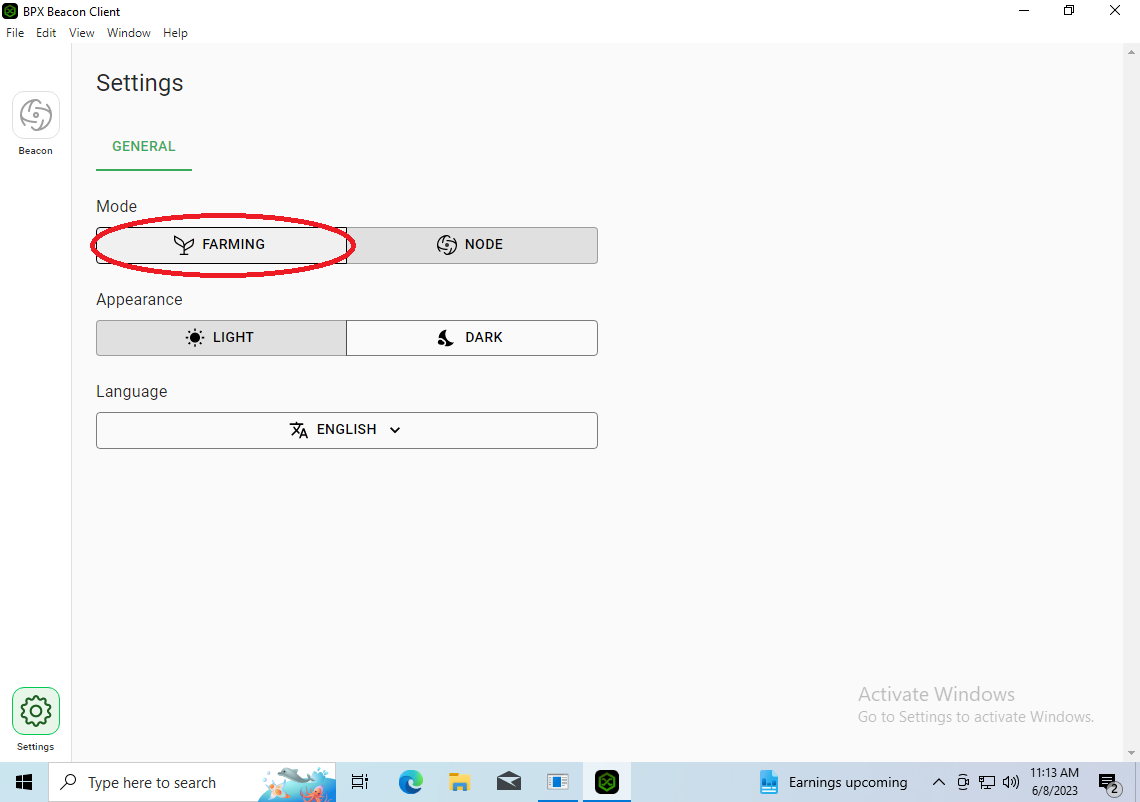
2. If you already have a running full node, go to Settings and change the operating mode to Farming.
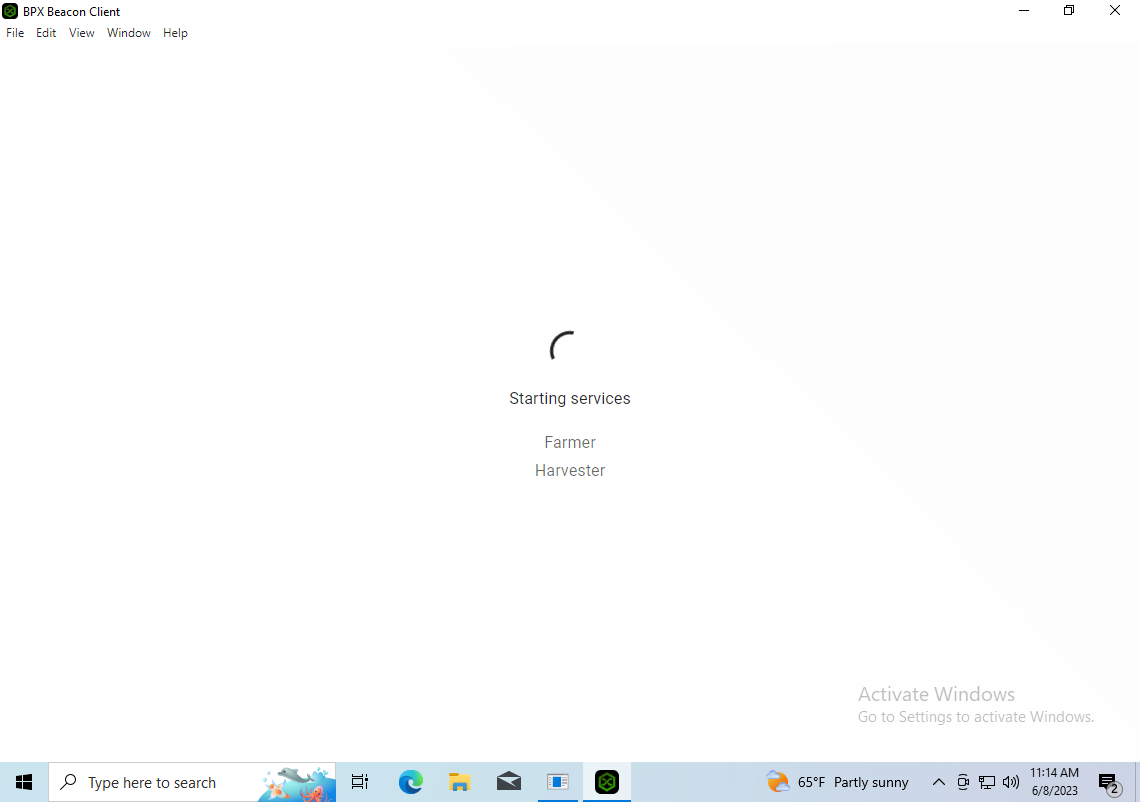
3. Wait for the additional processes required for farming to start. Allow the Windows Firewall to open the required port, just like during the client installation.
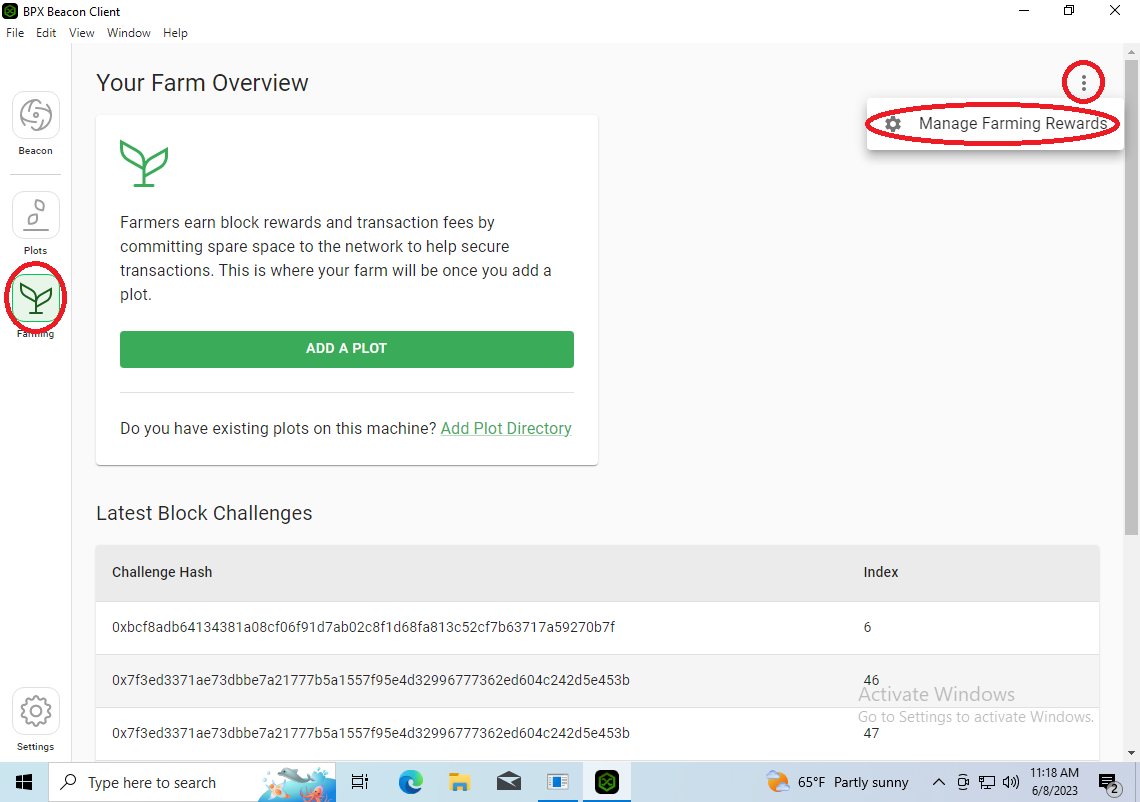
4. Go to the Farming tab. Expand the menu in the upper right corner and select "Manage Farming Rewards".
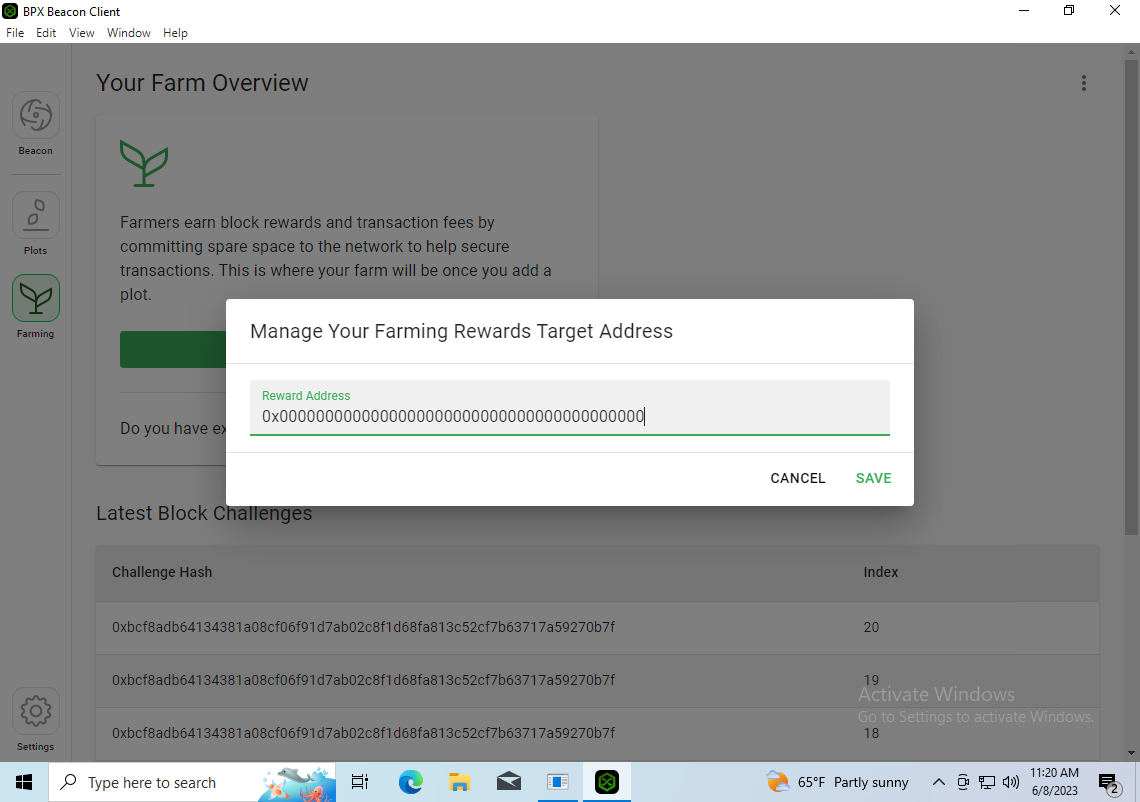
5. Delete the default zero address and paste your BPX wallet address where you want to receive block rewards, such as your MetaMask wallet address. Save the changes.
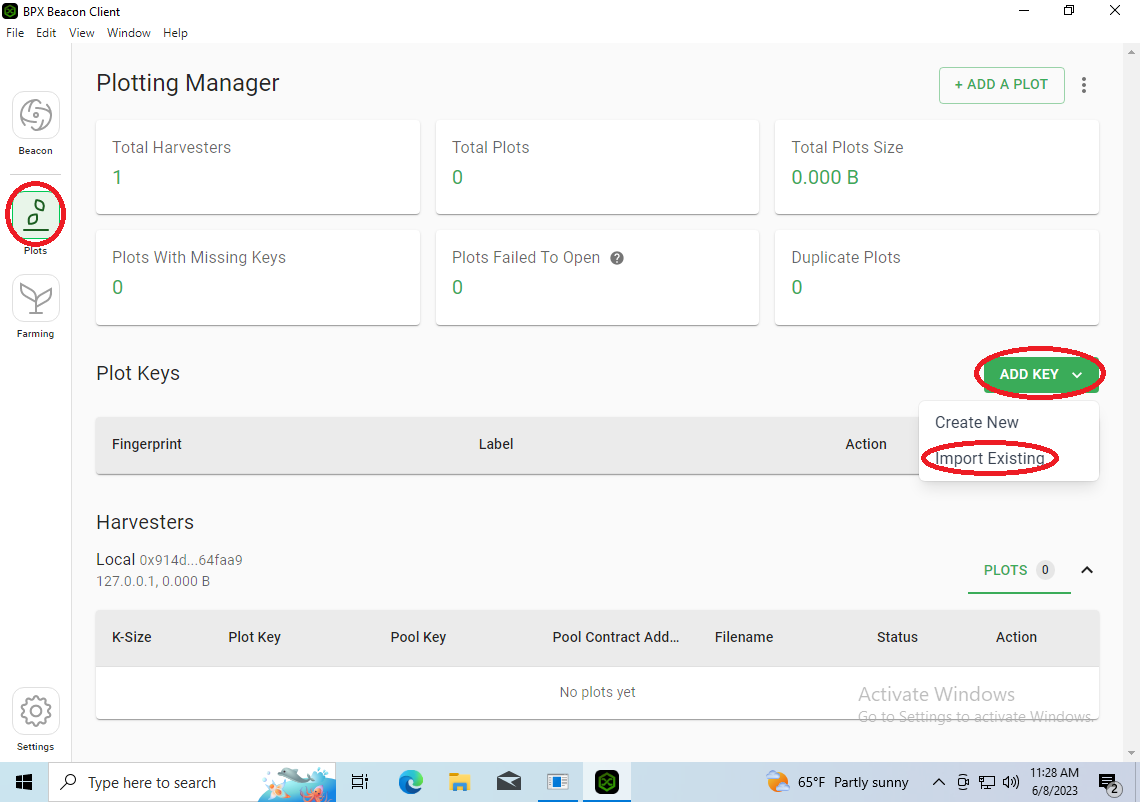
6. Go to the Plots tab. Expand the ADD KEY menu and select Import Existing.
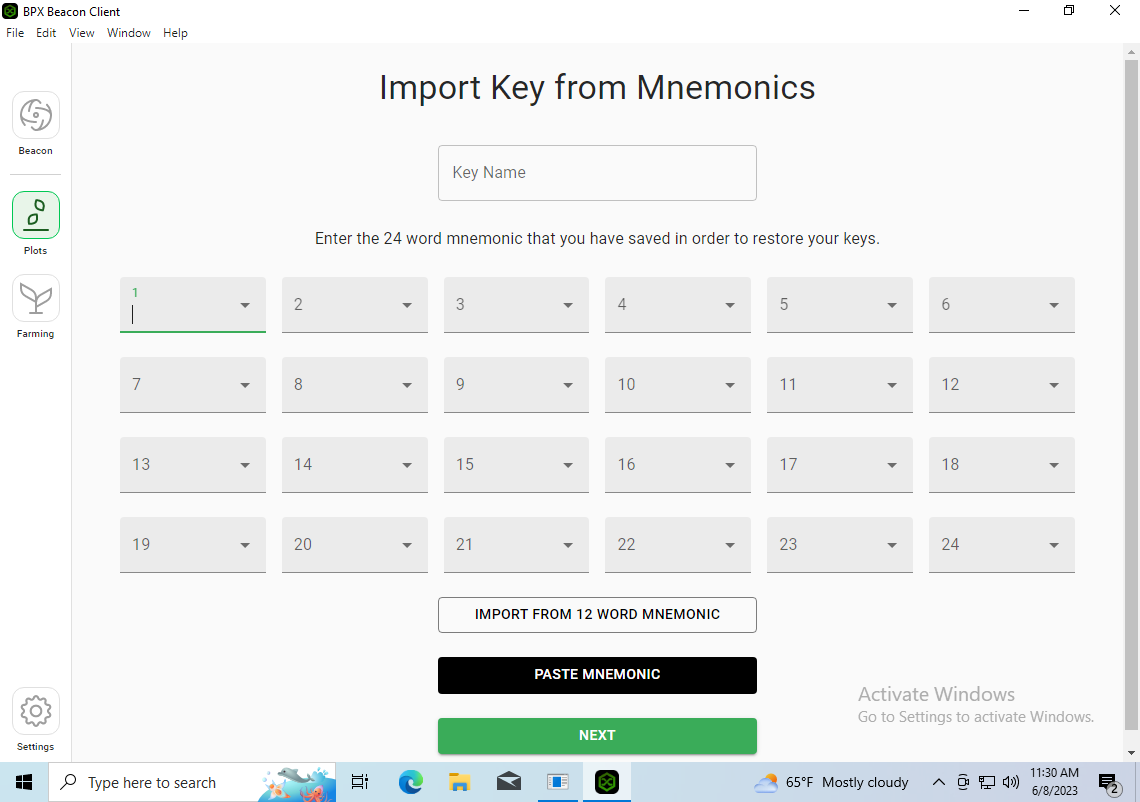
7. Enter the mnemonics that were used to create your plots and click Next.
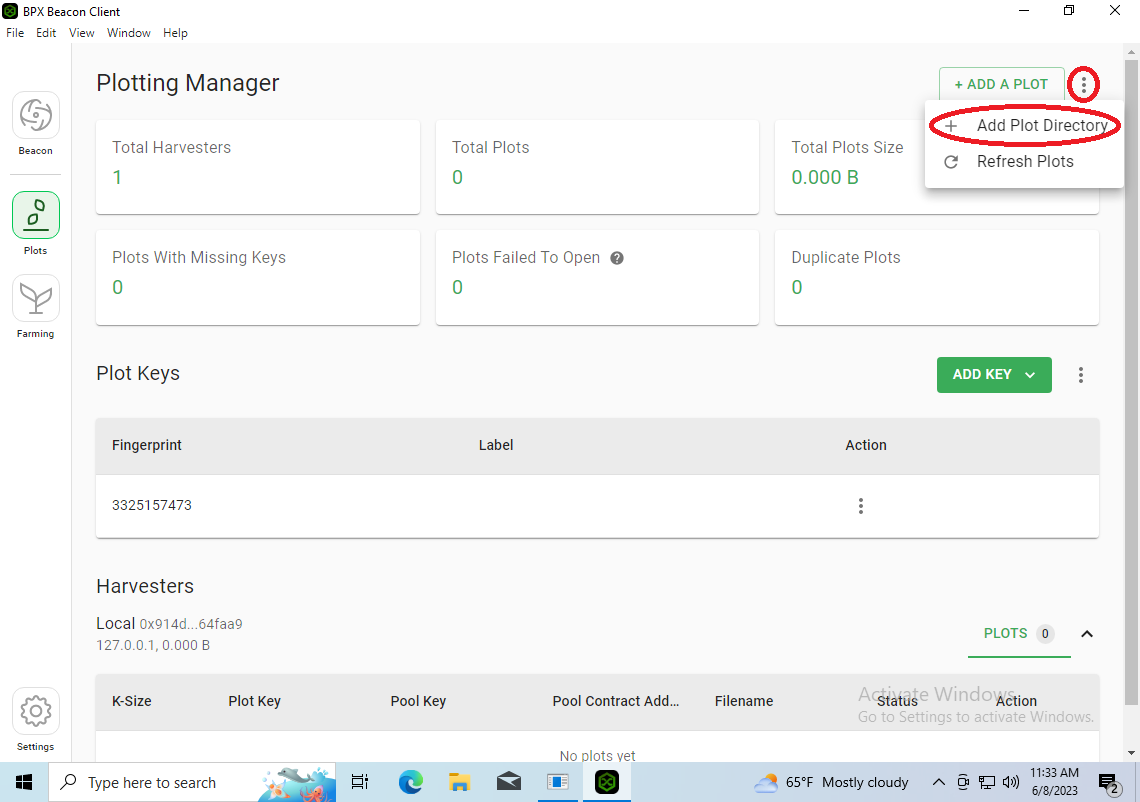
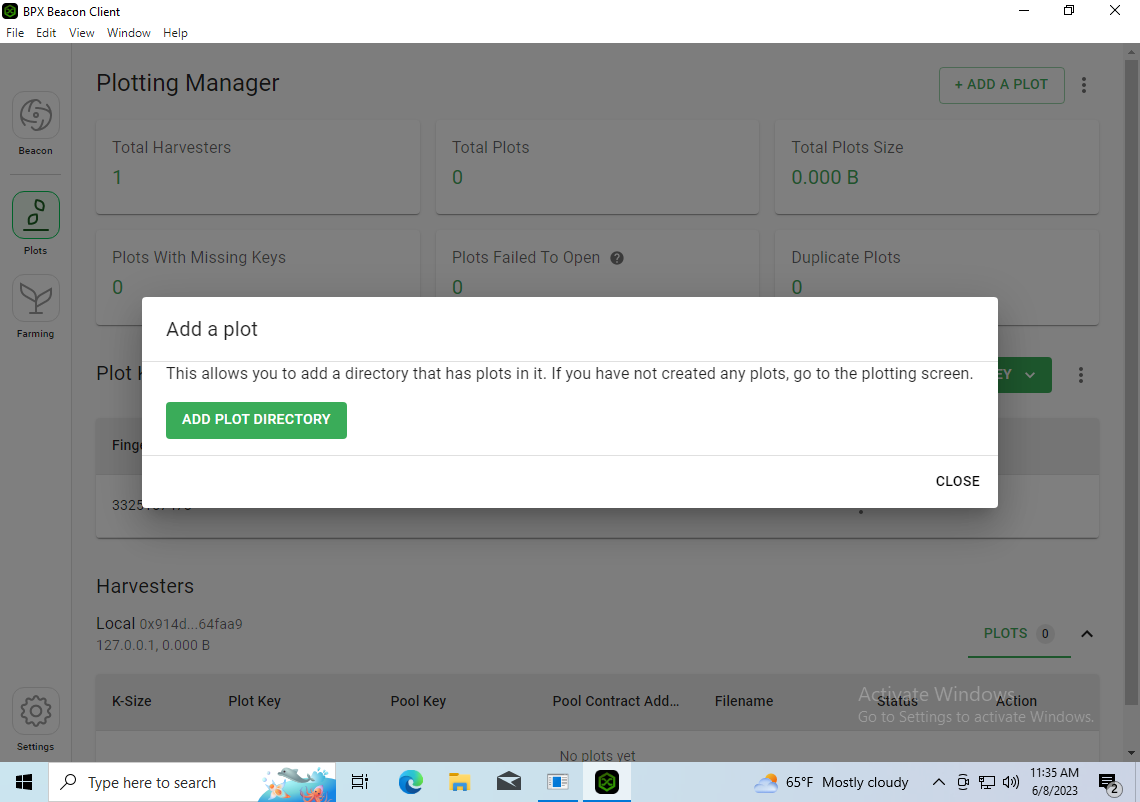
9. Use the "Add Plot Directory" button to add each folder containing your plots. Once all directories are added, click "Close".
10. Farming will begin immediately after adding the first plots directory. You can check whether your plots pass through the filter in the Farming tab.
No Comments