Setting up Metamask wallet for BPX network (Mobile app)
- Install Metamask from App Store / Google Play.
- Open the app. Tap Get started on the welcome screen.
3. Select "Create a new wallet".
4. On the next screen, choose whether you consent to some usage statistics be collected by the wallet developers or not. For example, we choose "No thanks".
5. Scroll down the terms of use, tick a checkbox and tap Accept.
6. Set a password that will be used to unlock the wallet and accept transactions. Optionally enable unlocking with Face ID. Tick the password recovery warning checkbox and tap "Create password".
7. On the next two screens, select "Start" to backup your wallet keys.
8. Use the "View" button to see the generated secret words. Write down this 12 words and save it a place that you trust and only you can access. You will need them every time you want to log in to your wallet again on a new device or after reinstalling.
9. In the next step, the wallet will check if you have saved the secret words. You have to click on all of them in the same order as they were previously shown.
10. Go through the next informational steps by tapping "Done", "Enable aytomatic security checks" and "No, Thanks". You should see the main wallet screen.
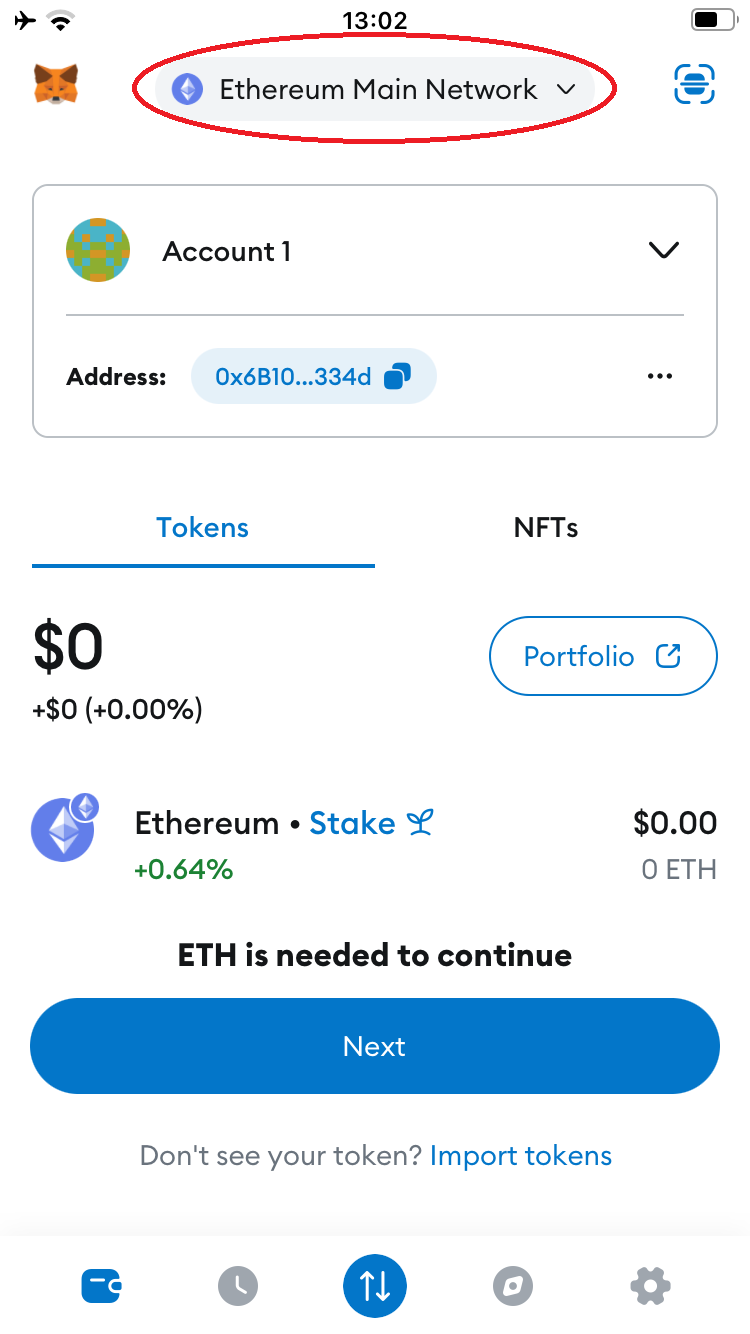
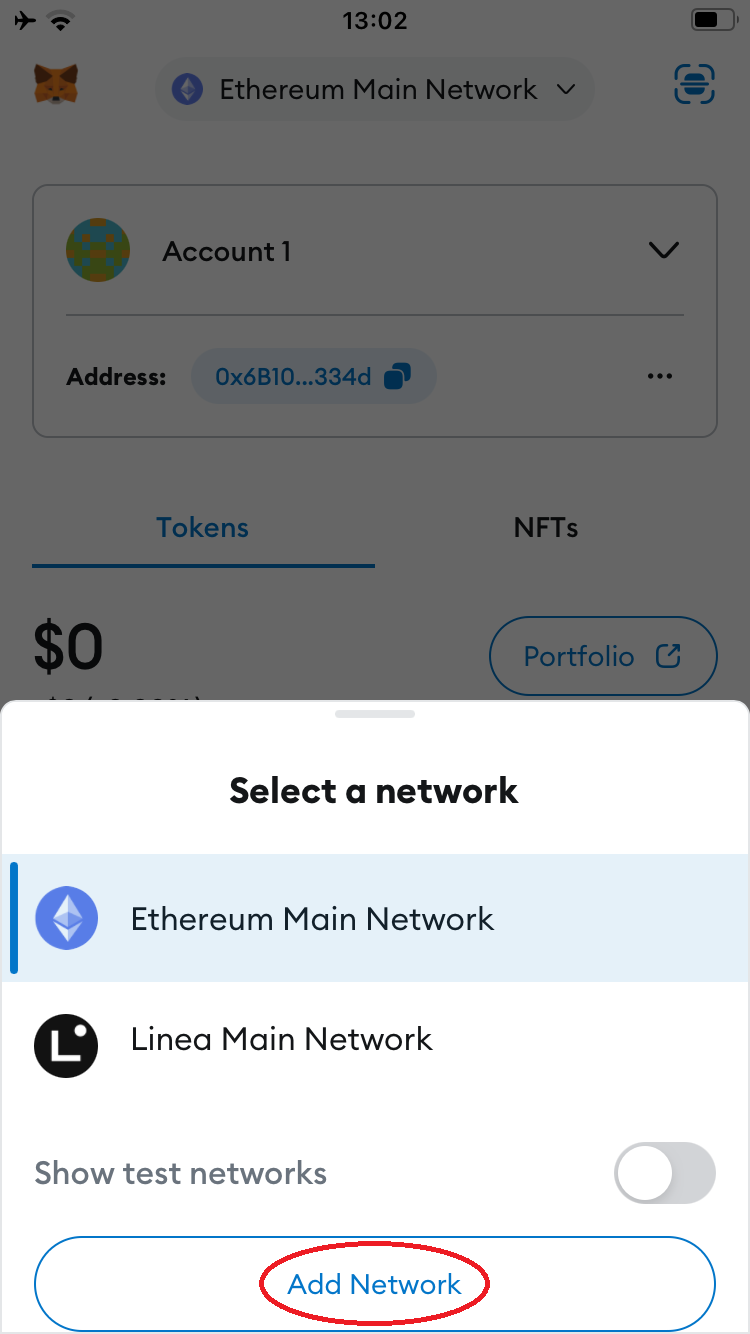
11. Now we will add the BPX network to the wallet. Expand "Ethereum Main Network" on the top of the screen and select "Add a network".
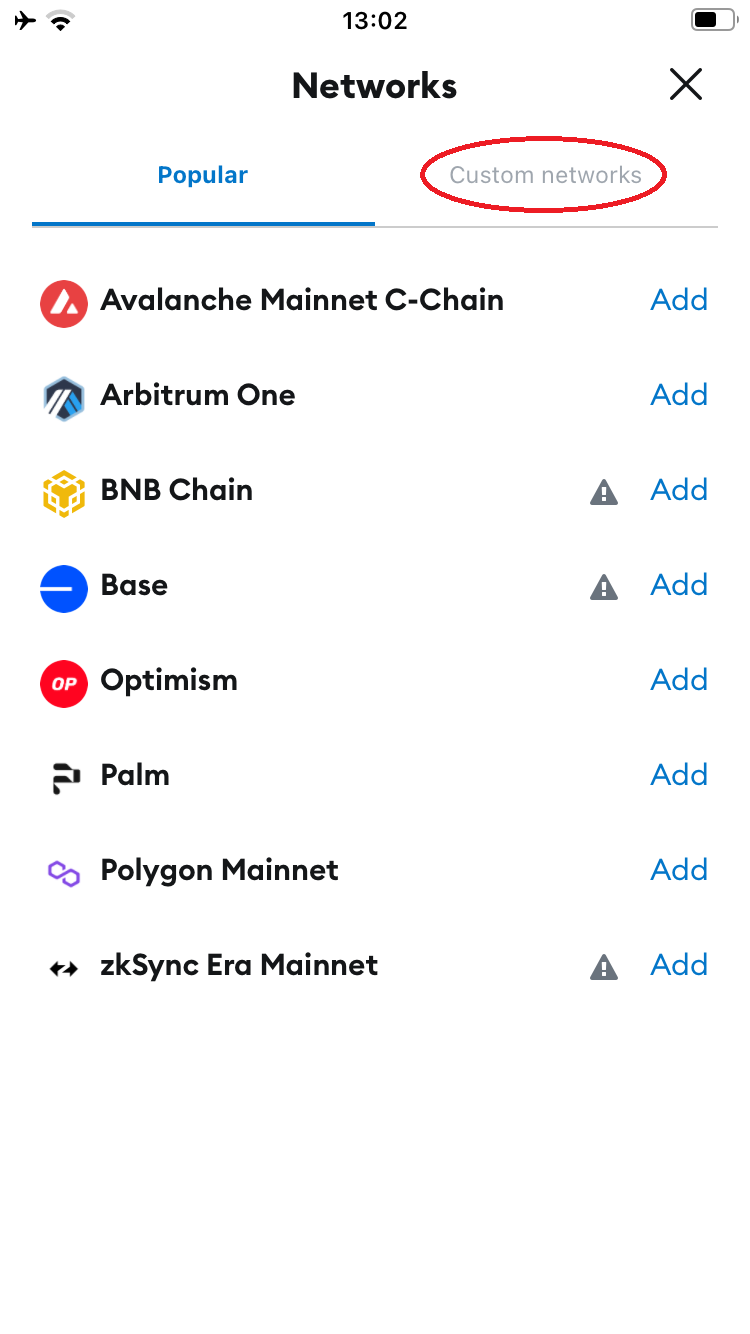
12. Switch to the "Custom networks" tab.
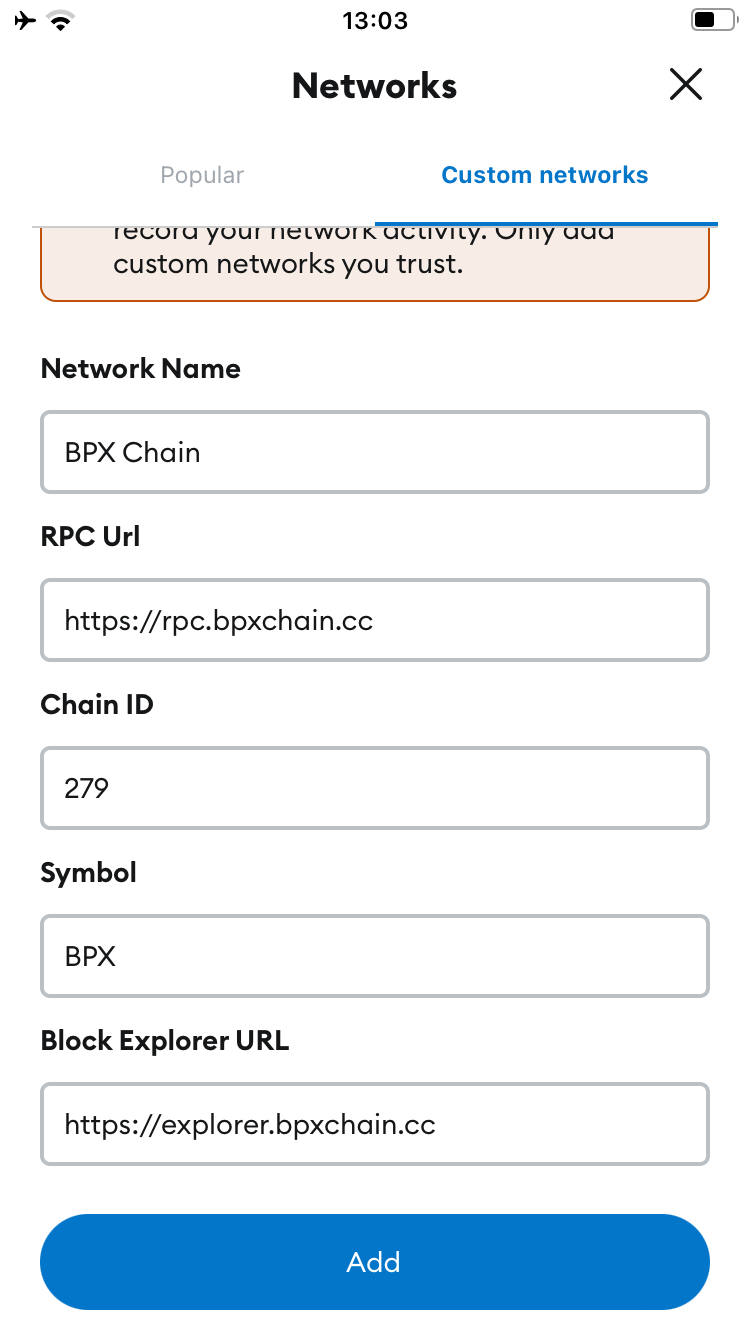
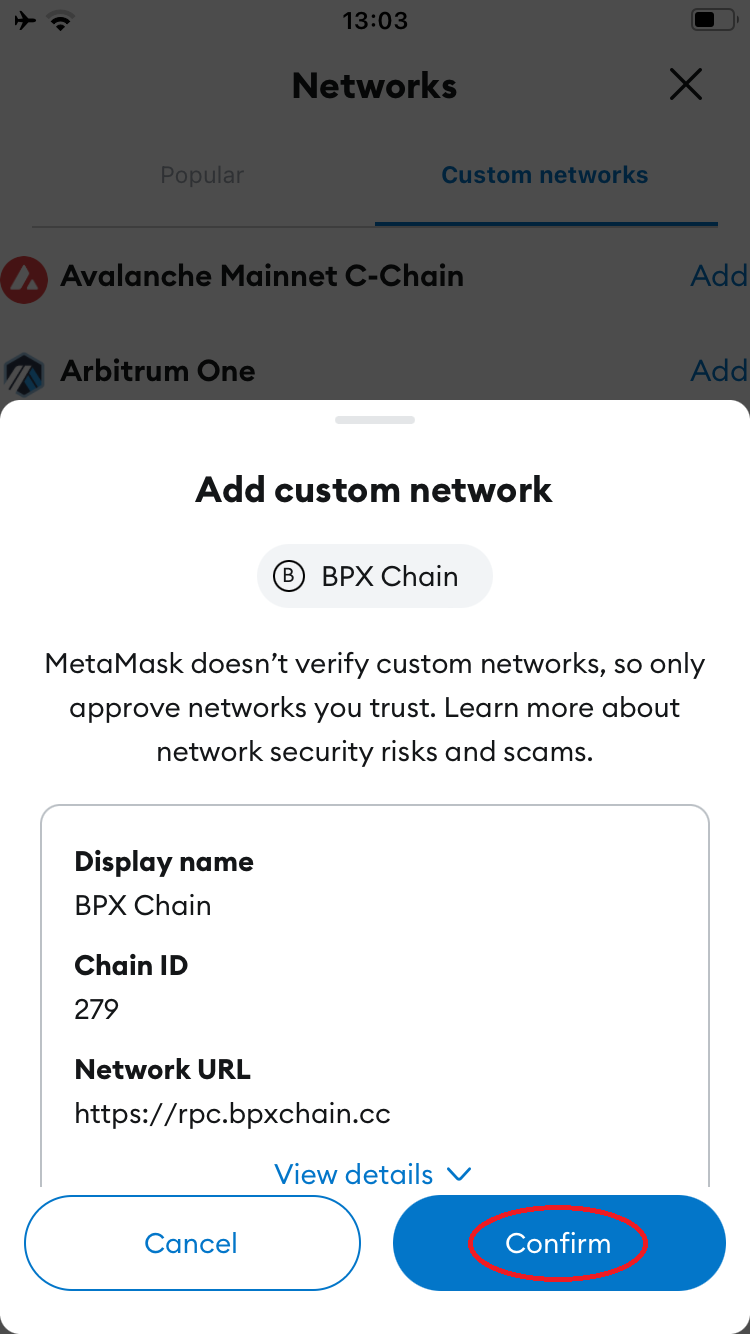
13. Complete the form as follows and click "Add":
Network Name: BPX V3
RPC Url: https://rpc.bpxchain.cc
Chain ID: 279
Symbol: BPX
Block explorer URL: https://explorer.bpxchain.cc
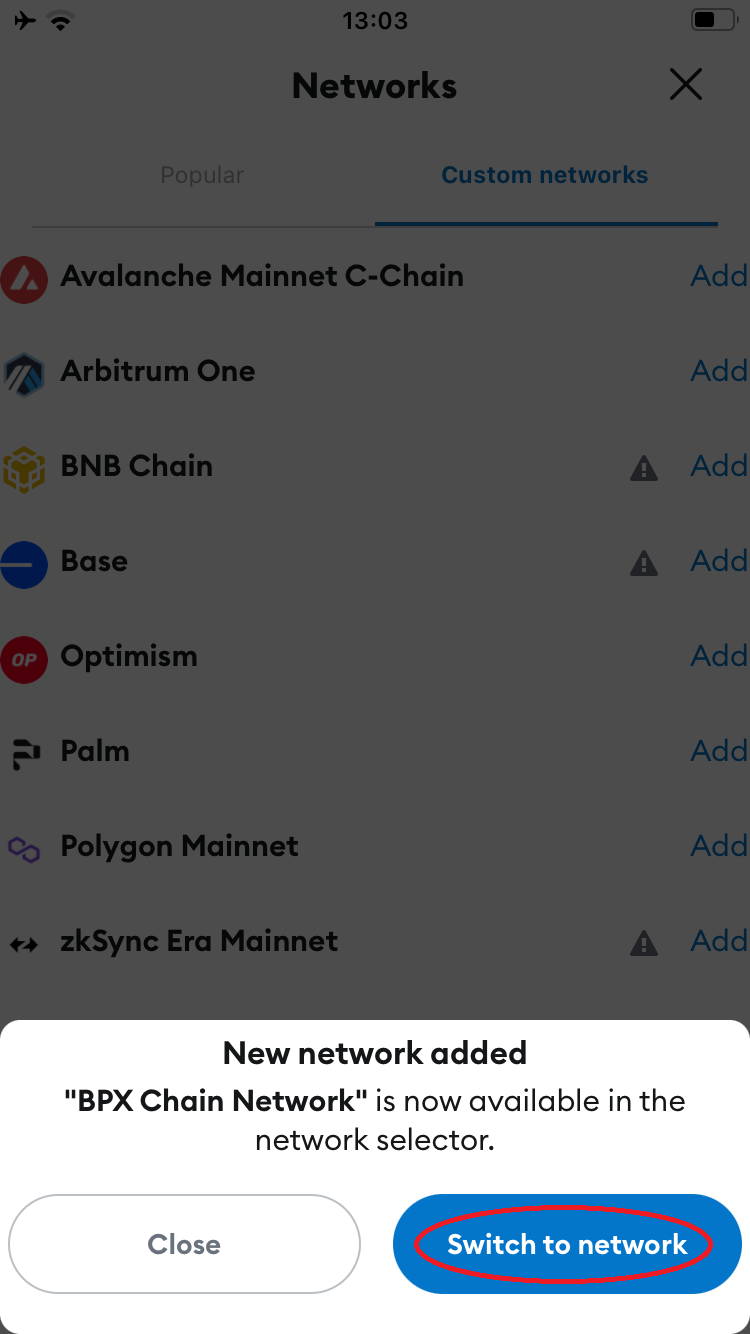
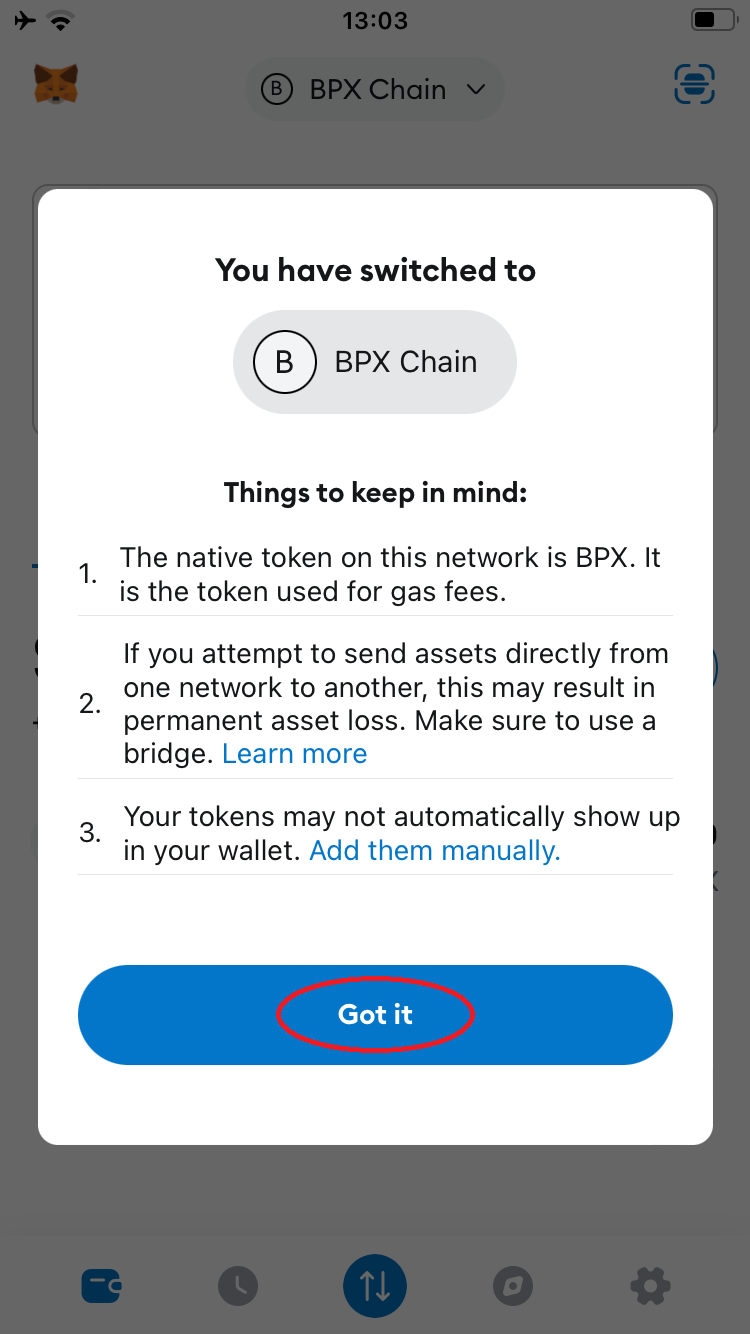
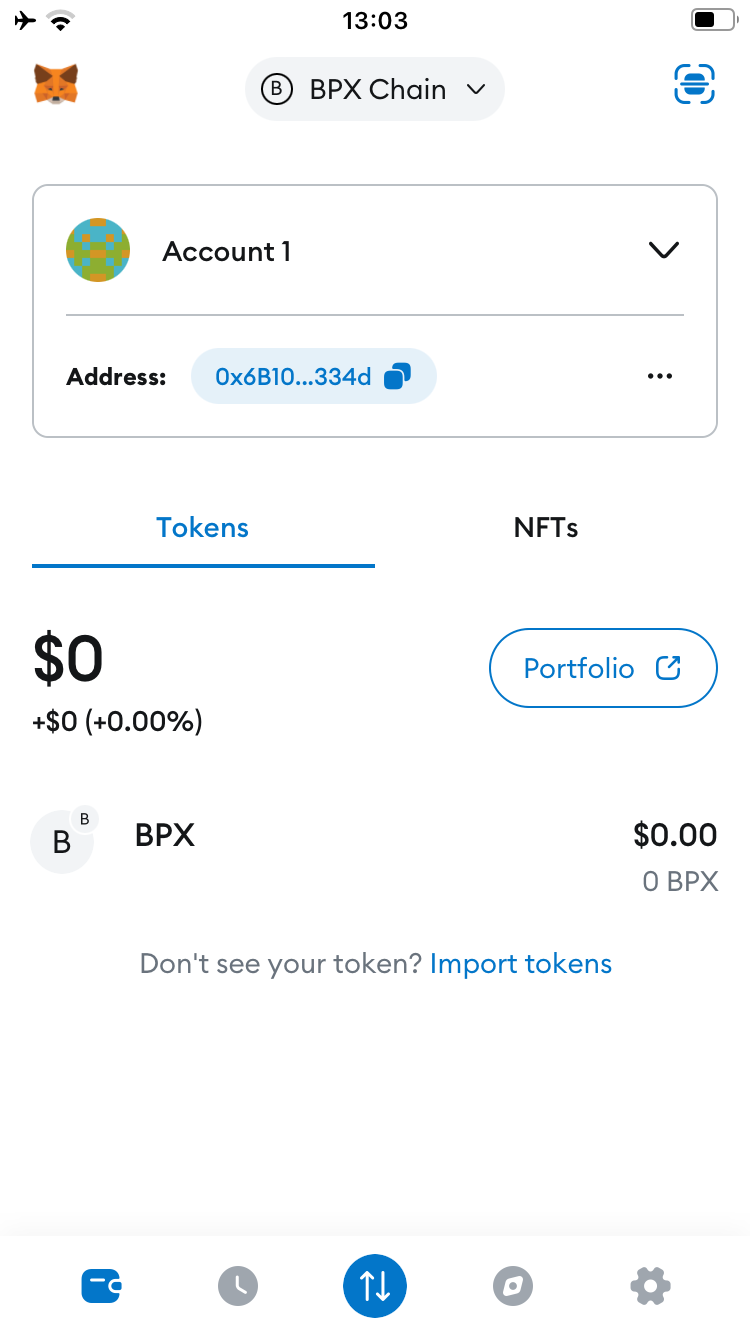
14. In the popup window tap "Got it". Your wallet is now ready to use.
15. To copy your full wallet receiving address, tap "Receive".
No Comments